The best outdoor spaces I’ve designed work because they were planned like rooms, not like yards. Defined zones, traffic flow, a clear focal point, materials that connect to the interior of the house — these aren’t aesthetic choices, they’re functional ones. When people treat the outdoors as an extension of their living space instead of an afterthought, the results are completely different. Path lighting is one of those details that consistently gets underestimated in early planning and then urgently requested after the first season — and in fifteen years of building complete outdoor spaces, I’ve learned that how and where you light a garden path shapes the entire feel of the space, not just whether you can see where you’re walking at night. What I’m covering here comes from real installations, real material choices, and the kind of hard-won problem-solving you only get from doing this work on the ground.
I pulled a thorn out of my chin, went back inside, and ordered pathway lights from my phone before I even washed off the blood. Dramatic? Maybe. Effective? Absolutely. And honestly, what started as a pure safety fix ended up becoming my single favorite thing about my backyard.
Why Garden Path Lighting Is a Safety Must (Not Just a Pretty Extra)
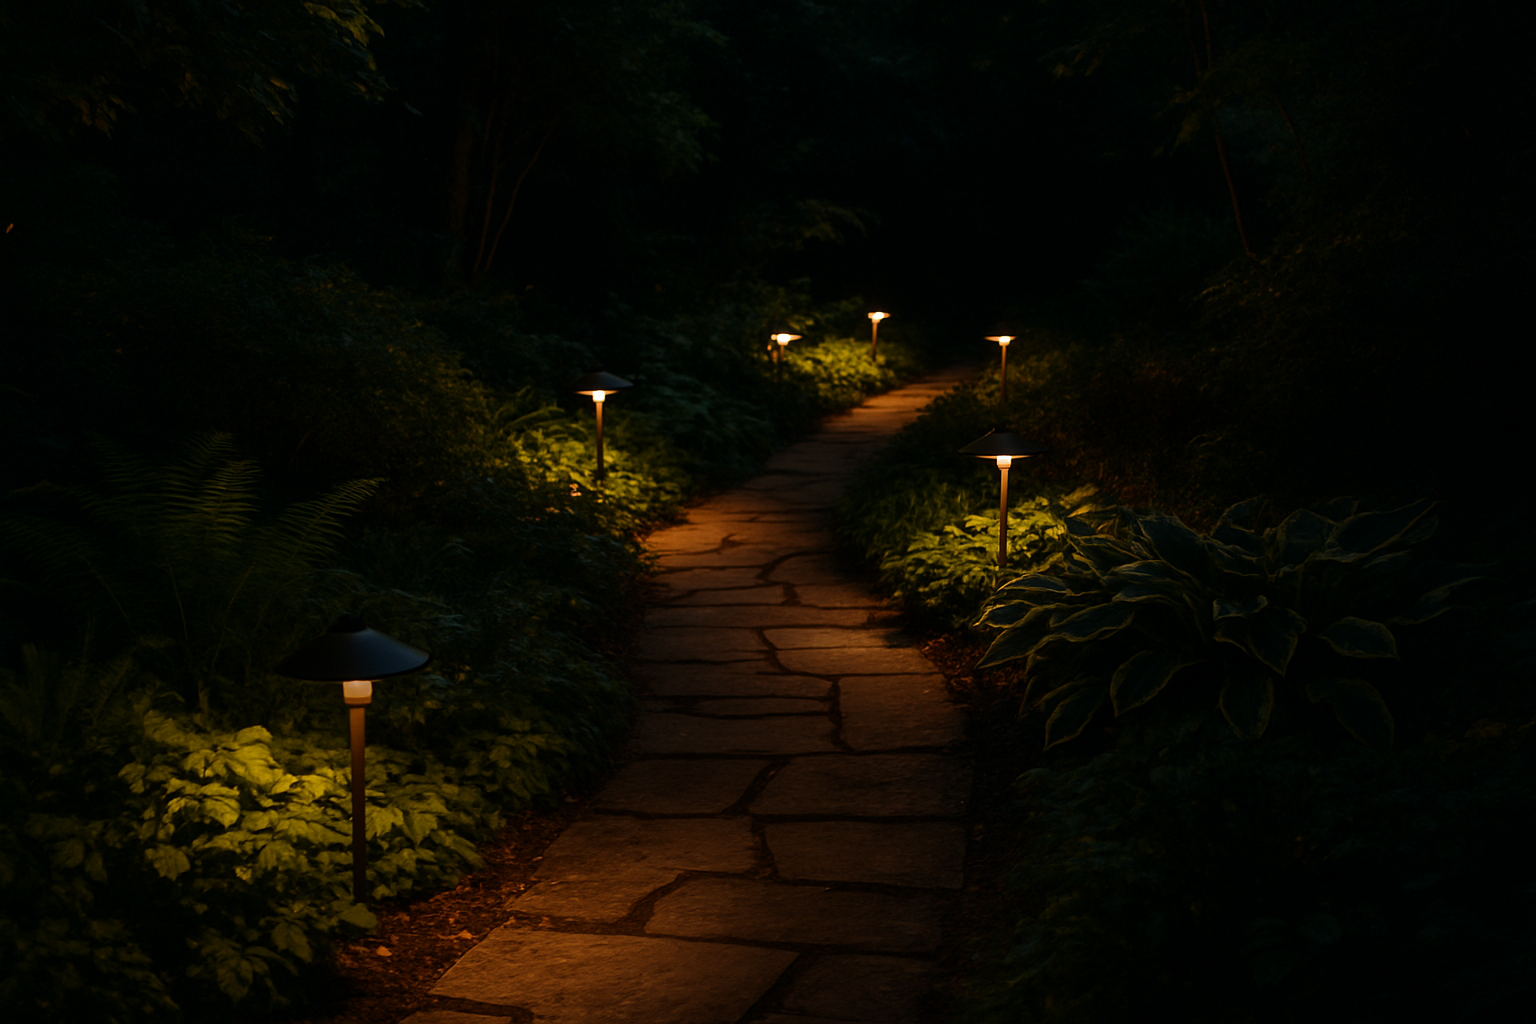
Here is the thing nobody tells you when you spend a weekend laying a beautiful stone path through your garden: after sundown, that gorgeous path becomes an obstacle course. Uneven pavers, garden border edging, decorative rocks, the occasional forgotten trowel — all of it vanishes into darkness. Slip-and-fall injuries in and around the home are surprisingly common, and the majority of outdoor incidents happen in low or zero light. Path lighting is not just aesthetic. It is genuinely protective, especially if you have kids running around, elderly family members visiting, or — ahem — a clumsy homeowner who thinks he can navigate a curved path in the dark by memory alone.
Beyond safety, well-placed path lighting extends your outdoor living hours dramatically. You can host evening gatherings without guests squinting at the ground, and your garden beds look absolutely magical lit from below after dark. It is one of those rare upgrades that pays off every single day once it is done.
Wired Low Voltage vs. Solar: Which Garden Path Lighting Approach Is Right for You?
Before you buy a single fixture, you need to make one big decision: wired low voltage lighting or solar. Both are excellent options, and each has a clear use case.
Wired Low Voltage Path Lights
Low voltage landscape lighting runs on 12 volts, making it safe to install yourself without an electrician. You run a single cable from a transformer (which plugs into a standard outdoor outlet) along your path, then connect individual fixtures using simple snap-in or twist connectors. The upfront installation takes an afternoon, but once it is done, the lights are consistent, bright, and reliable every single night — no sun dependency, no dim performance on cloudy weeks.
This is the route I chose, and I could not be happier. The wired fixtures I installed have a satisfying, permanent feel that solar lights simply cannot match. If you have an outdoor outlet within reasonable distance of your path, go wired. You will never regret it.
Solar Path Lights
Solar lights are the ultimate no-fuss option. No wiring, no transformer, no outlet needed. You push them into the ground, and they charge during the day and illuminate at night automatically. They have improved enormously in recent years — modern solar path lights are brighter and more consistent than the dim little stakes of a decade ago. If you do not have an accessible outdoor outlet, if your path gets reliable sun exposure, or if you just want a simple weekend project with zero electrical work, solar is a fantastic choice.
My Recommended Products for Garden Path Lighting
After doing far more research than a person who recently lost a fight with a rosebush probably deserves credit for, here is what I recommend depending on your situation.
The 12-Pack That Finally Gave Me Even Coverage Without Rewiring My Whole Yard
When I first installed path lighting, I underestimated how many fixtures I’d actually need to avoid dark gaps and shadowy stretches. A pre-assembled 12-pack with standardized spacing and low-voltage wiring meant I could follow my 8–10 foot layout plan without calculating wire gauges or hunting for mismatched components.
What works
- Twelve fixtures is the sweet spot for most residential paths—enough to eliminate dead zones, but not so many that you’re over-lighting or replacing bulbs constantly.
- Pre-cut connectors and matching cable mean no guessing on voltage drop or accidentally mixing incompatible parts mid-installation.
- The kit arrives complete: fixtures, transformer, timer, and cable—I didn’t have to make a second trip to source a missing piece.
What doesn’t
- Design flexibility takes a hit—you’re locked into the kit’s fixture style and color temperature, so if your path has a specific aesthetic, you may feel forced to work around the hardware rather than choose it.
- Overkill for short paths under 80 feet; you’ll likely use only 8–10 fixtures and have spares sitting in a drawer.
I’ll admit I nearly returned the kit halfway through because I thought the cable routing looked messy, but once I buried it alongside my sealed driveway edge, the whole installation disappeared into the landscape. That’s when it clicked for me—this was the right tool for the job. Check out the PARTPHONER Low Voltage Landscape Lighting 12-Pack on Amazon.
PARTPHONER Low Voltage Landscape Lighting 12-Pack
I installed it once and haven’t thought about the lighting since—that’s the whole point.
Check Price on Amazon →This post contains affiliate links. As an Amazon Associate, I earn from qualifying purchases at no extra cost to you.