Winter thaw is when my phone starts ringing off the hook—homeowners calling because their beautiful brick pathways have suddenly shifted, cracked, or become a muddy mess. That’s when I realized that most people pour their effort into making a pathway look right during the planning phase, never considering what happens when frost heaves, poor drainage, and ground settlement take over in the colder months. My curved brick pathway had to survive that seasonal gauntlet while also passing my HOA’s surprisingly strict inspection, which meant I couldn’t just build something that looked good—it had to be engineered to last through years of freeze-thaw cycles and still meet code.
Let me back up and tell you the whole story, because I think it’ll save you a serious headache if you’re planning a similar project.
How Everything Almost Fell Apart Before It Began
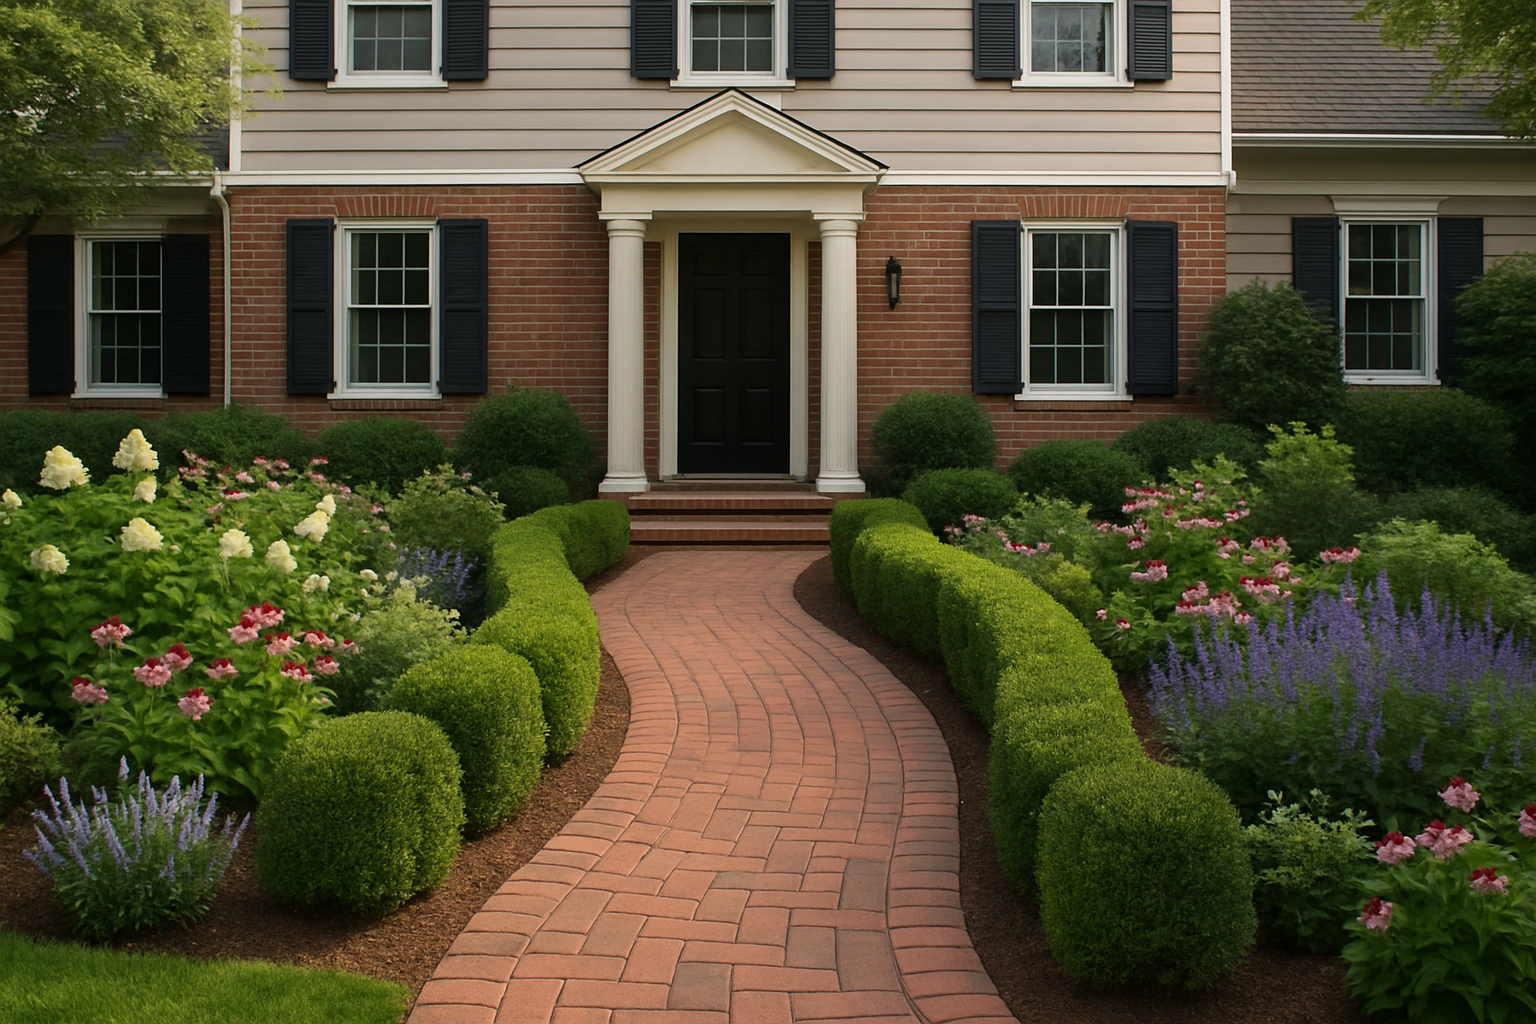
Last spring, I decided our front walkway needed a complete overhaul. The old straight concrete path from the driveway to the front door was cracked, stained, and honestly just boring. I’d been pinning curved brick pathways for years, and I finally felt ready to tackle it myself. I sketched a gentle S-curve, bought materials, and got to digging.
What I didn’t do — and please learn from this — was submit an exterior modification request to my HOA before starting. I assumed that because I was replacing an existing walkway in roughly the same footprint, it wouldn’t count as a new structure. I was wrong. Our HOA guidelines required prior written approval for any change in hardscape material, shape, or dimension. My curved brick pathway was all three of those things.
Linda was gracious about it, honestly. She told me I had two options: rip out what I’d started and restore the concrete, or submit a formal request with a detailed plan and material specifications. The catch? The board only met once a month, and the next meeting was three weeks away. I’d already paid for materials and rented equipment for the weekend.
I chose option two. I spent that evening putting together the most thorough modification request of my life — sketches, material samples, dimensions, even photos of comparable pathways in the neighborhood. I dropped it off the next morning with a polite note and some homemade banana bread (never underestimate baked goods in a neighbor dispute). Three weeks later, I got written approval with one small condition: I needed to maintain a minimum 36-inch clearance on either side of the curve. Easy fix.
The Step-by-Step Process for a Curved Brick Pathway That Lasts
Once I had the green light, I dove back in with a much clearer plan. Here’s exactly how I approached the build, from ground prep to the final joint sand.
Step 1: Mark Your Curve and Excavate
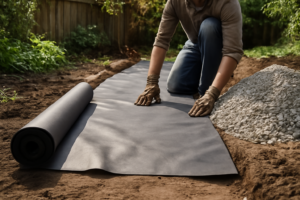
I used a garden hose to lay out the curve before committing to anything. Once I was happy with the shape, I marked it with spray paint and started excavating about 6 inches deep. For a stable pathway that won’t heave or shift, you need proper depth — don’t skip this part.
Step 2: Build a Solid Base
The Base Sand That Made My Curved Pathway Actually Stay Level
A curved brick pathway lives or dies on its base. I learned this the hard way—uneven sand meant uneven bricks, and uneven bricks meant my HOA inspection was going to be brutal. Getting the foundation right from the start saved me weeks of rework.
What works
- Compacts firmly without shifting when you follow a tamp-and-level routine—critical for keeping curves true across 40+ feet.
- The granule size is forgiving enough to hand-level along curved edges without stones rolling away mid-layout.
- One 0.5 cu ft bag goes further than you’d think, so you’re not overburdened with excess material or storage headaches.
What doesn’t
- Settling still happens in the first few weeks—you may need to top-dress low spots before the polymeric sand hardens everything in place.
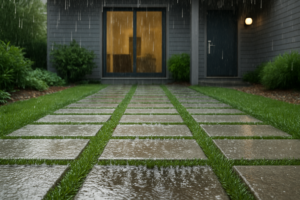
- In heavy rain, loose sand can wash out from under brick edges if your slope isn’t quite steep enough, so drainage prep matters.
I remember staring at my first test section, watching slight dips appear after the first rain, and thinking I’d have to tear the whole thing up—until I realized a second pass with fresh sand and better compaction fixed it completely. That’s when I knew this product would work if I just respected the process. Grab Alliance Gator G2 Maxx Polymeric Sand Slate Gray 50 lb and give yourself permission to redo the prep once if needed.
About This Article

Written by Marcus Delvecchio. Marcus Delvecchio isn't a licensed contractor — he's a handyman and DIY outdoor landscaper who got obsessed with driveways, patios and pavers after redoing his own place badly enough to want to understand why. Twenty years later he spends his weekends on his own projects and on side jobs for neighbours and friends around the mid-Atlantic, and writes up what actually worked, mistakes included. More about this site.
Scope and limits. Marcus is a homeowner who got obsessive about driveways, not a licensed contractor. Structural repair, drainage changes, and anything requiring a permit should go to a licensed contractor.
Verify this against a primary source
Specifics change, and your situation may differ from the one described here. These are the authorities worth checking directly:
- Concrete Masonry & Hardscapes Association — segmental paver installation standards
- National Asphalt Pavement Association — asphalt placement and maintenance guidance
- Portland Cement Association — concrete durability and jointing