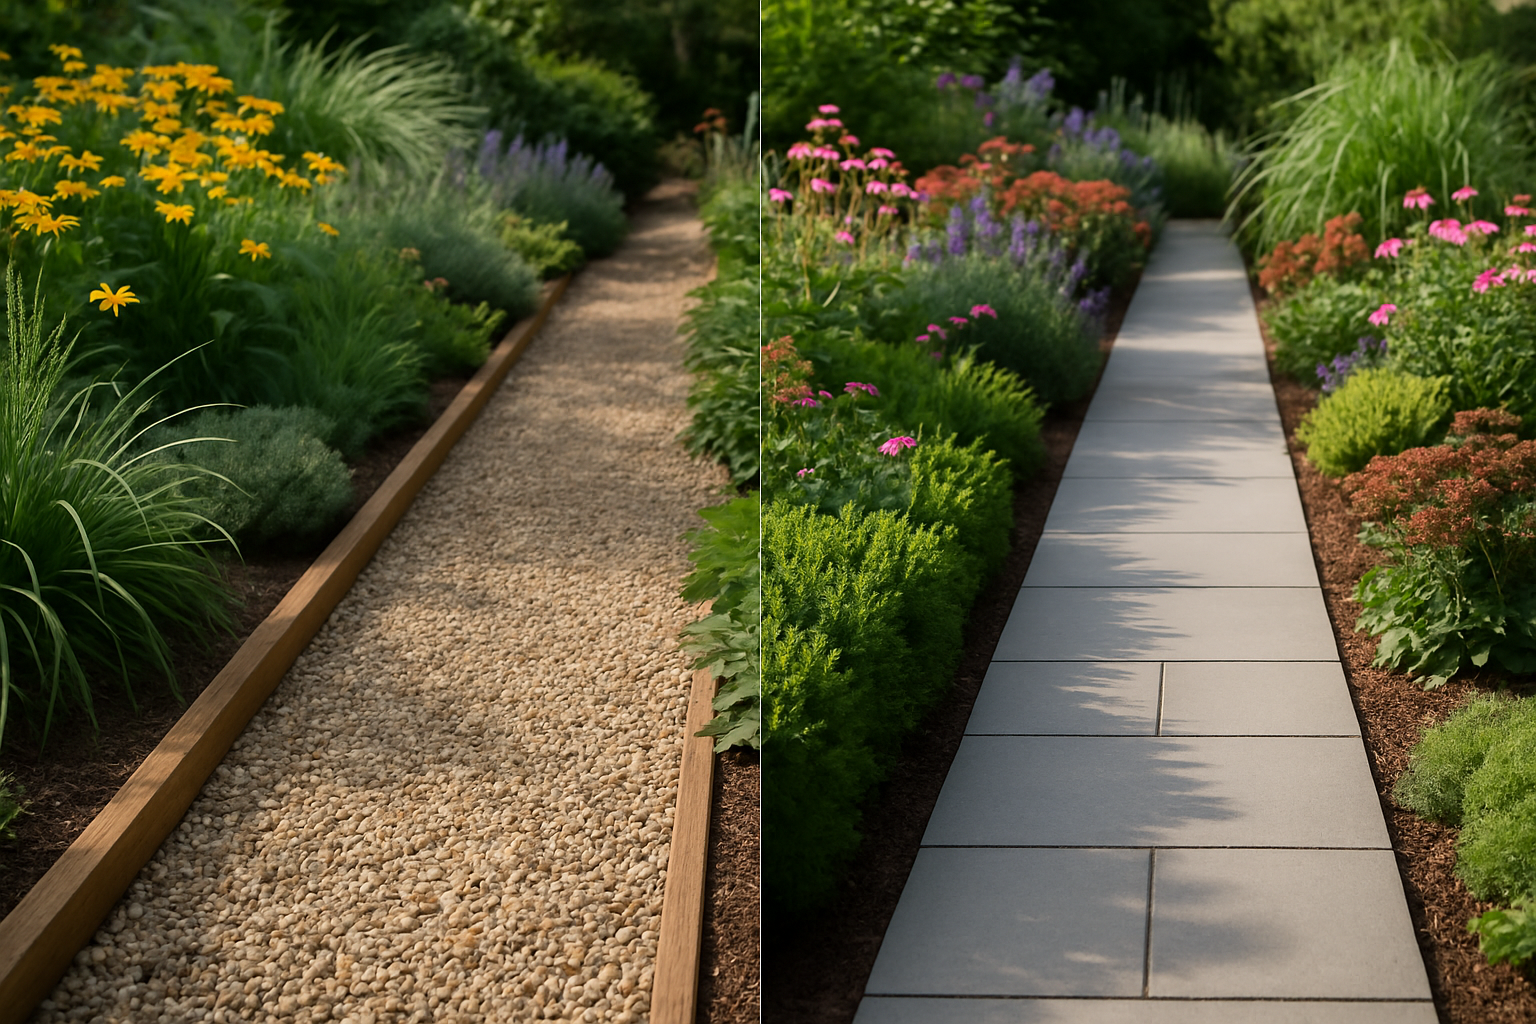
There’s one thing I tell every apprentice on their first day: everything is level or everything is a future problem. Doesn’t matter if it’s a paver base, a deck joist, a pergola post — if you don’t fix the pitch on day one, water finds a way to remind you every single spring that gravity is not negotiable. I’ve been installing patios, pavers, walkways, and outdoor hardscape professionally for over a decade, and I’ve ripped out more gravel paths and reset more sunken paver edges than I can count — usually because a homeowner made a choice based on aesthetics or price without understanding what that material actually demands from the ground beneath it. That’s exactly why I want to give you a straight, no-sales answer on the gravel versus pavers question — not from a catalog, but from someone who’s dealt with the aftermath of both decisions in every kind of soil, slope, and climate condition you can imagine.
I’ll get back to the incident. First, let’s talk about what you actually came here for.
The Real Gravel Walkway vs Pavers Comparison: What Nobody Tells You Upfront
Most articles will list the pros and cons in a nice clean table and send you on your way. That’s useful, but it doesn’t account for the fact that your yard has quirks, your budget has limits, and your ambition may occasionally outpace your skill level. (I say this with love, because mine certainly did.)
Here’s what I’ve learned from living with both options on my own property over the past few years.
Gravel Walkways: The Good, the Crunchy, and the Annoying
Gravel is wonderfully affordable and surprisingly satisfying to install. That deeply satisfying crunch underfoot? Absolutely worth it. It drains beautifully, which matters a lot if you live somewhere that gets real rain, and it gives even a modest garden path a cottage-charming, slightly European feel.
The downsides are real though. Gravel migrates. It gets kicked out of the path, tracked into the house, and redistributed by every dog, child, and oblivious houseguest you’ve ever hosted. Without solid edging, you’ll find yourself raking it back into place every few weeks. And if you have anyone in your household with mobility challenges, gravel paths can be genuinely difficult to navigate.
That said, for side yards, garden borders, casual paths through a planting bed, or anywhere you want texture and drainage without a big budget? Gravel is hard to beat.
Pavers: Beautiful, Permanent, and Humbling to Install
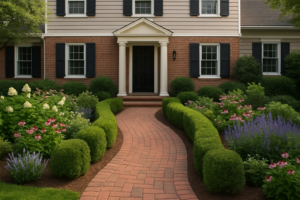
Pavers are the long game. They look incredible, they’re easy to walk on, they hold their position, and they can genuinely increase your home’s curb appeal. A well-laid paver path from the driveway to the front door is the kind of thing that makes people slow their cars down.
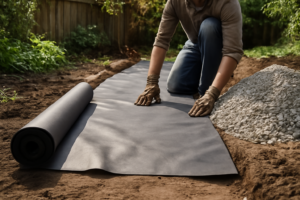
But here’s what they don’t emphasize enough in the Pinterest photos: proper paver installation is work. You’re digging down four to six inches, laying a compacted gravel base, adding sand, leveling obsessively, and then — only then — setting the pavers. Skip any of those steps and you’ll have a wavy, heaving mess within a couple of seasons. The material cost is also significantly higher than gravel, especially for larger paths.
Back to the Incident (Or: Why I Now Measure Twice)
Okay. So. The summer in question, I decided I was going to install a gravel path along the side of my house leading to the backyard gate. Lovely idea. I ordered what I thought was a reasonable amount of pea gravel online, did some extremely casual mental math, and hit “add to cart” with total confidence.
Reader, I ordered seven times more gravel than I needed.
When the delivery arrived — and kept arriving — my wife came outside, looked at the growing pile in the driveway, and said absolutely nothing for about fifteen seconds. Then: “Are we opening a quarry?”
In my defense, cubic feet and square feet sound very similar when you’re not paying close attention. In reality they are not the same thing at all and this is a lesson I have now fully internalized.
What did I do with the surplus? I laid the side yard path as planned, refreshed the drainage area around the downspouts, filled in the bare patches near the shed, topped off the garden beds, and — this is the part where it ended well — finally extended a short paver walkway I’d been putting off for two years by using the leftover gravel as the base layer. So the absurd miscalculation accidentally gave me the motivation to finish a project I’d been procrastinating on for months. Unintentional genius.
Making It Last: Edging Is Everything
Whether you go gravel or pavers, the single most important thing you can do to make your path look good long-term is install quality edging. This is the step that most DIYers skip and then regret within one growing season.
The Gravel That Actually Stays Put (When You Get the Edging Right)
If you’re going the gravel route, the biggest variable isn’t the gravel itself — it’s whether you choose the right color and size for your space and soil type. The Cureton Industries multicolor option gives you that cottage aesthetic without looking like you dumped construction debris on your walkway.
What works
- The ⅛–½ inch mixed size actually locks together better than uniform pea gravel, which means less migration toward your lawn and fewer weekly raking sessions.
- The cream and multicolor blend absorbs less heat than darker gravels, so your path won’t get scorching hot underfoot on summer days — something I didn’t think about until my first July install.
- This size drains aggressively, which saved me when a July downpour hit my side yard path; water was gone within minutes instead of sitting and creating muddy patches.
What doesn’t
- You’ll still need quality edging — and plenty of it — or the mixed sizes will separate and scatter faster than uniform pea gravel, especially under foot traffic.
- A single 40 lb bucket covers roughly 10–12 square feet at 2 inches deep, so budget accordingly (I didn’t, and learned this lesson the hard way with my quarry-sized order).
I almost gave up on my side yard path after the first heavy rain because the gravel had shifted unevenly — until I went back and installed proper metal edging and tamped the base down with real intention. That’s when I realized the gravel wasn’t the problem; my installation process was. Grab the Cureton Industries 32 oz Jug of Multicolor Cream Pea Gravel and commit to the edging step — that’s where the real payoff happens.
About This Article

Written by Marcus Delvecchio. Marcus Delvecchio isn't a licensed contractor — he's a handyman and DIY outdoor landscaper who got obsessed with driveways, patios and pavers after redoing his own place badly enough to want to understand why. Twenty years later he spends his weekends on his own projects and on side jobs for neighbours and friends around the mid-Atlantic, and writes up what actually worked, mistakes included. More about this site.
Scope and limits. Marcus is a homeowner who got obsessive about driveways, not a licensed contractor. Structural repair, drainage changes, and anything requiring a permit should go to a licensed contractor.
Verify this against a primary source
Specifics change, and your situation may differ from the one described here. These are the authorities worth checking directly:
- Concrete Masonry & Hardscapes Association — segmental paver installation standards
- National Asphalt Pavement Association — asphalt placement and maintenance guidance
- Portland Cement Association — concrete durability and jointing