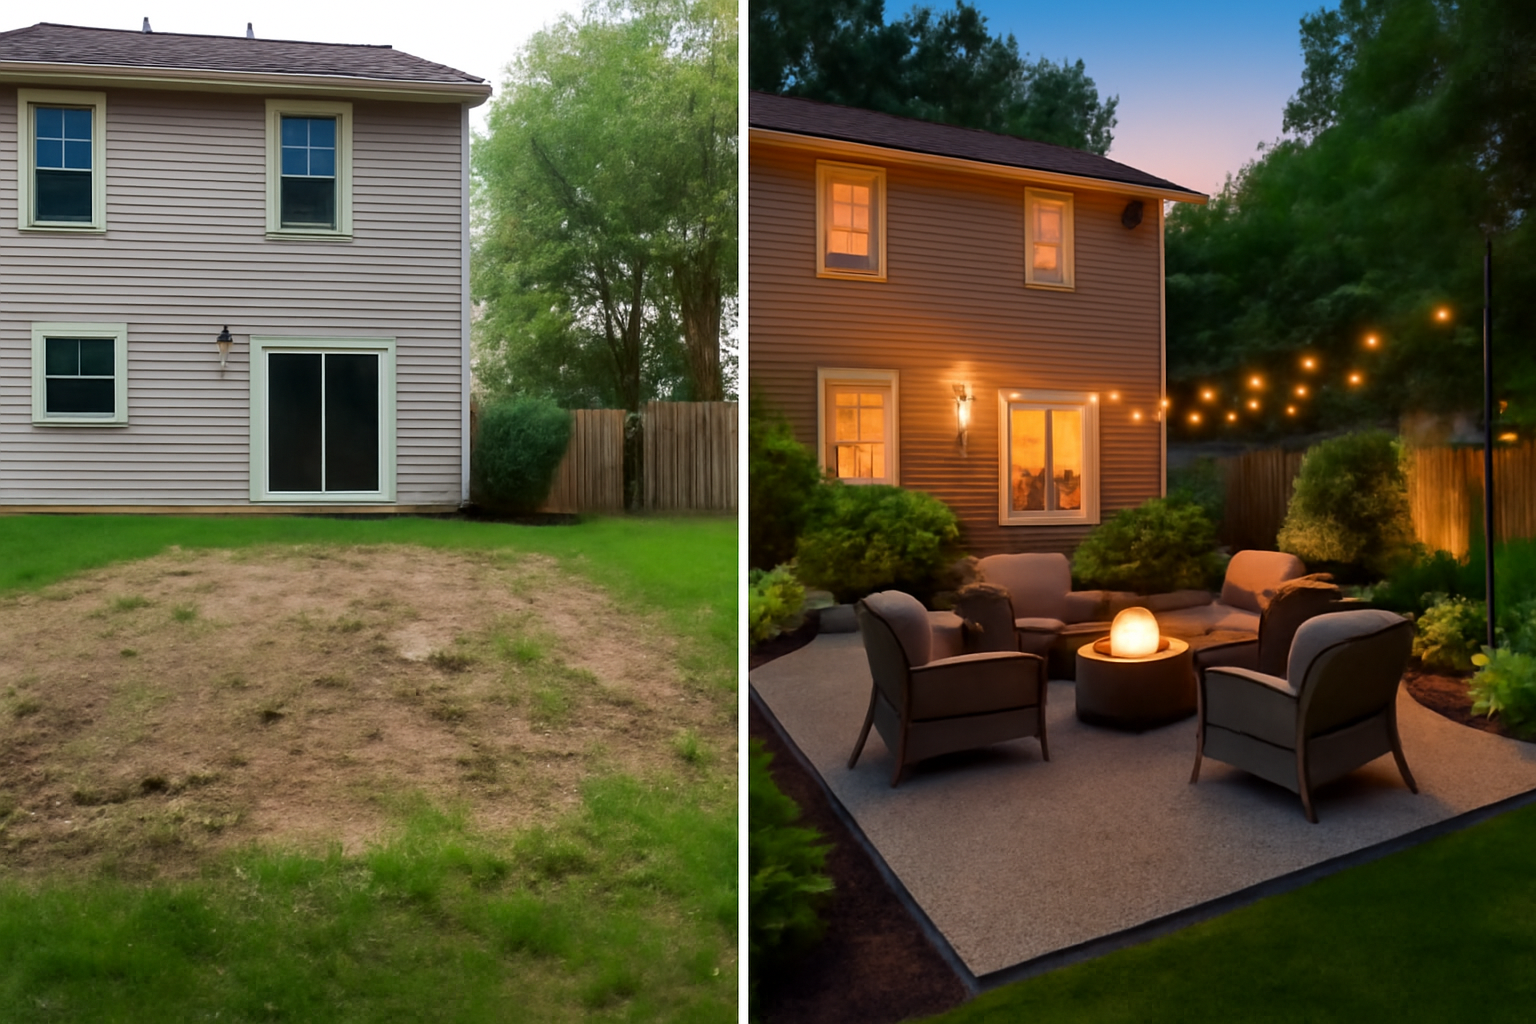
For three years, I avoided looking out my back window. Seriously. The yard was a patchwork of dead grass, overgrown beds, a rusted grill I never used, and two lawn chairs that had seen better days sometime around 2017. Every spring I told myself I’d deal with it. Every fall I didn’t. Then one Saturday in May I finally got fed up, walked outside with a coffee and a notepad, and started writing down what an actual plan might look like. That backyard makeover didn’t happen in a weekend — it happened in phases, over about four months, and it cost me far less than I expected. If your yard is in a similar state of neglect, this guide is exactly what you need. I’ll walk you through everything I did, what it cost, and what actually made a difference.
The Plan: Breaking a Backyard Makeover Into Phases
The biggest mistake people make with a backyard makeover is trying to do everything at once and burning out — or blowing the budget — before the project feels finished. Breaking it into phases makes it manageable, keeps costs spread out, and lets you see real progress along the way. Here’s how I structured it:
Phase 1: Clean Up and Define Spaces ($0–$200)
This costs almost nothing but delivers an enormous visual payoff. Removing junk, edging beds, and mulching transforms the bones of a yard before you spend a single dollar on anything permanent.
Phase 2: Ground Surfaces — Gravel, Pavers, or Lawn Repair ($300–$800)
This is where you create actual usable square footage. A gravel patio area, a simple stepping stone path, or overseeding bare patches of lawn makes the yard feel intentional and designed rather than neglected.
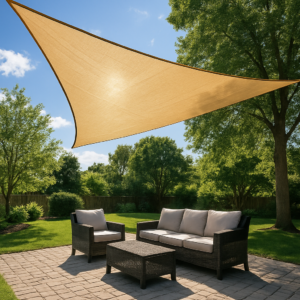
Phase 3: Furniture and Seating ($200–$600)
One quality seating set beats three cheap ones every time. I learned this the hard way. Buy once, buy right.
Phase 4: Lighting and Ambiance ($100–$300)
Outdoor lighting is the single highest-impact, lowest-cost upgrade in any backyard transformation. String lights and solar path lights do things that expensive furniture simply cannot.
Phase 5: Plants and Finishing Touches ($100–$300)
Container plants, a focal point like a fire pit or water feature, and small decorative details pull everything together and make the space feel lived-in and loved.
Phase 1: The Cleanup That Changes Everything
I cannot overstate how much a single day of cleanup changed the way my yard looked and felt. Before I bought a single plant or a single bag of gravel, I spent one full Saturday just removing and cleaning. Here’s exactly what I did:
- Remove everything dead or broken. Old furniture, dead shrubs, rotting garden edging, cracked pots — all of it went. Renting a small dumpster for the weekend cost me $85 and was completely worth it.
- Edge every single bed with a flat spade. You don’t need to buy an edging tool. A flat spade driven straight down along the border of every bed creates a crisp, clean line that instantly makes the whole yard look more maintained. This is free and takes maybe an hour.
- Mulch everything. I spread fresh mulch across all my garden beds at roughly two to three inches deep. At around $5 per bag, it was the cheapest upgrade with the biggest visual return. Fresh dark mulch makes plants pop, suppresses weeds, and signals to anyone looking that someone actually cares about this yard.
- Power wash hard surfaces. I borrowed a pressure washer from my neighbor and spent two hours on the concrete patio, the back steps, and the fence panels. The concrete looked almost new when I was done.
By Sunday evening, before I’d spent money on anything decorative, my yard already looked dramatically better. The cleanup phase alone — done right — accounts for maybe 40% of the total transformation.
Phase 2: Creating Usable Ground Space
Once the yard was clean, the lack of structure became obvious. I had a vague patio area that was half concrete, half dying grass, and no clear definition between the “seating zone” and the rest of the yard. Fixing that was Phase 2.
The Gravel That Finally Fixed My Dead Grass Problem Without Breaking the Budget
One of the biggest money-sinks in my original yard plan was replacing dead grass with sod or seeding. Instead, I realized I could define new planting beds and pathways with affordable pea gravel, which not only looked intentional but also eliminated the pressure to resurrect a lawn that clearly didn’t want to live.
What works
- Covers dead spots fast—I went through three 50 lb bags to edge two beds and create a small sitting area path, transforming eyesores into intentional design features in an afternoon.
- Stays put without constant raking—the angular shape keeps it from migrating into adjacent grass like river rock does, which saved me from weekly maintenance.
- Looks professionally finished without the price tag—at under $20 per bag, I achieved clean bed edges and defined walkways that made the whole yard feel planned rather than neglected.
What doesn’t
- Dust settles on everything during the first week after installation—have a hose ready and plan to wet it down a few times to lock it in place.
- You’ll need landscape fabric underneath or it’ll migrate into soil and grass over two seasons, adding cost and labor I didn’t budget for initially.
I almost talked myself out of using gravel because I worried it would look cheap, but standing in my finished yard three months later, I realized it was the decision that made everything else possible. If you’re stretched thin budget-wise and tired of looking at dead lawn, grab some All Purpose Pea Gravel 50 lb and define what your yard actually is instead of what it isn’t.
All Purpose Pea Gravel 50 lb
I used three bags to edge my beds and define paths without weekly raking or breaking budget.
Check Price on Amazon →This post contains affiliate links. As an Amazon Associate, I earn from qualifying purchases at no extra cost to you.