I put up my first shade sail over the paver patio expecting a weekend project, and it turned into a month of trial and error with anchor points that were either too weak or aimed at the wrong angle to actually block the afternoon sun. Once I got the tension and angle right, it became the single best upgrade I made to that patio all year. If you’re considering a shade sail patio installation, here’s what I learned the hard way—and what I’d do differently next time.
A shade sail is deceptively simple: fabric stretched tight between anchor points. In theory, you buy the sail, bolt it down, and you’re done by lunch. In practice, shade sail patio installation involves understanding load angles, wind resistance, fabric orientation, and whether your existing structures can actually hold the tension you’re about to put on them.
The good news? You absolutely can do this yourself. The bad news is that I skipped several planning steps that would have saved me weeks of tweaking.
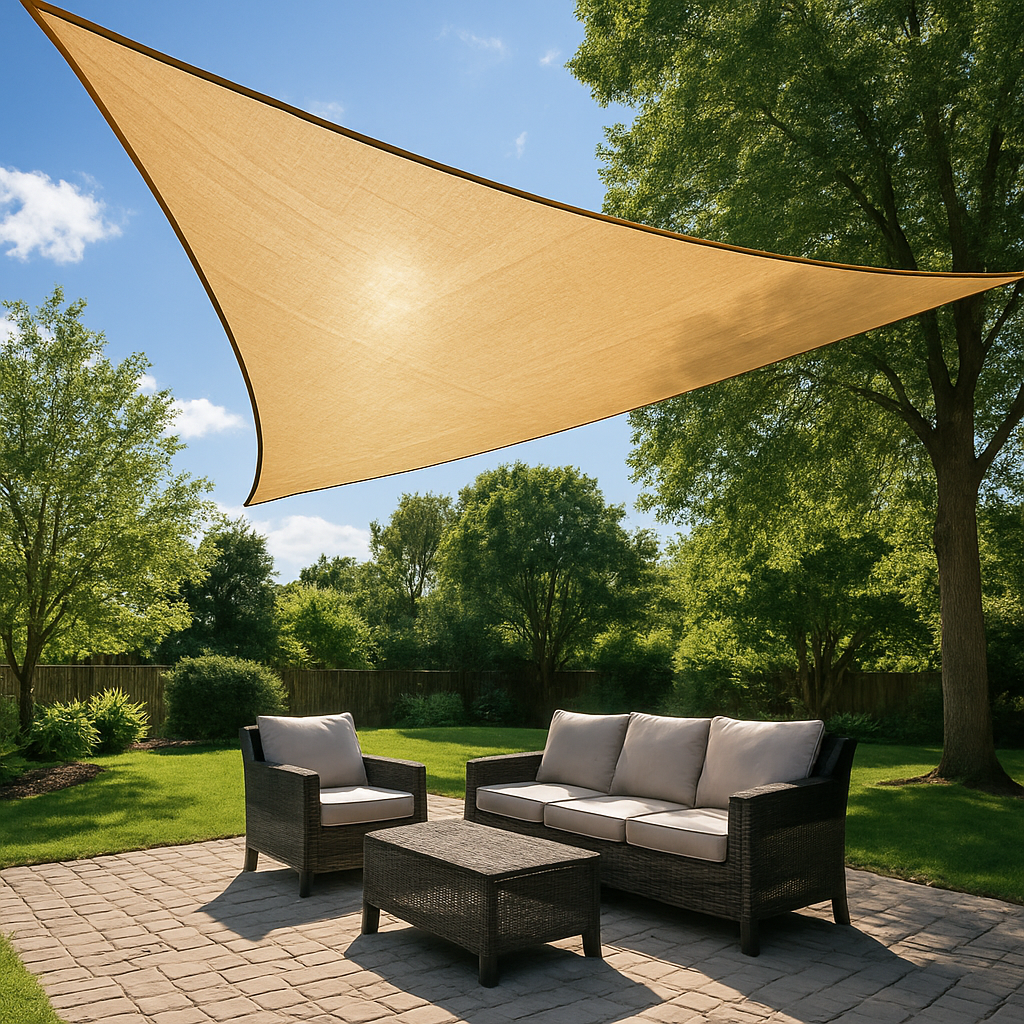
What I Got Wrong About Anchor Points
My first mistake was assuming the patio columns I already had would work as anchor points. They were sturdy wood posts set in concrete footings. How hard could it be?
Very hard, as it turned out. I attached a stainless steel turnbuckle and cable to one post and the opposite corner of my patio cover frame to the other. The sail went up, but it sagged dramatically in the middle. The afternoon sun still blazed through at an angle I hadn’t anticipated.
The problem wasn’t the anchor points themselves—it was the angle. Shade sails work best when they’re angled to intercept the sun’s path during peak hours. In my case (northern hemisphere, 38 degrees latitude), the summer sun at 3 p.m. comes from roughly 230 degrees. My sail was oriented northwest-southeast, which meant I was blocking the wrong part of the sky.
What I should have done: mapped out the sun’s path for my latitude and season using a free online tool, then oriented the sail accordingly. I also should have used a professional-grade post-mounted anchor kit on at least two points, not improvised brackets.
That said, those column anchors taught me something valuable. If you’re using existing structures, inspect them closely. Drill test holes to verify the wood is solid at least 4 inches deep. If you hit soft wood or rot, don’t use that point. A failed anchor in high wind is genuinely dangerous.
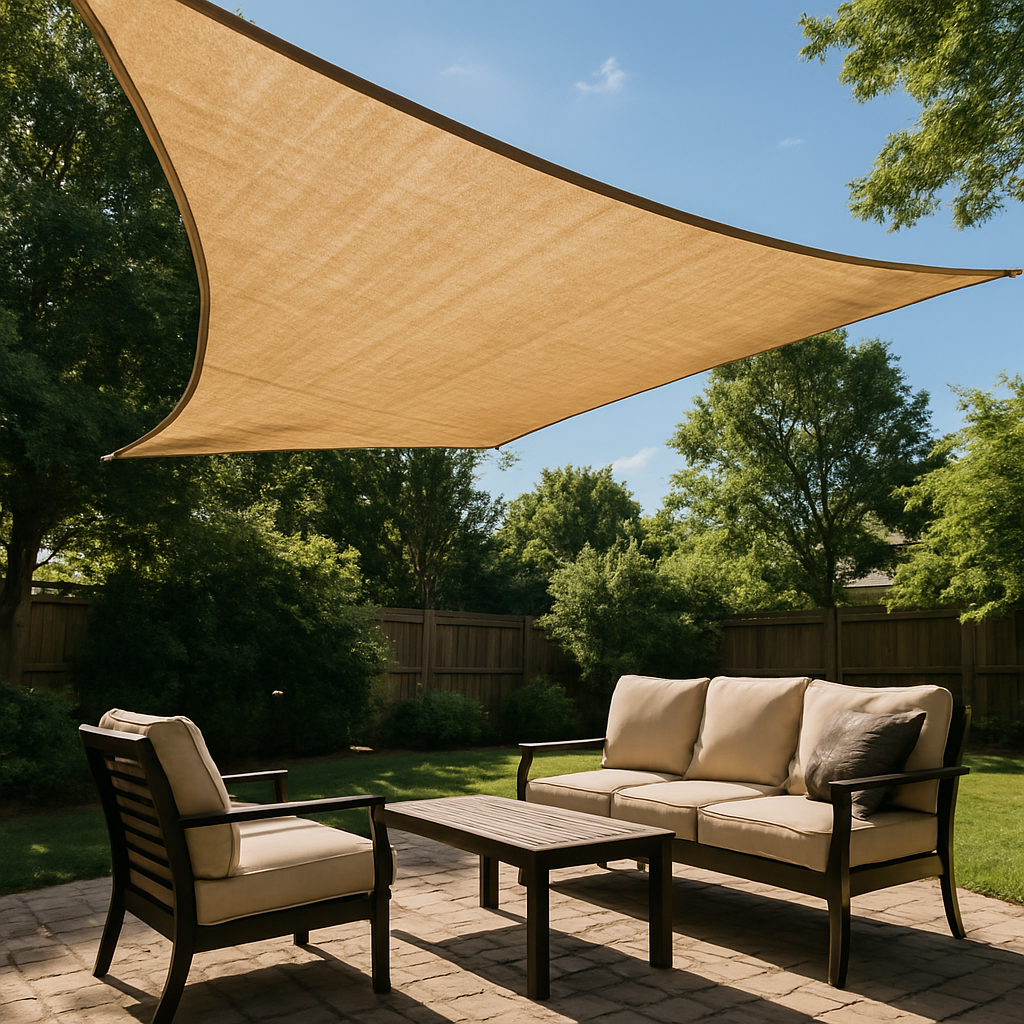
Tension and Wind Load: The Numbers Matter
Most shade sails come with a recommended tension range, usually printed on a sticker. Mine said 400–600 pounds per corner. I looked at that range and thought, “I’ll aim for the middle” without understanding what that actually meant.
Tension is not the same as tightness. It’s the actual force pulling on those anchor points, measured in pounds. If you under-tension, the sail flaps and sags. If you over-tension, you risk tearing the fabric or yanking your anchor points apart.
I used a cheap fish scale hanging from the cable to estimate tension—not ideal. A proper tensiometer costs $80–$150 and is honestly worth every penny. You hook it onto the cable, apply pressure until it reads your target tension, and stop. No guessing.
The bigger issue: wind load. A 16-by-16 shade sail in a 30 mph wind experiences roughly 1,100 pounds of horizontal force. If your anchors or fasteners aren’t rated for that, they’ll fail. I mounted my turnbuckles with 3/8-inch lag bolts. They were barely adequate. For a redo, I’d use through-bolts with washers and locknuts—the kind that go all the way through the post and bolt from the back.
Specifically, look for fasteners rated for at least 1.5 times your calculated wind load. If you’re in a hurricane zone, use even heavier hardware or consider whether a permanent shade sail is the right choice at all.
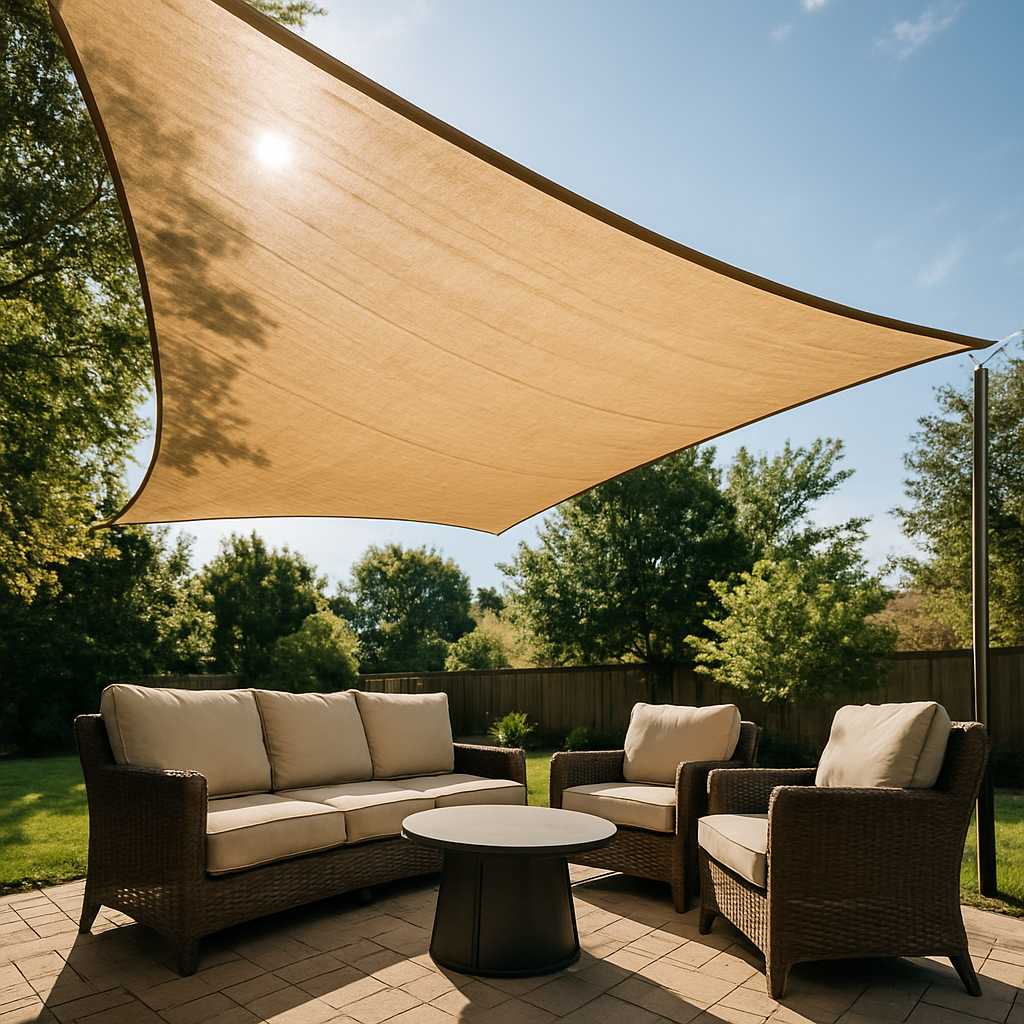
Fabric Orientation and Seasonal Sun Angles
Here’s what confused me most: the sun moves. Dramatically. In summer at my latitude, peak afternoon sun comes from the southwest. In winter, it’s lower and more southerly. A sail that perfectly blocks July heat does almost nothing in May.
I eventually solved this by orienting my sail on a north-northeast axis. This isn’t optimal for any single time of day, but it provides decent afternoon shade for most of the warm season. For truly seasonal adjustment, you’d need two sails or a motorized adjustable system (expensive and beyond my first-timer scope).
Another detail I missed: fabric type. Shade sails come in different weaves and densities. Lighter fabrics (80–85% blocking) let more light through but feel airier. Denser fabrics (95%+ blocking) create deep shade but trap heat underneath. In my humid climate, I actually preferred 85% blocking because the airflow was better underneath.
On the other hand, in drier climates, maximum blocking might suit you better. This depends on your climate and whether you want the sail to feel cool or breezy underneath.
The Timeline and What to Expect
My initial estimate: a Saturday morning and Sunday afternoon. Reality: four weeks from purchase to comfortable use.
Week one, I ordered the sail and hardware. Shipping took 10 days. Week two, I installed the initial anchors and cables. The sail went up loosely just to see how it looked. That’s when I realized the angle was wrong. Week three, I researched sun paths and considered a re-orientation. Week four, I remounted one anchor point and re-tensioned everything properly.
The actual physical labor—drilling, bolting, cable runs—probably totaled 8 hours across those four weeks. The rest was planning, second-guessing, and learning. As a result, I’d allocate at least 2–3 weekends if you’re doing this for the first time, especially if you need to pour new footings or install posts.
For example, if your patio doesn’t have existing anchor points, budget an extra week for concrete to cure after setting new posts. Don’t rush this part. Undercured concrete will fail under wind load.
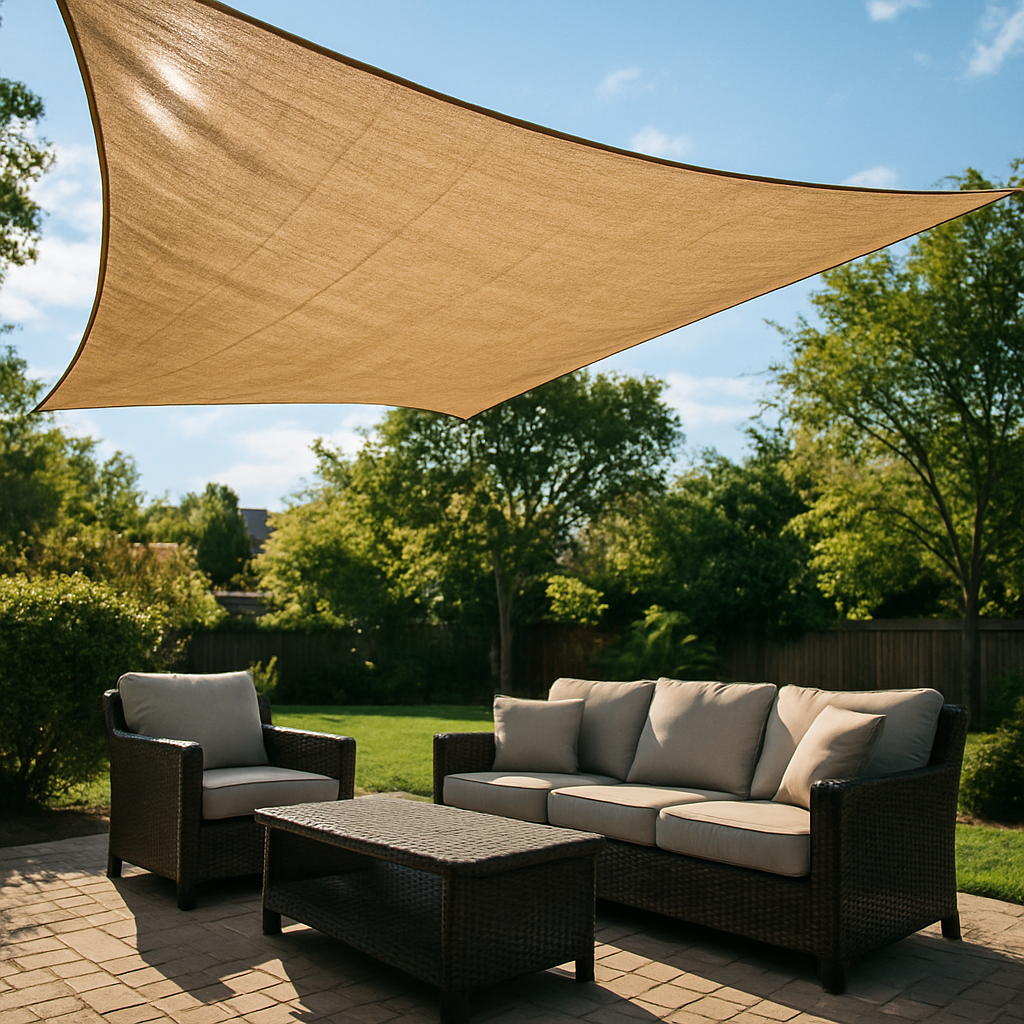
Real Costs and Maintenance Realities
A decent shade sail (12-by-16 feet, quality fabric) costs $300–$600. Hardware adds another $100–$200. If you need posts and footings, add $200–$400 per anchor point. My total project cost was roughly $1,200 for materials, including concrete and extra bolts I learned I needed mid-project.
That said, it’s a one-time cost. Unlike motorized retractable systems ($2,000+), a basic sail is set-and-forget. Maintenance is minimal: rinse it down annually to remove dust and pollen, and check fasteners before windy season.
However, there are real downsides. Sails do tear, especially at corners. If a corner fails, that whole section of fabric becomes stressed and can rip further. Repairs typically require professional patching or, worst case, replacement of a panel. Budget for eventual repairs.
Also, in severe wind events, you should consider taking the sail down temporarily. It’s not permanent like a pergola or patio cover. A 50 mph gust can stress or tear even well-installed hardware.
What I’d Do Differently: The Final Checklist
If I were starting over, here’s my order of operations:
- Map the sun’s path at my latitude for the season I want to shade most.
- Identify three or four potential anchor points and assess their load capacity.
- Calculate wind load for my region and choose hardware rated for 1.5x that force.
- Buy a tensiometer before the sail arrives.
- Install anchors and test with light tension before stretching full-force.
- Orient the sail and tension it gradually over 2–3 days, allowing the fabric to settle.
- Check all fasteners and cable connections monthly during the first season.
This checklist would have saved me several weekends of backtracking and frustration. More importantly, it would have prevented the weak anchor point that wobbled in the first strong storm.
Should You Install a Shade Sail?
Yes, absolutely—if you’re willing to do the homework upfront. A shade sail patio installation is a legitimate DIY project for anyone with basic tools and patience. It won’t take a full weekend, but it will take longer than you think, and that’s okay.
The payoff is real. My patio went from uncomfortably hot in mid-afternoon to genuinely usable. I actually sit out there now, even in July. The sail catches wind nicely, so there’s airflow, not stagnant heat. And it looks cleaner and simpler than a permanent structure.
The key is respecting the engineering. Shade sails are under tension, and tension creates forces. Treat those forces seriously, choose your anchor points carefully, and verify your math before bolting anything down.
If you’re starting your own shade sail patio installation project, go in with realistic expectations about time and research. Take the anchor-point assessment seriously. Use a tensiometer, not guesswork. And orient that sail to actually block the sun during the hours you’ll use the patio. Do those things, and you’ll have a comfortable outdoor space that cost far less than a permanent shade structure and looks great doing it.
About This Article

Written by Marcus Delvecchio. Marcus Delvecchio isn't a licensed contractor — he's a handyman and DIY outdoor landscaper who got obsessed with driveways, patios and pavers after redoing his own place badly enough to want to understand why. Twenty years later he spends his weekends on his own projects and on side jobs for neighbours and friends around the mid-Atlantic, and writes up what actually worked, mistakes included. More about this site.
Scope and limits. Marcus is a homeowner who got obsessive about driveways, not a licensed contractor. Structural repair, drainage changes, and anything requiring a permit should go to a licensed contractor.
Verify this against a primary source
Specifics change, and your situation may differ from the one described here. These are the authorities worth checking directly:
- Concrete Masonry & Hardscapes Association — segmental paver installation standards
- National Asphalt Pavement Association — asphalt placement and maintenance guidance
- Portland Cement Association — concrete durability and jointing