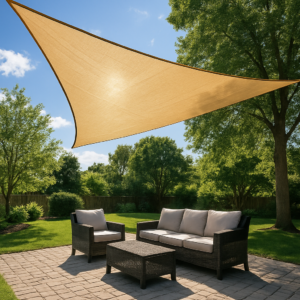
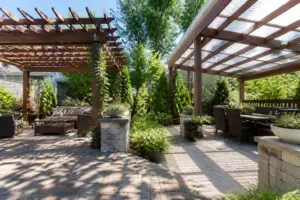
Winterizing outdoor structures isn’t glamorous work, but it’s the difference between replacing cushions every spring and actually enjoying your patio setup year after year. My first winter as a homeowner, I ignored this entirely. Come April, I had cracked sealant on my pergola posts, ruined cushions stacked under a tarp, and a lingering sense of regret that cost me about $400 to fix. Now I work through a methodical fall checklist every October before the first hard freeze, and it’s saved me thousands in replacements and repairs.
The truth is simple: wood, metal, fabric, and finish coatings don’t handle freeze-thaw cycles well without preparation. Water gets into tiny cracks, freezes, expands, and splits things apart. Cushions trap moisture. Exposed fasteners rust. None of this happens overnight, but by February it’s all compounding. Here’s what I’ve learned to do—and what you should too.
Inspect and Clean Everything First
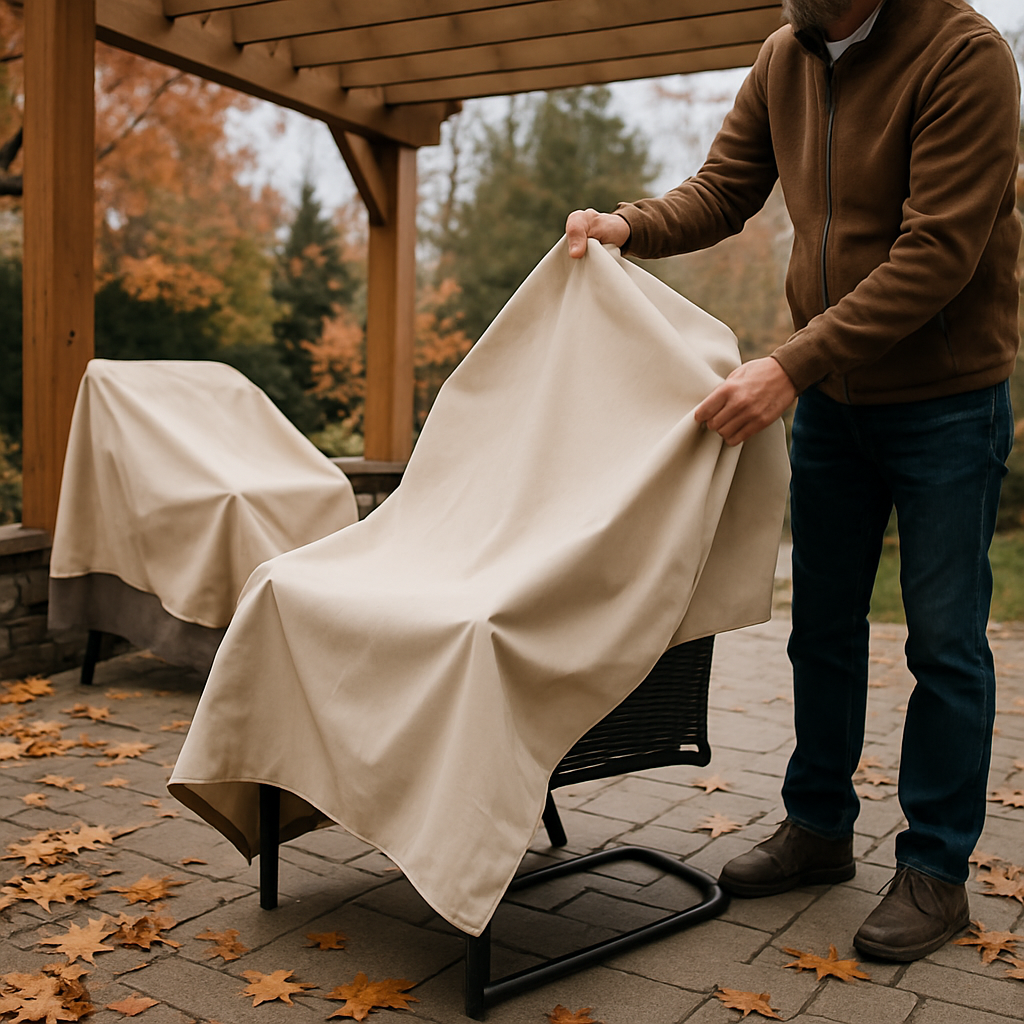
Before you treat or protect anything, you need to see what you’re actually working with. This means spending a Saturday in early fall getting up close with your pergola, deck, fence, and furniture. I use a pressure washer on a low setting (around 1500 PSI) to clean surface dirt and algae buildup. High pressure can damage wood or open up the grain, so restraint matters here.
Once everything is clean and dry—and this takes patience; I typically wait 48 hours after washing—walk every inch. Look for soft spots in deck boards by pressing a screwdriver into the surface. Check pergola posts where they meet the ground for rot. Inspect railings and balusters for cracks. If you find damage, address it now before applying any sealant.
In my second year, I found a soft spot on one deck joist I’d missed for two seasons. Replacing it cost far less than waiting another year would have. Catching problems early is the real money-saver in winterization. Spend an afternoon being thorough now, and you’ll avoid emergency repairs in January.
Seal and Protect Wood Surfaces
This is the cornerstone of winterizing outdoor structures. Exposed wood absorbs water like a sponge. Once winter arrives and that moisture freezes, the wood expands unevenly, causing cracks, splinters, and—eventually—structural weakness. Your pergola posts, deck boards, and fence rails all need a protective layer before the temperature drops.
You have two main options: sealers and stains. Sealers are typically clear or slightly tinted and sit on top of the wood surface. Stains penetrate deeper and provide color while offering protection. For my pergola, I use a penetrating sealer rated for exterior wood because I want to see the grain. It lasts about 2–3 years depending on sun exposure and weather severity.
Application is straightforward but time-consuming. You’ll need a paintbrush (invest in a decent one; cheap bristles shed constantly) and several coats—typically 2 or 3. I apply the first coat in late September, let it cure for the time the manufacturer specifies, then add a second coat. Doing this before October ensures everything is fully cured before freezing temperatures arrive.
One honest downside: if your wood is already weathered gray, you may need to power wash and sand to get good adhesion. This adds time. On the other hand, that extra prep work means the sealer actually protects your wood instead of peeling off in chunks come spring. It’s worth the effort.
Store or Cover Cushions and Soft Furnishings
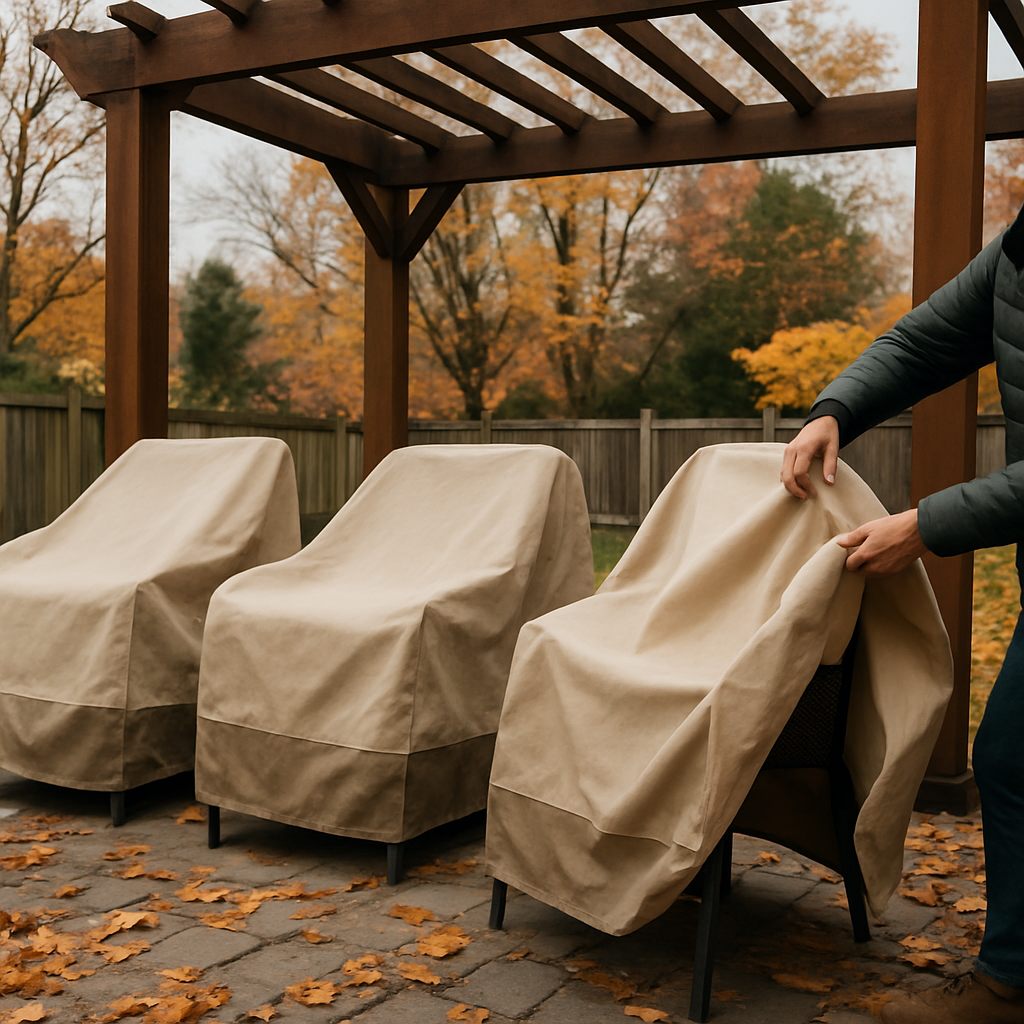
Cushions and throw pillows are magnets for winter moisture. Even treated outdoor fabric holds water, and freeze-thaw cycles degrade both fabric and foam underneath. I made the mistake of leaving cushions on my patio chairs under a basic tarp my first winter. Come spring, they were mildewy, split in several places, and smelled like a damp basement.
Now I store everything indoors. If that’s not possible, here’s what actually works: remove all cushions and pillows by mid-October. Store them in a dry, unheated garage or shed—not in a basement where humidity lingers. Stack them with old pillowcases between layers to prevent moisture transfer. Ensure air can circulate around the stack so mildew doesn’t colonize.
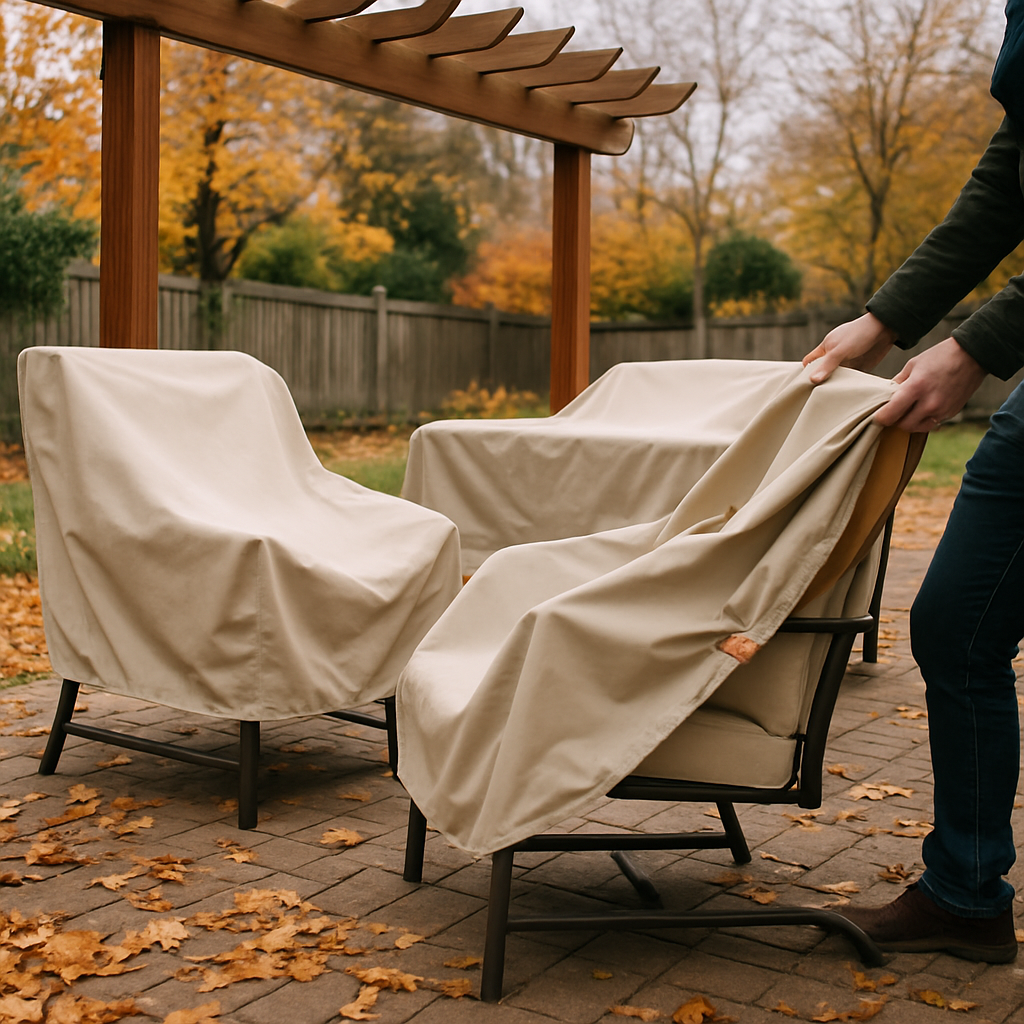
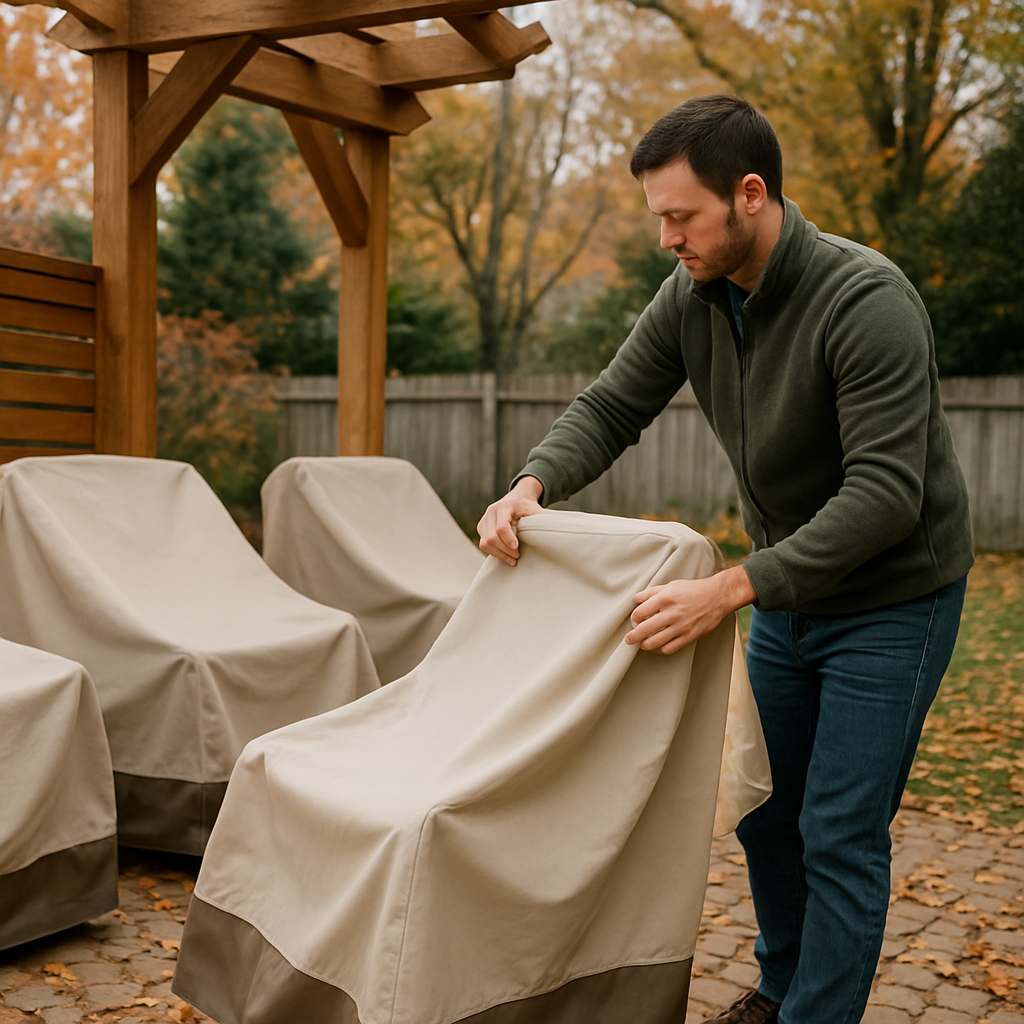
For permanently attached cushions on built-in benches, you have limited options. Either remove and store them, or invest in a waterproof storage box designed specifically for cushions. These run $100–$300, but they last years. If you’re keeping cushions outside, skip the tarp entirely. Tarps trap moisture underneath. Instead, use a breathable cover designed for furniture. It costs more upfront but prevents the rot and mildew issues that tarps encourage.
Drain, Flush, and Winterize Water Features
Any outdoor structure with water—fountains, planters with drainage, birdbaths, or outdoor shower systems—needs attention before the freeze. Water expands when it freezes. If your water feature has any enclosed plumbing or cavities that hold water, ice will crack it.
For standing water features like fountains, drain them completely and dry the interior thoroughly. Birdbaths are simple: empty and store indoors, or turn them upside down if they’re decorative only. If you have an outdoor shower or any plumbing runs on your deck or pergola area, shut off the water supply valve and drain the lines. I learned this the hard way when a frozen line on my deck’s outdoor spigot cracked and cost $200 to replace.
Specifically, locate your main outdoor water shut-off valve in September, not in November. Test it to confirm it works. If you’re unsure where it is, call a plumber—it’s worth a quick consultation fee. Once you know the location, turn it off in early October, open any spigots to release pressure, and leave them open through winter.
Address Metal Components and Fasteners
Metal bolts, screws, hinges, and brackets rust when exposed to winter moisture. You won’t notice the problem until spring when rust streaks appear or fasteners seize up. Prevention is cheap; replacement is annoying and costly.
Walk your entire outdoor structure and identify all exposed metal. For bolts and screws, you have options. You can replace them with stainless steel versions, which resist rust but cost 2–3 times more than standard fasteners. Alternatively, apply a thin coat of marine-grade grease or a rust-preventative spray to existing fasteners. I do both: where fasteners are visible and I care about appearance, I use stainless steel. Where they’re hidden, I apply a rust-preventative coat annually in fall.
Hinges on gates, pergola roof panels, or shade structures deserve special attention. Work the hinge through its full range of motion a few times to work in any rust-preventative product. If a hinge is stiff or squeaking by October, address it now rather than dealing with a frozen gate in January.
Plan for Snow and Ice Load
This is structural thinking, and it’s important. Heavy snow loads can damage pergolas, shade structures, and even decks. If you live in a region with significant winter snow, clear accumulated snow from overhead structures periodically rather than letting it pile up indefinitely.
For pergolas and shade structures, a soft-bristle broom and a gentle touch work well. For roofed structures or those with panels, a roof rake can remove snow without damaging the surface. Don’t leave more than a few inches on any outdoor structure. It’s not just about preventing cracks—ice dams on pergolas can pull fascia boards or cause posts to shift.
Clear your deck of snow and ice when accumulation exceeds 3–4 inches. Salt and chemical de-icers can damage wood and stain stone, so use them sparingly and rinse thoroughly in spring. Sand or kitty litter offer better traction without the chemical damage. That said, if you live somewhere that gets heavy, repeated freeze-thaw cycles, accept that you’ll need to be proactive through winter—it’s not a set-it-and-forget-it season.
Your Winterization Timeline
Here’s the checklist I actually follow each year. It spreads the work so it doesn’t feel overwhelming. In late August or early September, I inventory what needs attention and order any materials. Mid-September through early October, I clean and inspect everything. By late October, all sealing, staining, and protective coatings are applied and cured. Before the first hard freeze in November, I drain water features, store cushions, and verify metal components are protected.
This timeline matters. Rushing your sealing work in late October and expecting it to cure properly before the first freeze is a recipe for failure. Build in cushion time. Weather delays happen. If November arrives and you haven’t finished, your primary goal shifts to protecting what matters most—usually the structural wood and any water systems—and catching secondary items in early spring.
What This Checklist Actually Costs
You’re not spending thousands here if you’re proactive. My annual winterization runs roughly $150–$250 depending on what needs refreshing. That includes sealer, bristle brushes, grease, and maybe replacement fasteners. Compare that to replacing a set of cushions ($400+), fixing cracked sealant and wood damage ($300–$500), or repairing frozen plumbing ($200+). The math is obvious.
Your upfront costs will be higher in year one if you’re starting from scratch—sealing an entire pergola and deck for the first time takes more material and labor than annual touch-ups. But after that, you’re maintaining, not rebuilding. And maintaining is always cheaper than repairing.
The Bottom Line: Winterizing Outdoor Structures Saves Time and Money
Winterizing outdoor structures comes down to a simple principle: water and wood don’t mix in winter, and ignoring this costs you. I spent my first year learning this the hard way. I spent my second year implementing a checklist and saw dramatic improvements in how my outdoor spaces weathered the season. By year three, the routine was automatic, and I wasn’t stress-testing my budget every spring with emergency repairs.
The work is not glamorous. Pressure washing, applying sealer in cold weather, and draining plumbing lines aren’t anyone’s idea of fun. But they take maybe 20–30 hours spread across two months. That’s a reasonable investment to protect spaces you’ve already invested thousands in building and furnishing.
Start your winterization in September. Clean everything. Seal the wood. Store the cushions. Drain the water. Address the metal. By the time the first hard freeze arrives, you’ll be confident your outdoor structures are ready. And come spring, when your neighbors are replacing cracked boards and soggy cushions, you’ll be relaxing on your patio—not scrambling for repair contractors.
—About This Article

Written by Marcus Delvecchio. Marcus Delvecchio isn't a licensed contractor — he's a handyman and DIY outdoor landscaper who got obsessed with driveways, patios and pavers after redoing his own place badly enough to want to understand why. Twenty years later he spends his weekends on his own projects and on side jobs for neighbours and friends around the mid-Atlantic, and writes up what actually worked, mistakes included. More about this site.
Scope and limits. Marcus is a homeowner who got obsessive about driveways, not a licensed contractor. Structural repair, drainage changes, and anything requiring a permit should go to a licensed contractor.
Verify this against a primary source
Specifics change, and your situation may differ from the one described here. These are the authorities worth checking directly:
- Concrete Masonry & Hardscapes Association — segmental paver installation standards
- National Asphalt Pavement Association — asphalt placement and maintenance guidance
- Portland Cement Association — concrete durability and jointing