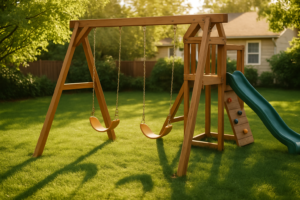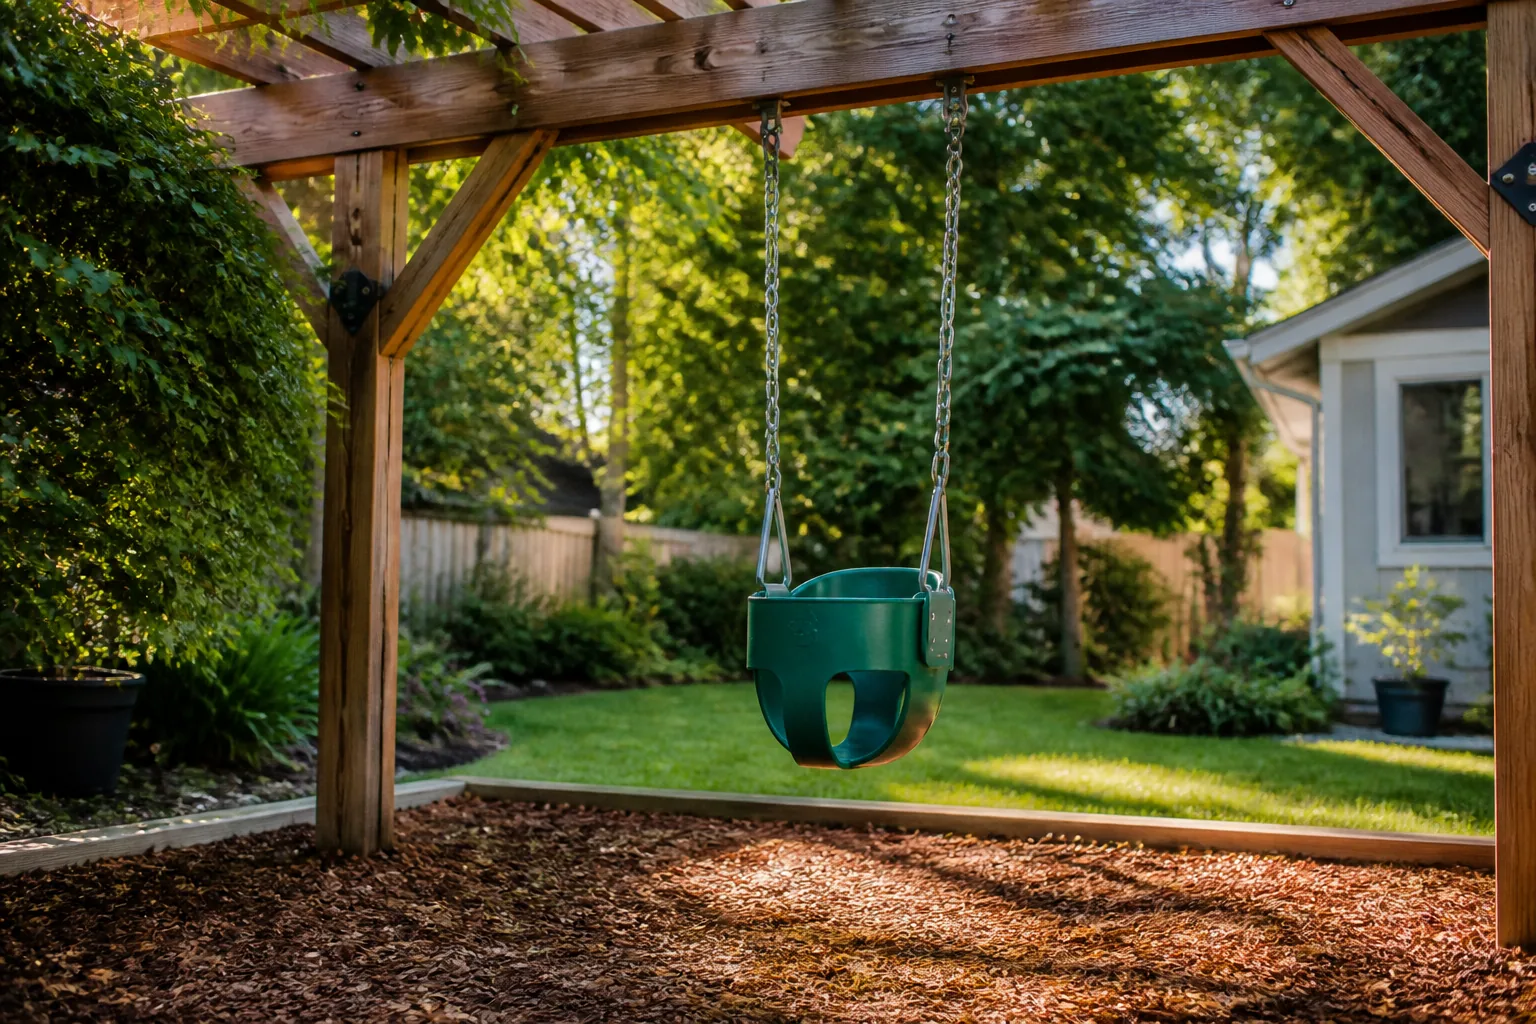
When my daughter turned two, I realized our backyard had plenty of space but not much to do in it. We had a pergola that the friends helping me and I built over the patio a few years back—a solid 4×6 beam structure that was doing nothing but holding up some climbing vines. My wife asked if we could hang a swing from it instead of buying a separate swing set. I thought, “Why not?” Then I realized that most online tutorials treat swing installation like a one-size-fits-all project. They’re not.
Hanging a Little Tikes swing from a pergola frame is completely doable and honestly one of the smartest space-saving moves I’ve made as a parent. However, it’s nothing like hanging an adult porch swing or daybed. The hardware is different. The load is different. Most importantly, the safety checklist is different.
In this post, I’m sharing exactly how to connect a Little Tikes swing to a pergola frame safely. I’ll walk you through beam assessment, the right hardware choices, and a step-by-step installation process. This is the approach I wish I’d found before diving into my own installation.
Can a Pergola Handle a Toddler Swing?
Most pergolas can handle a toddler swing without issue. Standard pergola beams run 4×4 to 4×6 in dimension. A well-built pergola with 4×6 or larger beams spaced 8 to 12 feet apart can easily support the static and dynamic load of a toddler swing rated for 50 to 90 pounds.
But here’s where people get stuck: just because a pergola can handle the weight doesn’t mean every spot on the beam is equally safe. I learned this from twenty years of structural work. Two critical factors matter most.
First, assess the beam itself. Check the wood species and overall condition. Cedar, pressure-treated pine, and composite beams all handle outdoor swings fine—as long as there’s no rot, deep splits, or a history of loose fasteners. I run my hand along the underside of a beam and look for soft spots or splintering. If the wood feels spongy or leaves dark stains on your hand, it’s compromised and not safe for a swing.
Next, measure the span between posts. A 4×6 beam can safely support a toddler swing across a 10-foot span. At 12 feet or longer, I recommend hanging the swing closer to one post—within 3 to 4 feet of the nearest support—rather than dead center. This significantly reduces deflection and keeps the dynamic load in the safest zone.
Second, look at how the beam connects to the posts. Is it bolted? Mortise-and-tenon? Just lag-screwed? If the connections are loose or corroded, that’s a red flag. You don’t need structural-grade repairs—but you do need to know your beam is solid before adding a swing to it.
The Hardware You Actually Need
This is where most DIY parents make their first mistake. They grab a pack of screw-in eye bolts from the hardware store and call it done. That approach works fine for hanging a planter or a bird feeder. A swing is different.
Toddler swings create dynamic loads—meaning the weight shifts and bounces as your child moves. A simple screw eye can pull through soft wood or strip out under repeated tension. In my experience, you need three specific hardware pieces.
1. Heavy-Duty Swing Hangers with Swivel Eyes
Buy swing hangers rated for at least 250 to 300 pounds—well above your swing’s weight limit. Swivel-eye hangers are critical. As your toddler twists and spins, a fixed hanger forces the chain to torque against the attachment point. Swivel eyes allow 360-degree rotation, distributing stress evenly and preventing premature wear on the chain and hardware.
I use galvanized steel swing hangers rated for outdoor use. Stainless steel is slightly better for salt-air climates, but galvanized holds up well in most residential settings and costs less.
2. Lag Bolts, Not Wood Screws
Your swing hangers need to be fastened with lag bolts, not self-tapping screws. A 3/8-inch diameter, 4-inch-long lag bolt is standard for a 4×4 or 4×6 beam. The key is pre-drilling a pilot hole that’s slightly smaller than the bolt’s core diameter—about 5/16 inch for a 3/8-inch lag.
Why pre-drill? It prevents the bolt from splitting the wood as it threads in. Specifically, it lets you turn the bolt slowly and feel for resistance, ensuring it sits snugly without over-tightening and cracking the beam.
3. Quality Chains or Ropes with Secure Attachment
Most toddler swings ship with plastic-coated chain and basic S-hooks. That said, inspect the S-hooks closely. If they’re loose or don’t crimp shut, toss them. Use carabiners or professional-grade S-hooks that you manually crimp with pliers to close completely. This prevents accidental disconnection during play.
Step-by-Step: Attaching the Little Tikes Swing
Now let’s get into the actual installation. I’ll break this into manageable steps based on what I’ve done on my own pergola and what I recommend to parents.
Step 1: Measure and Mark
First, measure the distance from the ground to the underside of your pergola beam. For a toddler, aim for the swing seat to sit 12 to 16 inches above the ground when the chain is fully extended. This gives your child room to swing without hitting their toes on the ground.
Next, check your swing’s chain attachment points. Most Little Tikes swings have chain spread of 18 to 24 inches—meaning the two attachment points are that far apart. Mark those two spots on the beam with a pencil. Measure twice. I know that sounds obvious, but offset chains cause the seat to tilt, which is both uncomfortable and unsafe.
Step 2: Pre-Drill Pilot Holes
Using a 5/16-inch drill bit (for a 3/8-inch lag bolt), drill pilot holes at each marked spot. Drill straight into the beam—any angle off-vertical weakens the bolt’s hold. Drill deep enough so the bit penetrates at least 3 inches into solid wood.
Step 3: Install Swing Hangers
Position your swing hanger over the pilot hole. Using a wrench or socket (usually 9/16-inch for standard lag bolts), thread the bolt slowly into the pilot hole. Turn it hand-tight first. Then, using the wrench, make another quarter to half-turn to snug it. Don’t over-tighten—that’s where people crack beams or strip the bolt threads.
Repeat for the second hanger at your marked spot. Both hangers should sit flush against the beam with the swivel eye pointing down and slightly forward (toward where your child will swing).
Step 4: Attach the Swing Chains
Most toddler swings come with S-hooks already attached to the chain. If the hooks look like they could pop open under tension, crimp them shut with pliers. For extra security, I replace basic S-hooks with locking carabiners. This eliminates any chance of accidental disconnection.
Hook the chain to the swivel eye on each hanger. Make sure both sides are at equal tension. Uneven chain tension causes the seat to hang crooked and puts uneven stress on the hangers.
Step 5: Set Seat Height and Test
Lower the swing seat to see how high it sits. Adjust chain length if needed by moving the hook attachment point up or down on the chain. Once the seat bottom is 12 to 16 inches from the ground, tie off or crimp any excess chain to prevent it from tangling.
Before letting your child swing, test the setup yourself (if you’re within the weight limit) or have an adult sit in it briefly. Listen for creaks. Check that the hangers don’t shift. Make sure nothing feels loose. If anything seems off, stop and re-tighten the lag bolts.
Clearance and Safety Checklist
Hardware is only half the battle. Proper clearance and fall surface are just as critical to safe toddler swinging.
- Clear zone in front and behind: Ensure at least 6 feet of open space in the direction your child will swing. That includes the back swing too. No trees, posts, or structures in the path.
- Soft fall surface: Never hang a swing over bare pavers, concrete, or hard-packed dirt. Use engineered wood mulch, rubber mulch, or sand. Lay a 4 to 6-inch-deep layer under and around the swing—extending at least 6 feet in all directions from the seat base.
- Seasonal inspections: Every spring, check the hangers, bolts, and chain for rust, corrosion, or loose fasteners. Retighten lag bolts if they’ve loosened over winter. Replace any frayed or corroded chain.
- Weight limits: Respect the swing manufacturer’s weight rating. Most Little Tikes swings are rated for 50 to 90 pounds. Exceeding that voids the warranty and puts unsafe stress on the hardware.
- Supervision: A swing hung on a pergola is still a swing. Young toddlers need constant, attentive supervision. Never assume the hardware alone keeps your child safe.
What I Used
For my own installation, I chose the DECORLIFE Toddler Swing, Baby Swing Outdoor with a 330lb capacity. At $39.99, it’s affordable, and the plastic-coated chains resist rust without the bulk of metal chains. The swivel hangers are solid, and the quick-snap carabiners give me confidence that the seat won’t detach during play.
I paired it with galvanized 3/8-inch, 4-inch lag bolts from my local hardware supplier and standard swivel-eye swing hangers rated for 250 pounds. Total cost for all hardware was under $60. The installation took about 45 minutes once I had the hangers positioned correctly.
If you prefer a budget alternative, the High Back Full Bucket Toddler Swing with yellow-coated chains works well too. The bucket design is slightly more supportive for very young toddlers, though price and assembly time are similar.
Final Thoughts
Connecting a Little Tikes swing to a pergola frame is a smart, efficient way to maximize your outdoor space. It works beautifully when you match the hardware to the load and take time to assess your beam before installation. On the other hand, cutting corners on bolts, hangers, or fall surface defeats the whole purpose. Your child’s safety depends on the details.
If your pergola is structurally sound, your hardware is rated appropriately, and your clearance is clear, you’re looking at a swing that will last for years and bring genuine joy to your backyard. That’s been my experience, and I hope it becomes yours too.
—About This Article

Written by Marcus Delvecchio. Marcus Delvecchio isn't a licensed contractor — he's a handyman and DIY outdoor landscaper who got obsessed with driveways, patios and pavers after redoing his own place badly enough to want to understand why. Twenty years later he spends his weekends on his own projects and on side jobs for neighbours and friends around the mid-Atlantic, and writes up what actually worked, mistakes included. More about this site.
Scope and limits. Marcus is a homeowner who got obsessive about driveways, not a licensed contractor. Structural repair, drainage changes, and anything requiring a permit should go to a licensed contractor.
Verify this against a primary source
Specifics change, and your situation may differ from the one described here. These are the authorities worth checking directly:
- Concrete Masonry & Hardscapes Association — segmental paver installation standards
- National Asphalt Pavement Association — asphalt placement and maintenance guidance
- Portland Cement Association — concrete durability and jointing