When a client calls me about an outdoor project that’s gone sideways, my first question is always the same: “Did you pull a permit?” The silence on the other end of the line tells me everything I need to know about how the next few weeks are going to go. I’ve been managing outdoor living builds — patios, decks, retaining walls, outdoor kitchens, pergolas — for long enough that I can usually diagnose the mistake before they finish describing it, and with pergola kit installations specifically, the problems are almost always the same ones, made in the same order, by people who were given just enough confidence by the packaging to skip the steps that actually matter. What I’m sharing here isn’t the manufacturer’s version of how this goes — it’s the version I’ve watched play out on job sites and in frantic weekend phone calls, distilled into the advice I’d give a homeowner before they touch a single bolt.
This post contains affiliate links. As an Amazon Associate I earn from qualifying purchases at no extra cost to you.
Why I Chose a Kit Over Building from Scratch
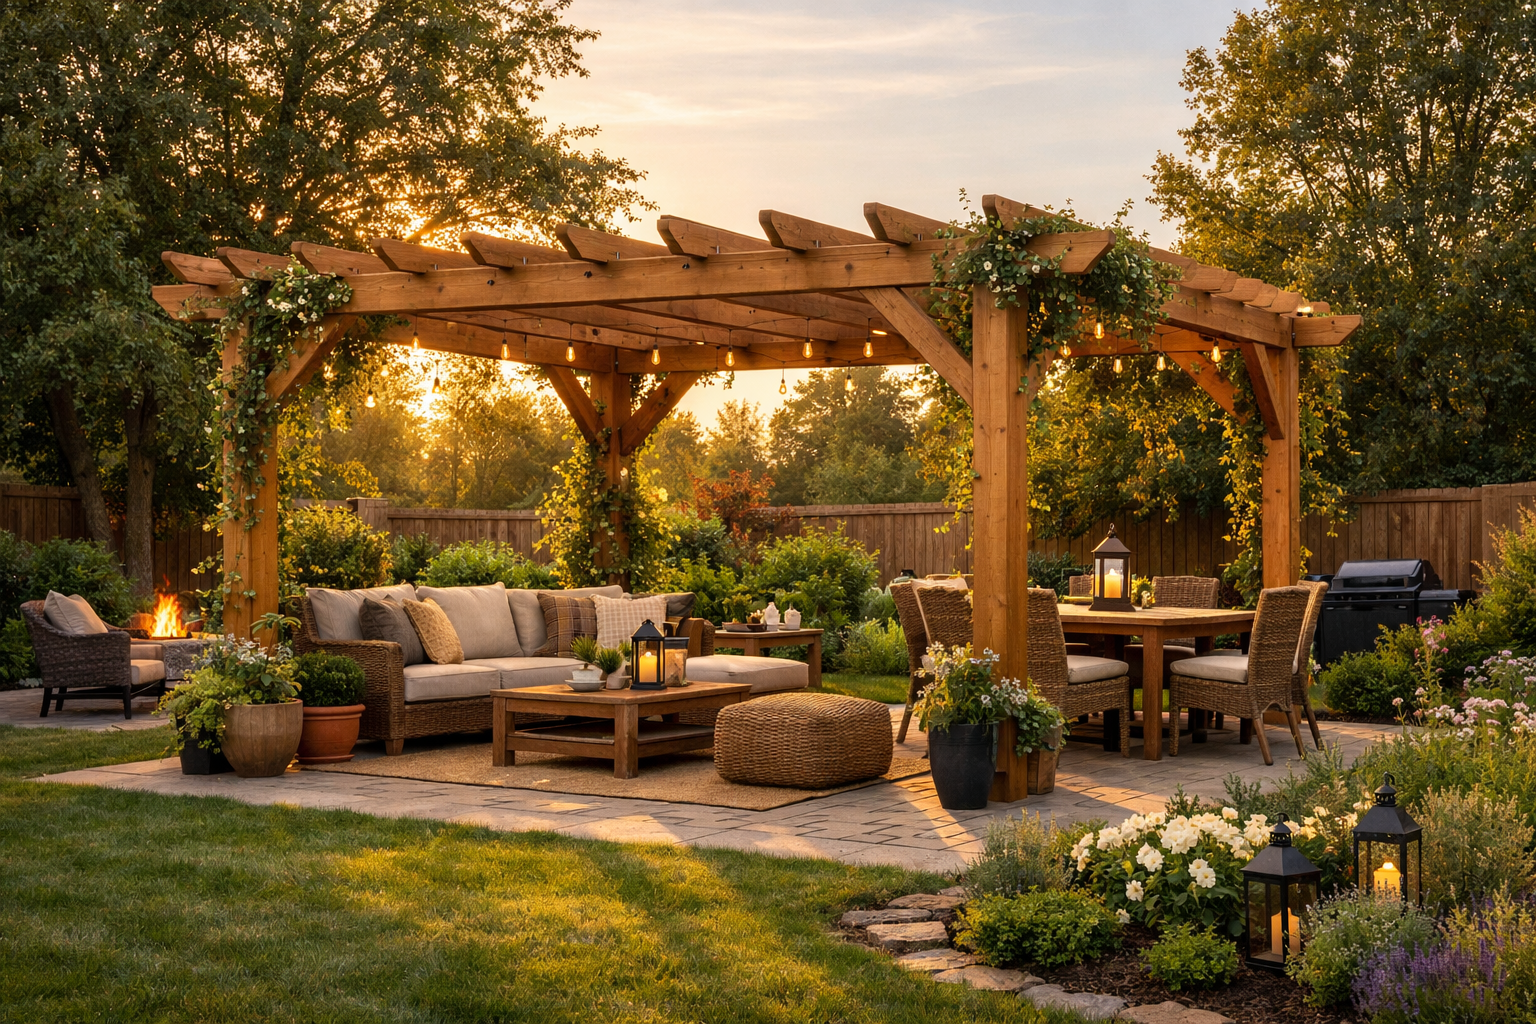
Let me back up. My backyard patio had been a sad, sun-blasted rectangle for two years. Every summer I’d squint out there, think “I should do something about that,” and then retreat inside to the air conditioning. I finally committed to a pergola last spring, and the first big decision was whether to build from raw lumber or buy a pre-engineered kit.
I have moderate DIY confidence. I’ve built raised garden beds, laid a flagstone pathway, and installed a basic fence panel or two. But I am not a carpenter, and the idea of calculating spans, choosing the right joinery, and sourcing finished cedar posts sent me straight to the kit route. After a lot of research, I landed on the BlueWish 10′ x 12′ Patio Pergola. It’s a cedar wood kit with a slatted trellis roof, solid pre-cut structure, and enough good reviews to give me confidence. The price was fair for the quality, and the dimensions fit my patio almost perfectly.
If you’re working with a slightly larger footprint or want something with more coverage, I’d also point you toward the MUPATER 12×24 FT Wooden Pergola, which is a serious all-cedar structure with snow and wind ratings and stakes included — genuinely impressive for the price. And for families who want a ready-made, slightly more traditional look, the Backyard Discovery Beaumont 12′ x 10′ Cedar Pergola Kit has a PowerPort feature built in and a high-wind rating that gives you real peace of mind in stormy climates.
The Actual Installation: What the Instructions Didn’t Tell Me
Here’s where I stop being polite and start being useful. I finished the pergola in one day — that part is true. But it was nine hours of work, two trips to the hardware store, one minor injury involving a rafter and my shin, and a moment around 4 p.m. where I sat on the patio and questioned every decision I’d ever made. Here is everything the instruction sheet glossed over.
Have Two People. No, Really.
The instructions say “two people recommended.” Let me translate that: one person is not possible once you get to raising the beam assembly. I tried. I used clamps, I used my truck, I used my neighbor’s fence as a temporary brace. Eventually I called my brother-in-law and waited forty minutes for him to arrive. Save yourself that time and just schedule a helper from the start.
Your Ground Probably Isn’t Level — Check It First
This one cost me the most time. My patio looks level. It is not level — it has a slight drainage slope, as most do. When I set the four post bases and started plumbing the posts, two corners were sitting a quarter inch high. I had to shim two post bases, which meant disassembling and starting a section over. Spend fifteen minutes with a long spirit level and a tape measure before you touch a single bolt. It is the best fifteen minutes you will spend all day.
The Hardware Bag Is Optimistic
My kit came with exactly the number of bolts and washers needed — not one extra. I dropped one washer into a gap in my patio pavers and lost it forever. That was my first hardware store trip. Pre-sort and count all hardware into labeled cups or a muffin tin before you begin. This sounds fussy. It is also the advice of someone who made two unnecessary trips to Ace Hardware on what should have been a relaxing Saturday.

Tools You’ll Actually Need (Beyond the List)
Every kit gives you a tool list. Mine was technically accurate and practically incomplete. Here is the real list based on my experience:
- Power drill with multiple charged batteries — you will use it far more than expected
- Socket wrench set, metric and standard (the kit used both on mine)
- 4-foot spirit level and a 2-foot level
- Rubber mallet — essential for fitting mortise joints without splitting wood
- Bar clamps, at least two — for holding beams in position while you drive bolts
- Step ladder and a 6-foot ladder — you will need both heights
- Safety glasses — wood chips are real
- Extra hardware — washers, bolts in the same size, picked up preemptively
A cordless impact driver makes tightening lag bolts dramatically faster. If you don’t own one, now is a good time to acquire one. It will not be the last project you use it on.
What I Would Do Differently
Looking back with the clarity that only comes after you’ve finished something difficult and had a cold drink, here are the things I genuinely wish I’d done differently.
Pre-stain the Wood Before Assembly
Cedar is beautiful raw, but it weathers quickly without protection. I stained mine after assembly, which meant working around every joint and losing coverage in all the tight spots where pieces overlap. Pre-staining each component before you bolt it together takes maybe two extra hours but gives you much more even, lasting protection. I’ll do this every time going forward.
Plan the Anchoring Method Before Delivery Day
How you attach post bases to your surface matters enormously and varies depending on whether you have concrete, pavers, decking, or soil. I had concrete and needed masonry anchors, which I had not purchased in advance. Know your surface, buy the right anchors ahead of time, and if you’re going into soil, the MUPATER kit I mentioned earlier actually includes stakes — a thoughtful detail that saves a separate purchase.
Consider Whether You Actually Want a Pergola or Something More Covered
This might sound strange after a full pergola installation, but about a month into using mine, I found myself wishing for more overhead protection on really blazing days. If you’re in a hot climate and want genuine shade rather than filtered light, a hardtop gazebo might serve you better. The Aoxun 10×12 Hardtop Gazebo has a double galvanized steel roof, netting, and privacy curtains — it’s a very different vibe from a pergola, but worth knowing about before you commit. If you grill outdoors a lot, something like the DSNAPE 8′ x 6′ Grill Gazebo or the compact EBE 5’x8′ Hardtop Grill Gazebo might be exactly what your backyard actually needs instead.
Add Climbing Plants and Arches to Complete the Look
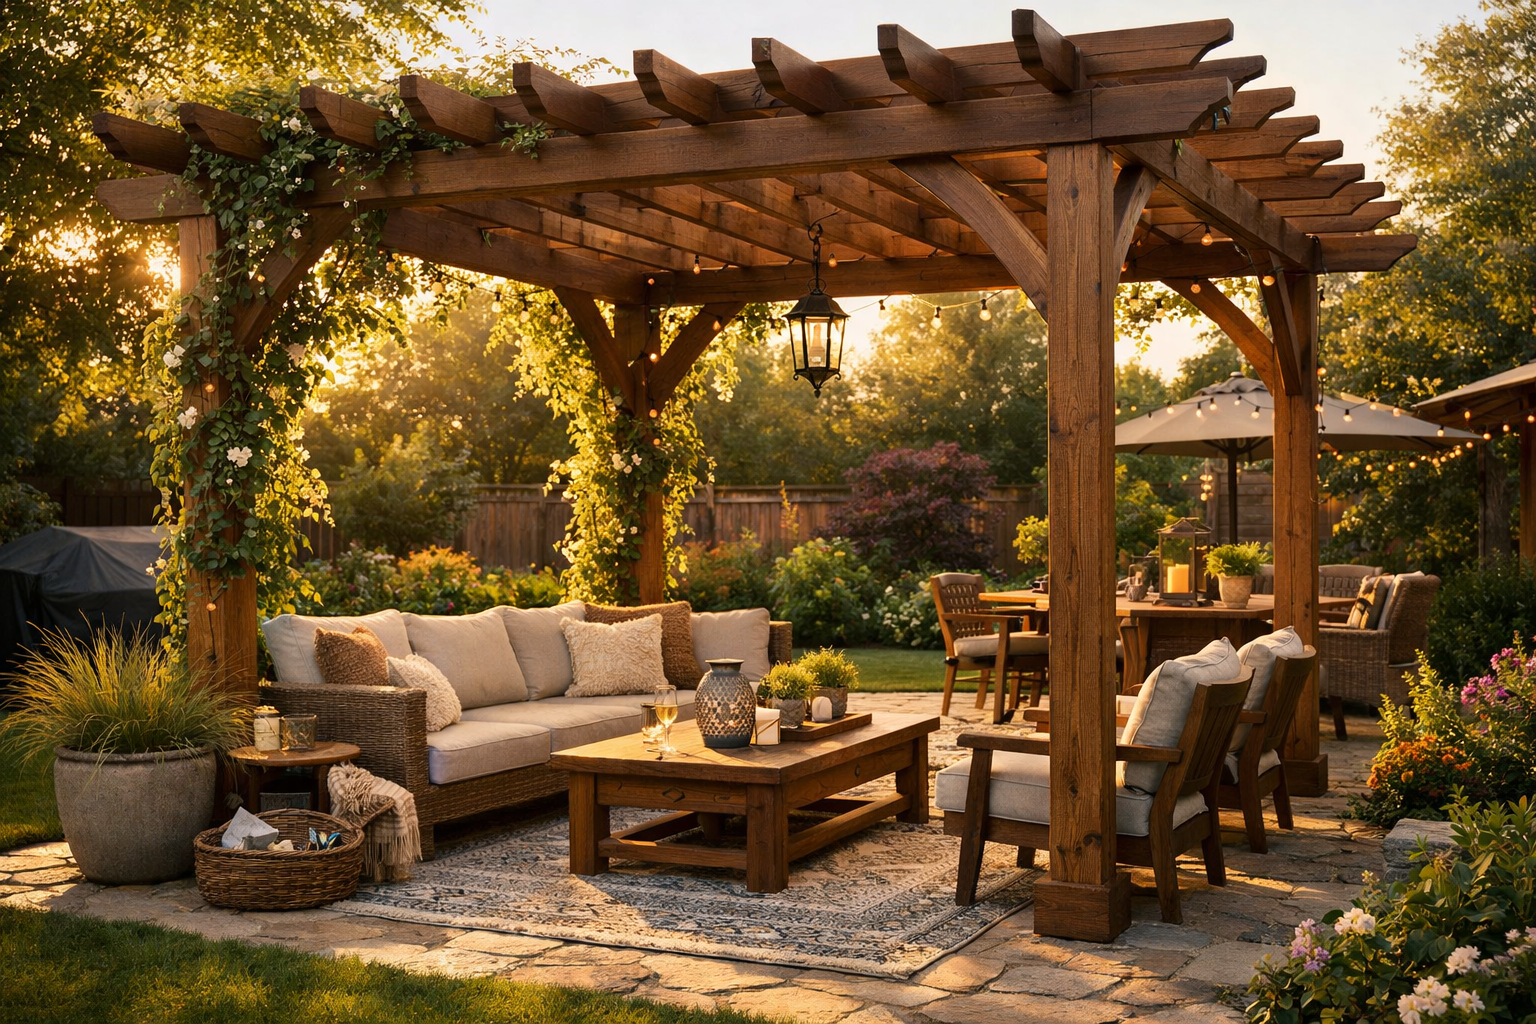
One thing the kit photos never show is how bare a new pergola looks for the first season. I’ve started training a climbing rose up one post, and I added a Metal Garden Arch at the entrance to the patio to define the space and give the plants something to grow through before they reach the pergola. The Fecita Thickened Rustproof Garden Arch is another strong option if you want something wider — it comes in two sizes and has excellent rust resistance for something that lives outside year-round. These arches transformed the entry to my outdoor space in a single afternoon and made the whole project feel finished in a way the pergola alone didn’t quite achieve.

My Honest Verdict and What I Recommend for You
Here’s the truth of this DIY pergola kit installation guide boiled down to one paragraph: a pergola kit is genuinely achievable for a motivated DIYer with moderate skills, a helper, and a full day cleared on the calendar. It is not the breezy weekend project the box implies. It’s satisfying, meaningful, and absolutely worth it — but go in clear-eyed.
For most 10×12 patio spaces, I’d confidently recommend the BlueWish 10′ x 12′ Cedar Pergola Kit as a solid starting point with good structural quality. If you need more coverage in a larger yard, step up to the MUPATER 12×24 FT Wooden Pergola. And if you want extra assurance on wind and weather resistance, the Backyard Discovery Beaumont Cedar Pergola Kit is a trusted name with real engineering behind it.
Whatever you choose — level your ground first, pre-stain your lumber, count your hardware, and call a friend. You’ll have a backyard space you’re genuinely proud of by sundown. Drop your questions in the comments below and I’ll do my best to help you avoid every mistake I made so you don’t have to make them yourself.