This post contains affiliate links. As an Amazon Associate, I earn from qualifying purchases.
The shift toward native planting has been the best thing to happen to residential landscaping in a generation — not because of trends, but because properties that work with their local ecosystem stop fighting their environment. Less irrigation, less replacement, less maintenance. I’ve redesigned dozens of yards to native palettes and the results consistently outperform traditional plantings by year three. But here’s what I tell every client after we’ve sorted the greenery: the planting only holds up as long as the hardscape underneath it does. Cracked concrete, unsealed pavers, rotting decking, wobbly pergola posts — these aren’t cosmetic problems, they’re structural ones that undo everything else, and in my experience, most homeowners can address them in a single focused weekend if they know exactly what they’re doing and why.
My in-laws were visiting for my wife’s birthday. We’d planned a beautiful outdoor dinner. I’d bought the string lights, the tablecloth, even a little centerpiece. What I hadn’t planned for was my ancient, wobbly patio table collapsing — mid-meal — sending a full pitcher of sangria directly onto my mother-in-law’s cream blouse. The look on my wife’s face wasn’t anger. It was worse. It was exhaustion. She’d asked me to fix the backyard so many times. That moment cost me more than a dry-cleaning bill. It cost me my excuses.
The following Friday, I took the weekend off work, set a firm budget of under $1,500, and decided I was going to fix it. All of it. Here’s exactly how I pulled off a complete backyard overhaul in two days — and how you can do it too.
Start With a Plan, Not a Purchase
Before I spent a single dollar, I walked the space with a tape measure and my phone camera. I photographed every angle, measured the usable square footage, and sketched a rough layout on paper. This step alone saved me from a costly mistake — I originally planned to buy a massive seven-piece set that would have left zero room for walking around the furniture.
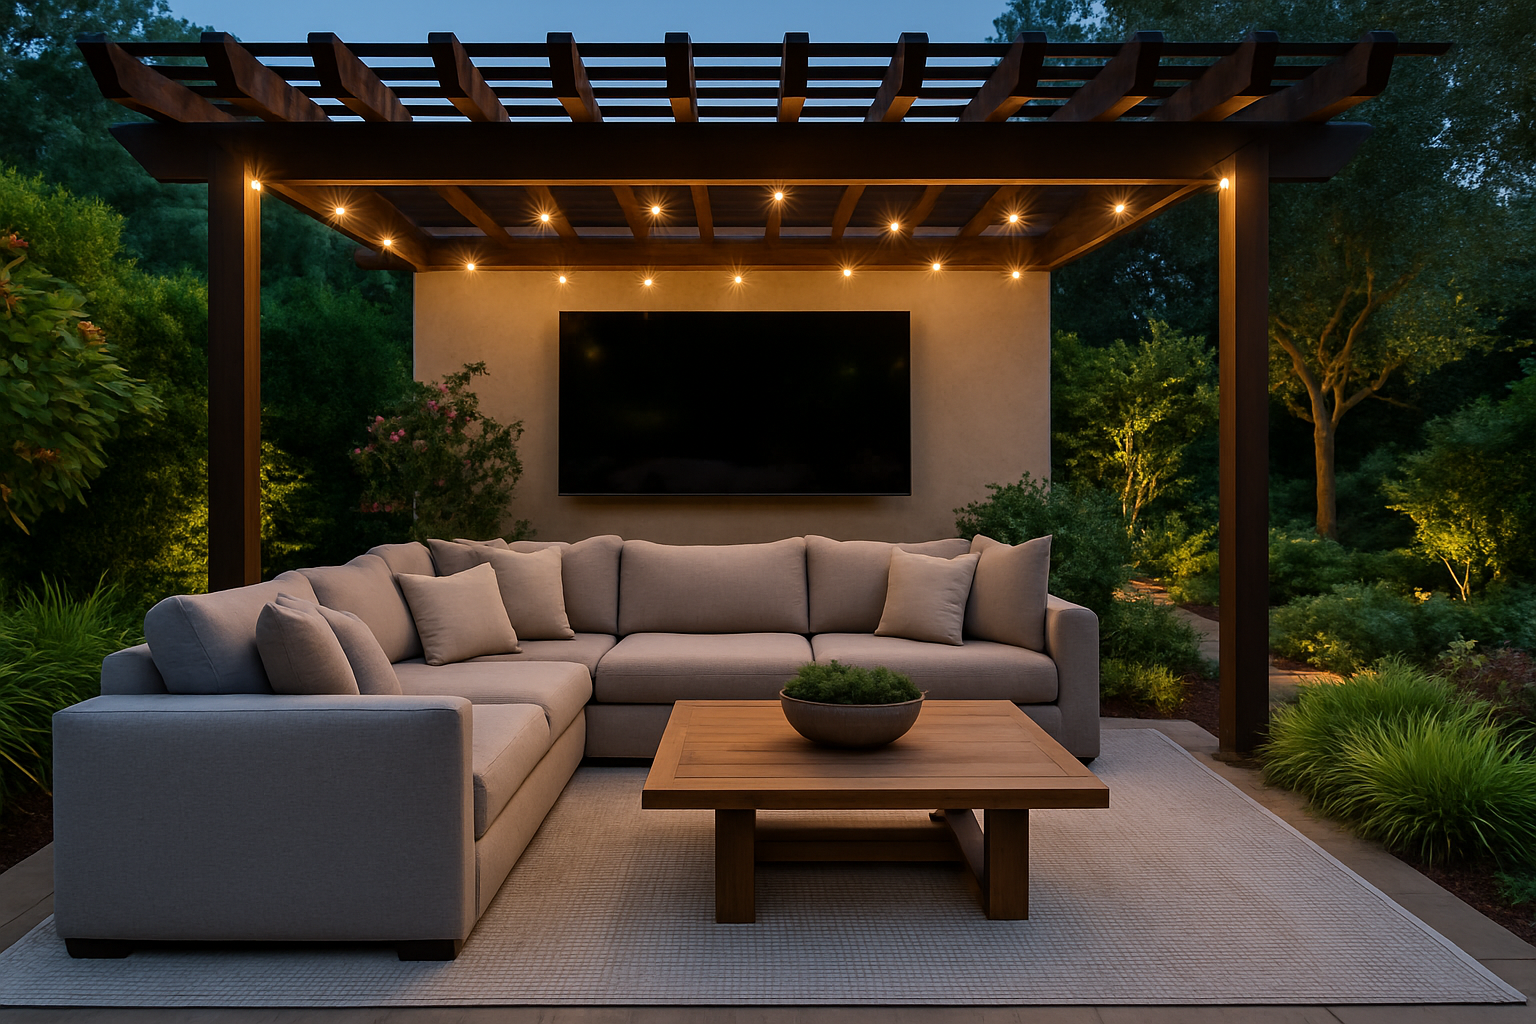
Think of your backyard the same way you’d think about a living room inside your house. You need a focal point (usually a sofa or sectional), a surface for drinks and snacks, defined “walls” created by greenery or fencing, and lighting that sets the mood after dark. Once you have those four elements, everything else is just finishing touches.
A few planning tips that made a real difference for me:
- Leave at least 3 feet of clearance around all furniture for easy movement
- Anchor your seating area with an outdoor rug before placing any furniture — it defines the space instantly
- Position your sofa or sectional to face your best view, whether that’s a garden, a fire pit, or just a pretty fence
- Consider afternoon sun direction — you don’t want your guests squinting through every conversation
- Plan your power source for lighting before placing furniture, not after
The Right Furniture Makes or Breaks the Space
This is where most people either overspend or underbuy. I’ve learned from experience that cheap patio furniture looks cheap after one season, but you also don’t need to spend a fortune to get something that holds up beautifully year after year. All-weather wicker and rattan sets have genuinely improved in quality over the past few years, and some of the best options I found were right on Amazon.
For smaller patios or balconies, I love the Devoko Outdoor Patio Furniture 3-Piece Rattan Sectional Sofa. The L-shaped design tucks neatly into a corner and comes with cushions and a glass-top table. The beige finish is neutral enough to work with almost any outdoor color palette, and the waterproof construction means you’re not scrambling to cover it every time clouds roll in.
If you have more space to fill and want a bold, cohesive look, the ZJEYEJZ 7-Piece Black Patio Furniture Set is a showstopper. The black wicker with grey cushions looks polished and modern, and seven pieces gives you room to seat a real crowd. This is the kind of setup that makes guests ask, “Wait, did you hire someone?”
My personal pick — and what I actually ended up buying — was the Wisteria Lane 5-Piece Outdoor Patio Furniture Set in Grey. Five pieces hit that sweet spot between intimate and spacious. The grey wicker is timeless, the cushions are genuinely comfortable, and it arrived well-packaged with clear assembly instructions. My wife helped me put it together Saturday morning over coffee, and that itself felt like a win.
Layer In the Details: Rugs, Lighting, and the Finishing Touches
Here’s the secret that interior designers use and most homeowners skip outdoors: layering. A bare concrete patio with furniture on it is just a parking lot for chairs. An outdoor rug, some ambient lighting, and a few plants turn it into a room.
Outdoor Rugs: More Important Than You Think
An outdoor rug defines the boundaries of your seating area like nothing else. It signals to the eye — and to your guests — “this is a place to relax.” For durability and style, I went with a waterproof plastic straw rug, which sounds less glamorous than it looks. These rugs are essentially indestructible. They don’t mold, they don’t fade, and you can hose them off after a muddy weekend.
I picked up the Anidaroel 8×10 Outdoor Rug in Blue, which added a pop of color under my grey furniture and immediately made the whole area feel intentional. If you prefer a more tropical or coastal vibe, the Waterproof 8×10 Tropical Outdoor Rug in Navy is equally durable and comes with a carry bag — perfect if you want to pack it away for winter storage or take it camping.
Lighting Changes Everything After Sunset
String lights strung between fence posts or overhead on a simple DIY cable system will do more for your backyard atmosphere than almost any other single investment. I spent about $40 on two strands of warm-white solar string lights and wrapped them along my fence perimeter. Combined with a couple of solar lanterns on the table, the backyard went from functional to genuinely magical at night.
Plants, Pillows, and the Lived-In Feel
I grabbed four large potted plants from a local nursery — two tall ornamental grasses for height and two trailing petunias for color — and placed them at the corners of the rug. A few extra throw pillows in coordinating