- Quikrete HardScapes Paver Base Sand (.5 cu ft) — Essential for a stable, level base layer under your bricks. I used multiple bags for a 40-foot pathway.
- SRW Pavermate Z3 Polymeric Sand (50 lb, Tan) — The best polymeric sand I’ve used. Locks joints tight and resists weeds like a champ.
- Old Brick Stone Concrete Mold Set BS 611 (Set of 4) — Great for testing your layout, filling in smaller path sections, or DIY garden accents with a realistic antique brick look.
- Rocky Mountain Clay Red Rock Red Terra Cotta (25 lb) — I used this for a small decorative border planter at the end of the pathway. If you’re into DIY clay edging or garden pottery accents, this low-fire terra cotta clay is gorgeous and easy to work with.
- Taoxekoro 40pcs Mini Red Brick Aquarium Decor Set —
This post contains affiliate links. As an Amazon Associate, I earn from qualifying purchases.
When I walk a deck or patio for an inspection, I’m looking at things most homeowners never think about: joist spacing, ledger attachment, post anchors, how the footings were set. The surface can look immaculate and the structure underneath can be six months from failure. That gap between appearances and reality is where most of my busiest seasons come from. Hardscape work — brick pathways included — has its own version of that same problem: a pathway can look perfectly laid and still be a drainage issue, a settlement problem, or an HOA violation waiting to happen. What I’m sharing in this post comes from years of doing this work professionally, which means I’ve seen where the shortcuts bite people and where doing it right the first time actually saves money.
Let me back up and tell you the whole story, because I think it’ll save you a serious headache if you’re planning a similar project.
How Everything Almost Fell Apart Before It Began
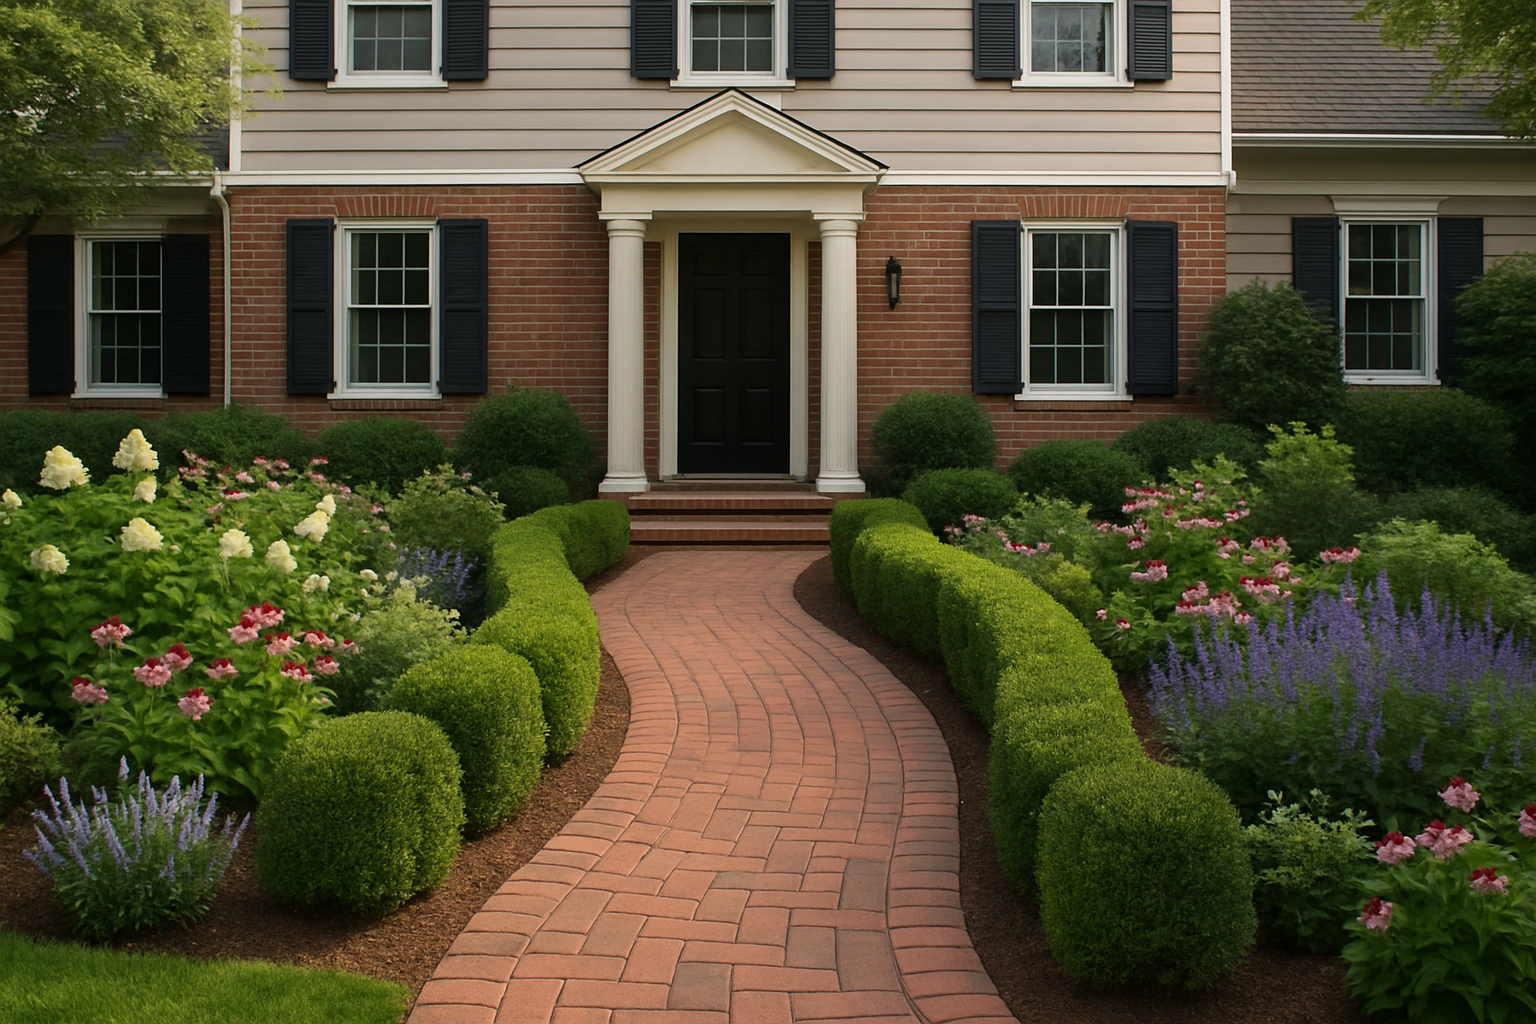
Last spring, I decided our front walkway needed a complete overhaul. The old straight concrete path from the driveway to the front door was cracked, stained, and honestly just boring. I’d been pinning curved brick pathways for years, and I finally felt ready to tackle it myself. I sketched a gentle S-curve, bought materials, and got to digging.
What I didn’t do — and please learn from this — was submit an exterior modification request to my HOA before starting. I assumed that because I was replacing an existing walkway in roughly the same footprint, it wouldn’t count as a new structure. I was wrong. Our HOA guidelines required prior written approval for any change in hardscape material, shape, or dimension. My curved brick pathway was all three of those things.
Linda was gracious about it, honestly. She told me I had two options: rip out what I’d started and restore the concrete, or submit a formal request with a detailed plan and material specifications. The catch? The board only met once a month, and the next meeting was three weeks away. I’d already paid for materials and rented equipment for the weekend.
I chose option two. I spent that evening putting together the most thorough modification request of my life — sketches, material samples, dimensions, even photos of comparable pathways in the neighborhood. I dropped it off the next morning with a polite note and some homemade banana bread (never underestimate baked goods in a neighbor dispute). Three weeks later, I got written approval with one small condition: I needed to maintain a minimum 36-inch clearance on either side of the curve. Easy fix.
The Step-by-Step Process for a Curved Brick Pathway That Lasts
Once I had the green light, I dove back in with a much clearer plan. Here’s exactly how I approached the build, from ground prep to the final joint sand.
Step 1: Mark Your Curve and Excavate
I used a garden hose to lay out the curve before committing to anything. Once I was happy with the shape, I marked it with spray paint and started excavating about 6 inches deep. For a stable pathway that won’t heave or shift, you need proper depth — don’t skip this part.
Step 2: Build a Solid Base
I started with a 4-inch layer of compacted gravel, then topped it with a solid layer of paver base sand to create a smooth, level surface. I used Quikrete HardScapes Paver Base Sand for this layer — it compacts beautifully and gives you a forgiving surface to fine-tune your brick alignment before everything sets.
Step 3: Lay the Bricks Along Your Curve
This is where curved pathways get tricky. Unlike straight paths, you’ll need to cut some bricks at angles to follow the curve without leaving big gaps. I rented a wet saw for the day — worth every penny. Before committing to real bricks on the full stretch, I actually did a trial run using Old Brick Stone Concrete Molds (BS 611 Set of 4) to test my pattern and spacing in a low-stakes way. These reusable molds are fantastic for mock-ups and smaller garden path sections — they create a realistic antique brick texture and helped me visualize the finished look before I was locked in.
Step 4: Set and Seal the Joints
Once all your bricks are laid and you’re happy with the layout, it’s time for polymeric sand. I can’t say enough good things about SRW Pavermate Z3 Polymeric Sand. You sweep it into the joints, mist it with water, and it hardens into a firm, weed-resistant bond. It keeps everything locked in place and dramatically reduces the chance of ants, weeds, or shifting over time. I used the tan color and it blended perfectly with my brick tone.
What I Used: My Recommended Products
Here’s a quick rundown of what I used on this project and what I’d confidently recommend to anyone tackling a similar build:
- Quikrete HardScapes Paver Base Sand (.5 cu ft) — Essential for a stable, level base layer under your bricks. I used multiple bags for a 40-foot pathway.
- SRW Pavermate Z3 Polymeric Sand (50 lb, Tan) — The best polymeric sand I’ve used. Locks joints tight and resists weeds like a champ.
- Old Brick Stone Concrete Mold Set BS 611 (Set of 4) — Great for testing your layout, filling in smaller path sections, or DIY garden accents with a realistic antique brick look.
- Rocky Mountain Clay Red Rock Red Terra Cotta (25 lb) — I used this for a small decorative border planter at the end of the pathway. If you’re into DIY clay edging or garden pottery accents, this low-fire terra cotta clay is gorgeous and easy to work with.
- Taoxekoro 40pcs Mini Red Brick Aquarium Decor Set —