In landscape design, we talk about the “bones” of a property — the structural elements that everything decorative builds on. I’ve walked hundreds of backyards for initial consultations, and the number one thing homeowners get wrong isn’t the plants or the furniture. It’s whatever’s underneath them. The problem is that most homeowners — myself included, at first — think the bar experience is about what goes on top of the surface, not the surface itself. I watched my first outdoor bar setup become a frustrating disaster when expensive bottles shifted, glassware tipped, and the whole thing felt unsafe after one drink service. A bar setup is a perfect example of this: I’ve seen clients spend real money on quality bottles, glassware, and outdoor refrigeration, then watch it all wobble on an uneven patio surface or deteriorate because the space underneath wasn’t properly sealed, leveled, or designed to support the weight and weather exposure of a functional entertainment zone. What follows is what I’d tell a client during a consultation — a practical, trade-informed approach to building an outdoor bar setup that actually holds up, keeps costs under $500, and doesn’t embarrass you in front of your guests on a Saturday afternoon.
The Great Card Table Collapse and What It Taught Me
Here’s the thing about that tequila bottle: it survived. Not a scratch. Meanwhile, my dignity did not fare as well. My neighbor Dave watched the whole thing from over the fence and slow-clapped. Slow. Clapped. I deserved it completely. But that embarrassing Saturday actually sent me down a rabbit hole of research that turned into one of the best backyard upgrades I’ve ever made — a fully functional outdoor bar setup for under $500, start to finish. No contractor, no custom build, no second mortgage. Just smart product choices, a little elbow grease, and the hard-won wisdom of a man who once lost a tequila bottle to a card table.
Planning Your Outdoor Bar Setup on a Budget
Before you buy a single thing, spend fifteen minutes thinking through how you actually entertain. Do you host big groups or small gatherings? Do you need refrigeration, or are you fine with a cooler? Will this live under a covered patio or out in the open elements? Answering those questions first saves you from buying the wrong gear and starting over. Trust me, the card table was not my first bad decision — it was just the most public one.
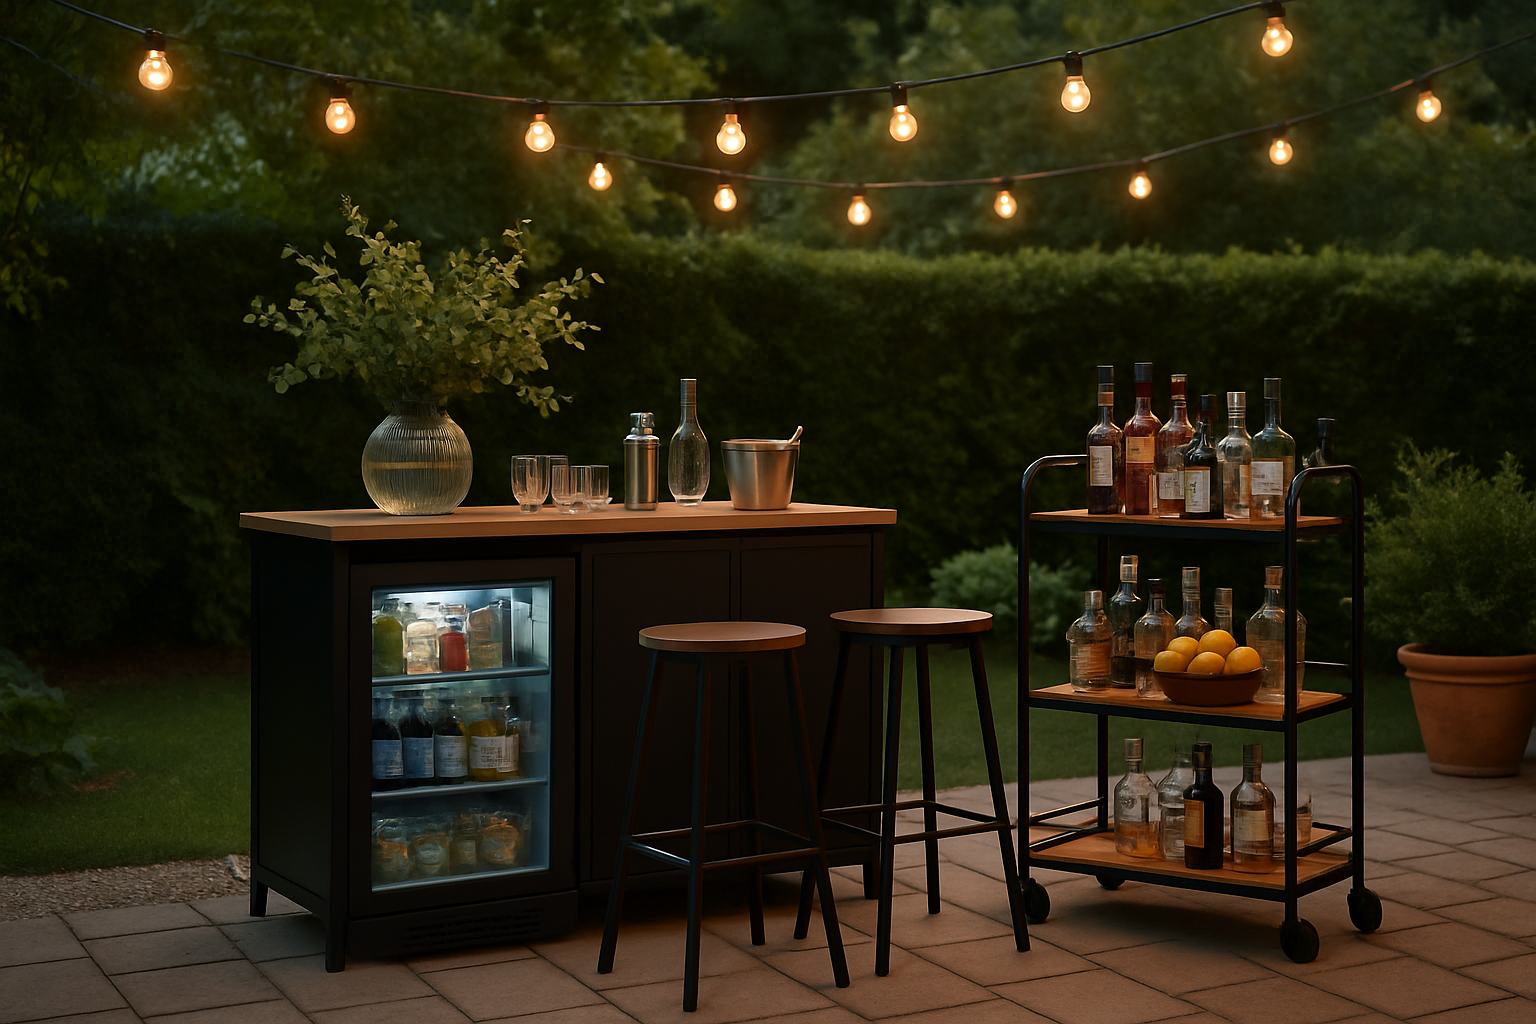
For most backyard bar setups, you need four core components: a sturdy prep and serving surface, enclosed storage for bottles and supplies, a cold storage solution for drinks, and some kind of organization system for glasses, tools, and garnishes. The good news is that you can absolutely nail all four of these for well under $500 if you shop smart and skip the custom-built stuff.
The Cart That Finally Kept Everything Level on an Uneven Patio
A quality bar setup falls apart on unstable ground — literally. I learned this the hard way when bottles started sliding off cheaper carts on my slightly sloped patio, and I realized that the cart itself needs to be the foundation, not just the furniture.
What works
- The stainless steel top actually stays level even on imperfect concrete — I’ve tested it on my own uneven driveway and nothing slides
- Three separate work surfaces mean you can organize bottles, glassware, and tools without crowding, so you’re not fumbling around during service
- The wheel base is wide enough that it doesn’t wobble when you’re actually working the bar — stability matters more than portability in a setup like this
What doesn’t
- The wheels lock, but they’re not heavy-duty — on a really rough or sloped patio, you’ll want to wedge it or keep it positioned permanently
- It’s narrower than it looks in photos, so if you’re planning to load both a cooler and full bottle collection, you’ll run out of real estate fast
I almost gave up on the cart idea entirely after my first rickety attempt, watching ice melt into spilled liquor on my patio — until I understood that the base had to come first. That’s when I grabbed the Nessxa Outdoor Grill Cart Bar Cart with Stainless Steel Top, and it changed how I thought about outdoor setup entirely.
Nessxa Outdoor Grill Cart Bar Cart with Stainless Steel Top
I stopped spilling cocktails when I switched to this—three organized surfaces, zero wobble.
Check Price on Amazon →This post contains affiliate links. As an Amazon Associate, I earn from qualifying purchases at no extra cost to you.