There’s one thing I tell every apprentice on their first day: everything is level or everything is a future problem. Doesn’t matter if it’s a paver base, a deck joist, a pergola post — if you don’t fix the pitch on day one, water finds a way to remind you every single spring that gravity is not negotiable. Fire pits are no different, and most of the DIY disasters I’ve been called in to fix — cracked rings, collapsed bases, stones that heaved apart after the first freeze — trace right back to the same mistake made in the first hour of the build. I’ve installed and repaired enough outdoor fire features to know exactly where homeowners go wrong, and more importantly, how to get it right the first time. So when I walk you through the steps in this post, you’re not getting Pinterest theory — you’re getting what I’d actually do with my own hands on a real job site.
Failure #1: The “I’ll Just Wing It” Phase
My first attempt was pure impulsive energy. I drove to the home improvement store, loaded up a cart with retaining wall blocks, and started stacking them in a circle in my backyard based entirely on vibes. No measurements, no leveling, no research into fire safety clearances. The result? A lopsided oval that wobbled if you looked at it wrong, with gaps big enough to let embers roll right out onto the grass. The first time we lit a fire, a burning log shifted and I nearly scorched a patch of lawn. We killed the fire immediately and I stood there feeling genuinely embarrassed — and a little scared.
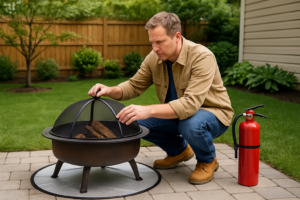
Lesson learned the hard way: always check your local fire codes before you start, maintain at least 10 feet of clearance from structures, fences, and overhanging branches, and never build directly on grass without a proper gravel or sand base layer beneath your pit.
Failure #2: The Mortar Disaster
Attempt number two, I decided to do things “properly” and mortar the blocks together. I watched about four hours of YouTube tutorials and felt confident. What I did not account for was that mortar and intense, repeated heat are not friends. Thermal expansion cracked three of my mortar joints after just two fires. The whole structure started separating. I had also — and this is the part that stung — purchased the wrong type of block. Standard retaining wall blocks are not rated for high heat. You need fire brick or refractory materials for the interior walls if you’re going the traditional masonry route. I had wasted about $180 in materials and two full weekends.
My husband, bless him, quietly suggested we “maybe look into a different approach.” That was the moment I started researching fire pit insert rings — and everything changed.
Failure #3: Skipping the Drainage Step
Before I found my footing with the insert approach, I made one more mistake: I didn’t address drainage. My yard has a slight slope and after a heavy rain, water was pooling right in the center of my pit area. Wet ash turns into a thick, stinky cement-like sludge. It also accelerates rust on metal components and makes relighting the pit miserable. The fix is simple but non-negotiable — excavate 6 to 8 inches deep, lay a 4-inch base of crushed gravel, and top it with coarse sand before setting your ring or blocks. That gravel layer gives water somewhere to go so your fire pit stays dry and functional between uses.
The Turning Point: Using a Quality Fire Pit Insert Ring
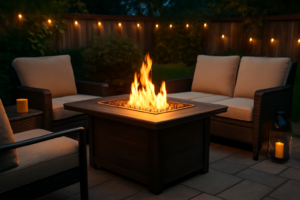
Once I understood what had been going wrong, I restructured my entire approach. The game-changer was committing to a steel fire pit insert ring as the structural and functional core of the build. An insert ring does the heavy lifting — it contains the fire safely, handles the heat, and gives you a clean, defined edge. You then build your decorative stone or block surround around the outside. No mortar stress, no cracked bricks, no guesswork about heat tolerance.
Here’s what I recommend based on my research and what ultimately worked for me:
The Insert That Saved Me From Three Rebuild Cycles
After my first two attempts failed because the pit settled unevenly and water pooled on one side, I realized the insert itself matters as much as the base. The right ring insert—one that’s heavy enough to stay put and level through freeze-thaw cycles—is the difference between a one-time build and annual repairs.
What works
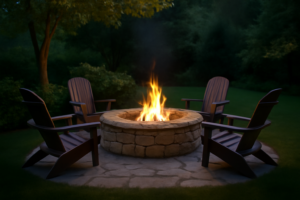
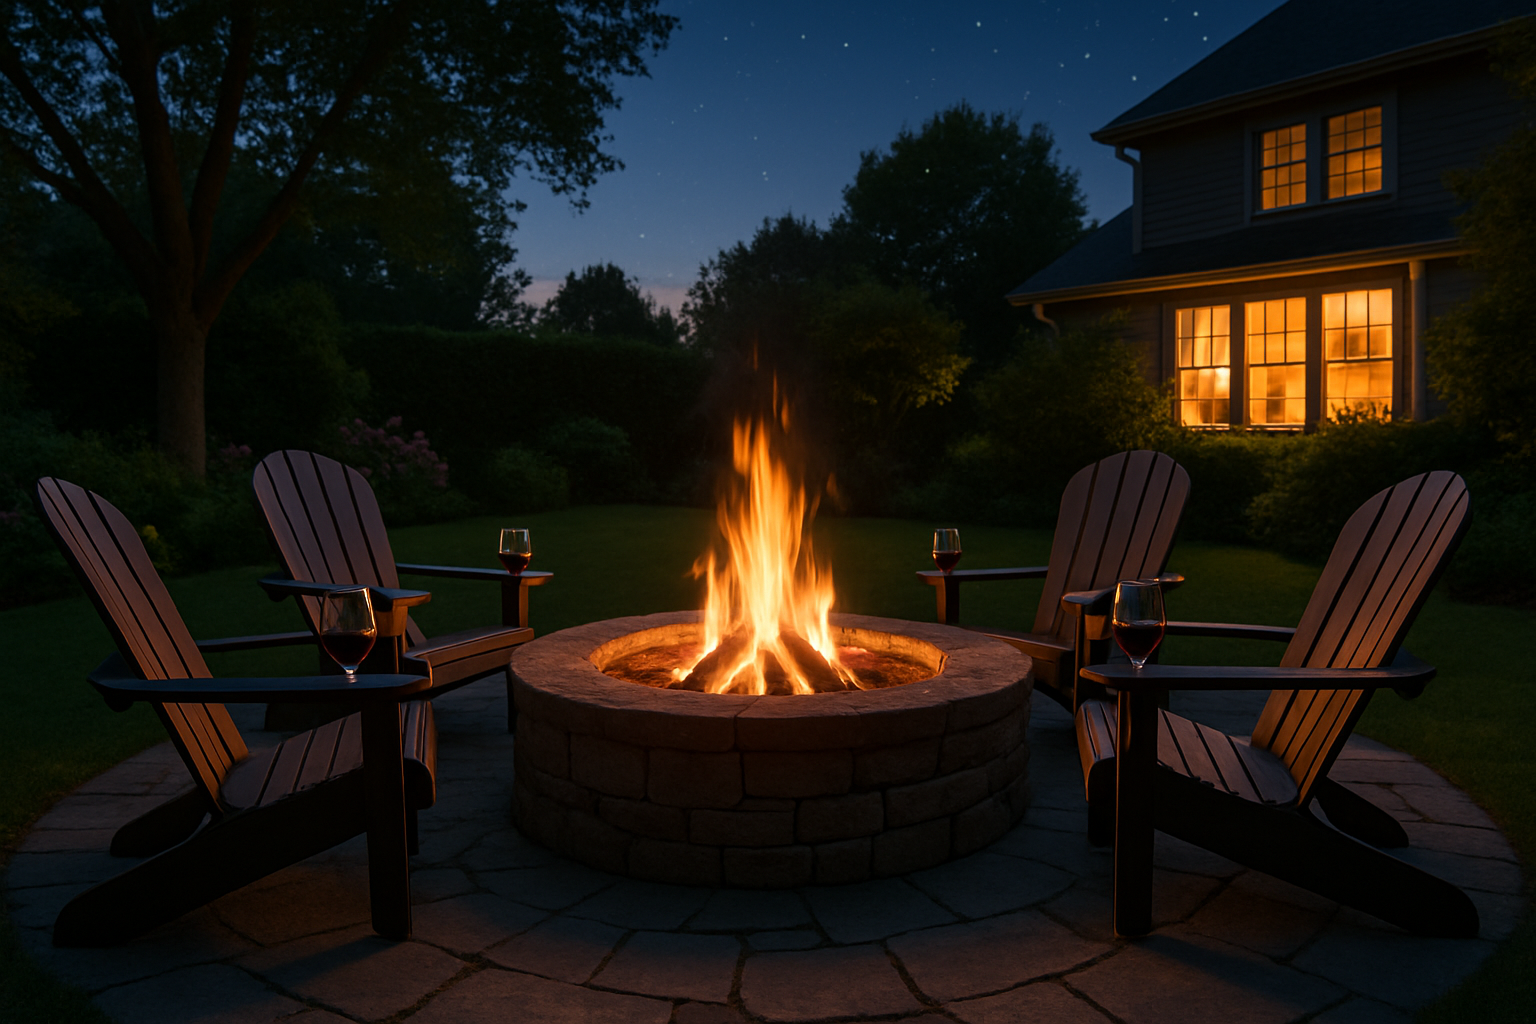
- The 40-inch diameter gives you actual usable fire space without overshooting typical backyard layouts—I could fit four chairs comfortably around it.
- Heavy steel construction (compared to the lighter inserts I tried first) stays anchored through soil shift and doesn’t rock when you load wood unevenly.
- The smokeless design actually works—the double-wall airflow reduces smoke enough that you’re not fighting wind direction all evening, which matters when people are sitting close.
What doesn’t
- At 40 inches, it’s larger than typical fire pit rings, so your excavation has to be precise—there’s less margin for error if you underestimate the hole size.
- The weight is real (this isn’t a portable insert), so factor in help during installation and accept that repositioning it later is a two-person job.
I stood in front of three failed pits before ordering this one, genuinely wondering if I should just backfill and call it a loss—but the moment I set it in place and saw how solid it sat, I knew this was the move. Grab the SoulMate Outdoor 40-Inch Smokeless Fire Pit Ring Insert and skip the learning curve I went through.
SoulMate Outdoor 40-Inch Smokeless Fire Pit Ring Insert
After trying lighter inserts that rocked and fought the wind, this 40-inch ring actually works for a full evening.
Check Price on Amazon →This post contains affiliate links. As an Amazon Associate, I earn from qualifying purchases at no extra cost to you.