Scope creep is the reason most outdoor projects go over budget — not contractor greed, not material cost spikes. Once the ground opens up, you find what’s actually under there. Broken drainage, unstable base, outdated wiring. I tell every client upfront: whatever you budgeted, add 20% for what we’ll find. I’ve managed hundreds of deck builds over the years, and the homeowners who struggle the most aren’t the ones short on ambition — they’re the ones who learned everything from a video shot in a controlled setting by someone who never had to deal with a frost-heaved footing or a ledger attachment on a house with composite siding. What I’m sharing here comes from actual job sites, actual mistakes, and the kind of hard-won knowledge that only shows up after you’ve had to tear something down and start over.
Where the Wheels Came Off (Fast)
I made my first big mistake before I even bought a single board: I didn’t pull a permit. I know, I know. Every responsible guide tells you to do this. But I figured my deck was small — just 12×14 feet — and the neighbors weren’t going to care. What I didn’t count on was my homeowner’s insurance company doing a routine review and flagging the unpermitted structure. Long story short, I had to pause the entire project, pay a retroactive permit fee, schedule an inspection, and deal with the inspector requiring me to redo two of my footings because they weren’t deep enough for our frost line. That delay cost me three weeks and about $300 I hadn’t budgeted for. Lesson one: pull the permit. It protects your investment, your insurance, and your sanity.
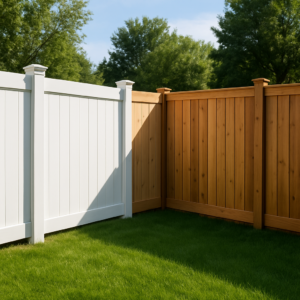
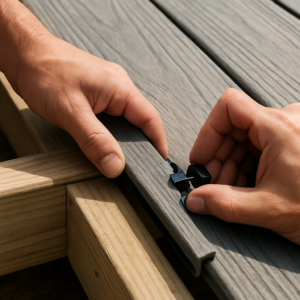
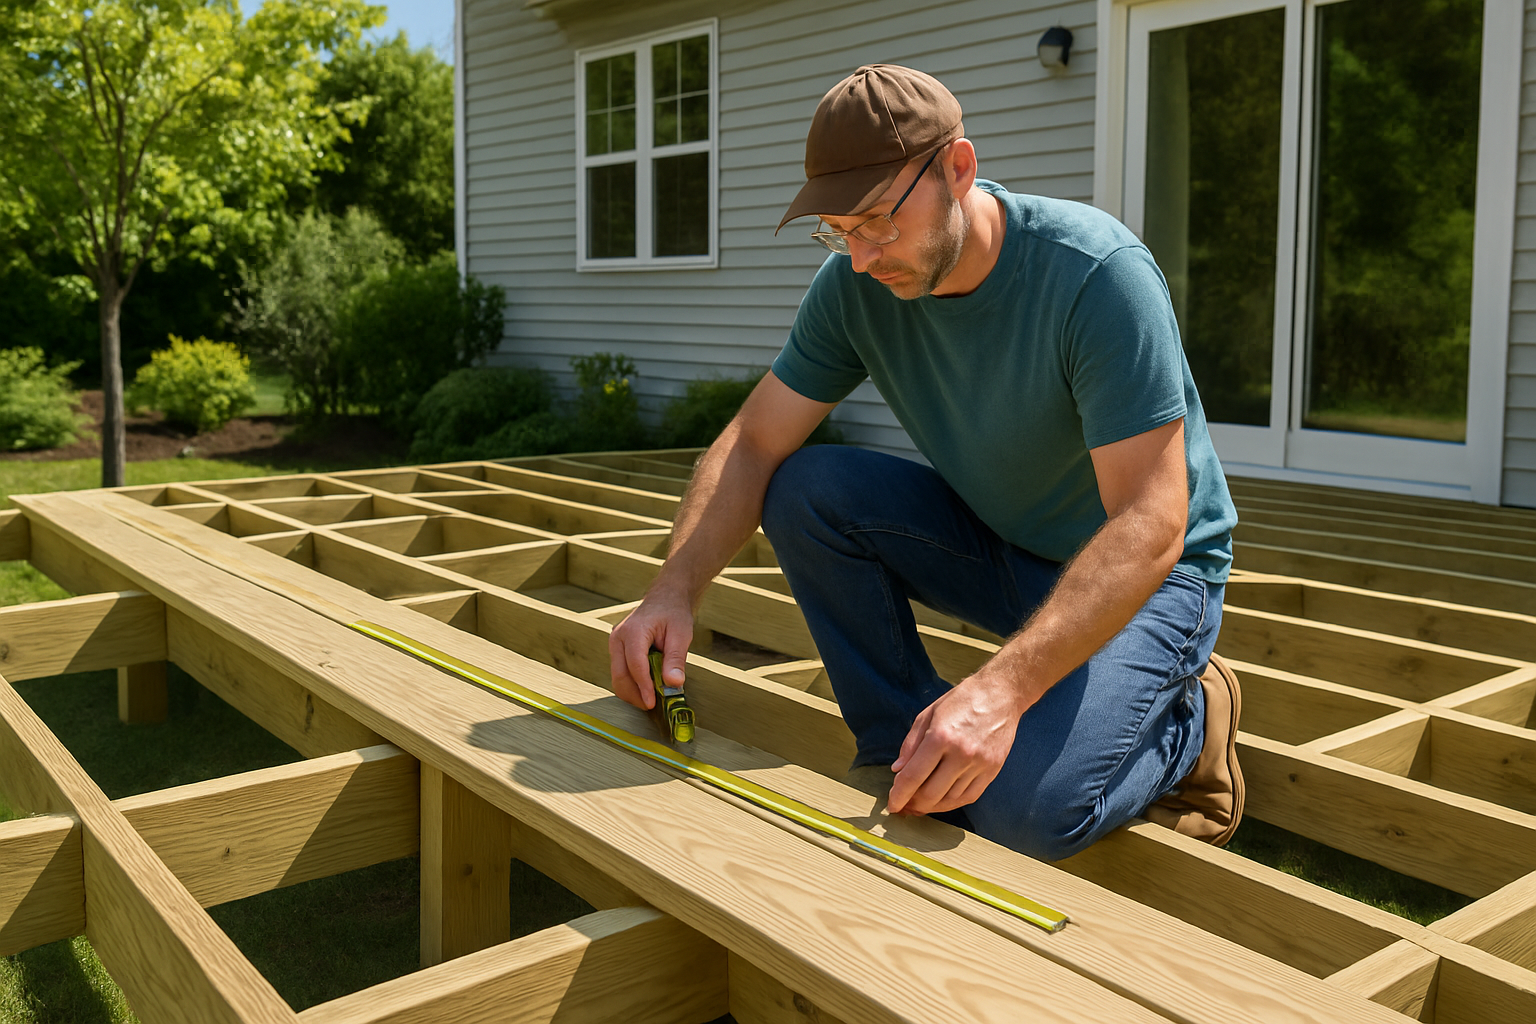
Mistake number two happened during framing. I had my ledger board attached, my posts set, and my beam in place. Then came the joist hangers — those little metal brackets that hold your joists in position — and I genuinely underestimated how fiddly and time-consuming they would be. I was hand-holding each hanger, trying to nail it in at the right height, and I kept ending up slightly off-level. My joists were rocking. The framing looked like a wavy potato chip. My wife, to her credit, said nothing. But I could feel her concern from inside the house.
The Jig That Stopped Me From Crooked Hangers (And Saved Hours of Rework)
Joist hangers are non-negotiable for structural integrity, but hand-installing them straight is where most DIYers lose time and confidence. A crooked hanger isn’t just sloppy—it throws off your entire frame, and YouTube won’t warn you until you’re already three boards in.
What works
- Eliminates the guesswork of alignment—hangers seat square every time without fiddling or eye-balling, which cuts your per-hanger installation time by half.
- Catches the common mistake of seating hangers too shallow, which is exactly the kind of hidden flaw that inspectors flag and homeowners don’t discover until the deck shifts.
- Works across multiple hanger sizes in one session, so you’re not swapping tools or making separate trips for different joist dimensions.
What doesn’t
- Adds one more tool to your kit—not a dealbreaker, but it’s another thing to learn the feel of before you’re confident with it.
- Doesn’t speed up fastener driving itself, so if you’re not efficient with your drill, the jig won’t make up the difference in overall project time.
I was halfway through my first deck’s rim board when I realized my hangers weren’t seating flush—a moment of panic that could’ve cost me a complete teardown. That’s when I grabbed a Hang Em Fast Joist Hanger Installation Jig, and it turned what could’ve been a budget-killing mistake into a quick correction.
Hang Em Fast Joist Hanger Installation Jig
I cut my hanger installation time in half and stopped guessing if they were seated right.
Check Price on Amazon →This post contains affiliate links. As an Amazon Associate, I earn from qualifying purchases at no extra cost to you.