- The 14″ Stainless Steel Surface Cleaner with 4 Wheels (PWS14) is compact, maneuverable, and the four wheels make it easy to guide across uneven paver surfaces without lifting.
- The Westinghouse Universal 15″ Surface Cleaner handles up to 3400 PSI and works with both gas and electric washers via a standard 1/4″ connector — a great all-around choice for mid-sized patios.
- For larger driveways or bigger patio projects, the Westinghouse Universal 16.5″ Stainless Steel Surface Cleaner is rated up to 4400 PSI and covers more ground per pass, cutting your total cleaning time significantly.
- Remove biological growth — algae, moss, mildew, and lichen all need to go completely. These aren’t just cosmetic; they leave an oily residue that repels sealer.
- Clear out joint sand — high-pressure water will wash out loose or degraded polymeric sand from the joints. That’s actually fine — you’ll replace it before sealing anyway.
- Dissolve efflorescence — that white chalky haze is mineral salt migration. It needs to be scrubbed or treated with a diluted muriatic acid wash before pressure rinsing.
- Strip old sealer — if your previous sealer is failing, use a chemical stripper first, then pressure wash. Don’t skip this step or you’ll be doing the whole job over again in two years.
- Achieve an open pore surface — pavers need to be clean down to the aggregate level so the new sealer can actually penetrate and lock in.
- The 14″ Stainless Steel Surface Cleaner with 4 Wheels (PWS14) is compact, maneuverable, and the four wheels make it easy to guide across uneven paver surfaces without lifting.
- The Westinghouse Universal 15″ Surface Cleaner handles up to 3400 PSI and works with both gas and electric washers via a standard 1/4″ connector — a great all-around choice for mid-sized patios.
- For larger driveways or bigger patio projects, the Westinghouse Universal 16.5″ Stainless Steel Surface Cleaner is rated up to 4400 PSI and covers more ground per pass, cutting your total cleaning time significantly.
When I’m evaluating a landscaping plan, I ask one question the client never expects: “What does this look like in five years?” Anybody can make a yard look great on install day. The properties that still look great half a decade later are the ones where someone thought about maintenance, drainage, and material choice before the first shovel went in the ground. Pavers are one of the areas where I see this gap most clearly — homeowners invest real money in a beautiful paver patio or walkway, then skip or rush the sealing process because nobody told them how much that one step affects the long-term outcome. So when the question of renting a pressure washer to prep pavers before sealing comes up, I want to give you the honest trade perspective, not a sales pitch — because done right, this is one of the highest-return maintenance tasks you can do for a paved surface.
This post contains affiliate links. As an Amazon Associate, I earn from qualifying purchases.
How I Ended Up Soaking Wet at 9 AM on a Saturday
It started innocently enough. My backyard patio pavers had gone from a nice warm tan to a sad, mottled gray over about four years. Weeds were poking up through the joints, a mysterious green film had colonized the shady corner near the fence, and honestly the whole thing looked like something archaeologists would unearth rather than something people sat on to enjoy lemonade. I’d done my research — I knew I needed to clean everything thoroughly before applying sealer. Simple enough, right?
I rented a gas-powered pressure washer from the local hardware store. A big, angry red machine that the rental guy described as “pretty straightforward.” Reader, it was not straightforward. I didn’t know about the choke. I didn’t know you had to squeeze the trigger before pulling the cord or the pressure would build up and make starting nearly impossible. I also didn’t know that pointing the wand at the paver directly in front of your feet at full blast would send a rooster tail of filthy water straight back into your face. I learned all of these things within the first four minutes.
My neighbor’s Labrador, who had been watching all of this from the fence line with what I can only describe as growing concern, eventually retreated to the far side of her yard. Smart dog.
Why Pressure Washing Pavers Before Sealing Is Non-Negotiable
Once I got the chaos under control — and changed my shirt — I actually started to see why this step matters so much. Sealer bonds to the surface of the paver. If that surface is coated in algae, dirt, efflorescence, or old sealer residue, you’re essentially laminating the grime in place. The new sealer won’t penetrate properly, it won’t cure evenly, and within a season you’ll see peeling, bubbling, and blotchy discoloration. Everything you were trying to prevent.
Here’s what the cleaning process should actually accomplish before you open a single can of sealer:
After washing, give your pavers a full 24 to 48 hours to dry — longer if the weather is humid or cool. Sealing over damp pavers traps moisture underneath and causes that milky, cloudy appearance that’s a nightmare to fix.
What I Actually Should Have Used (And What I Recommend Now)
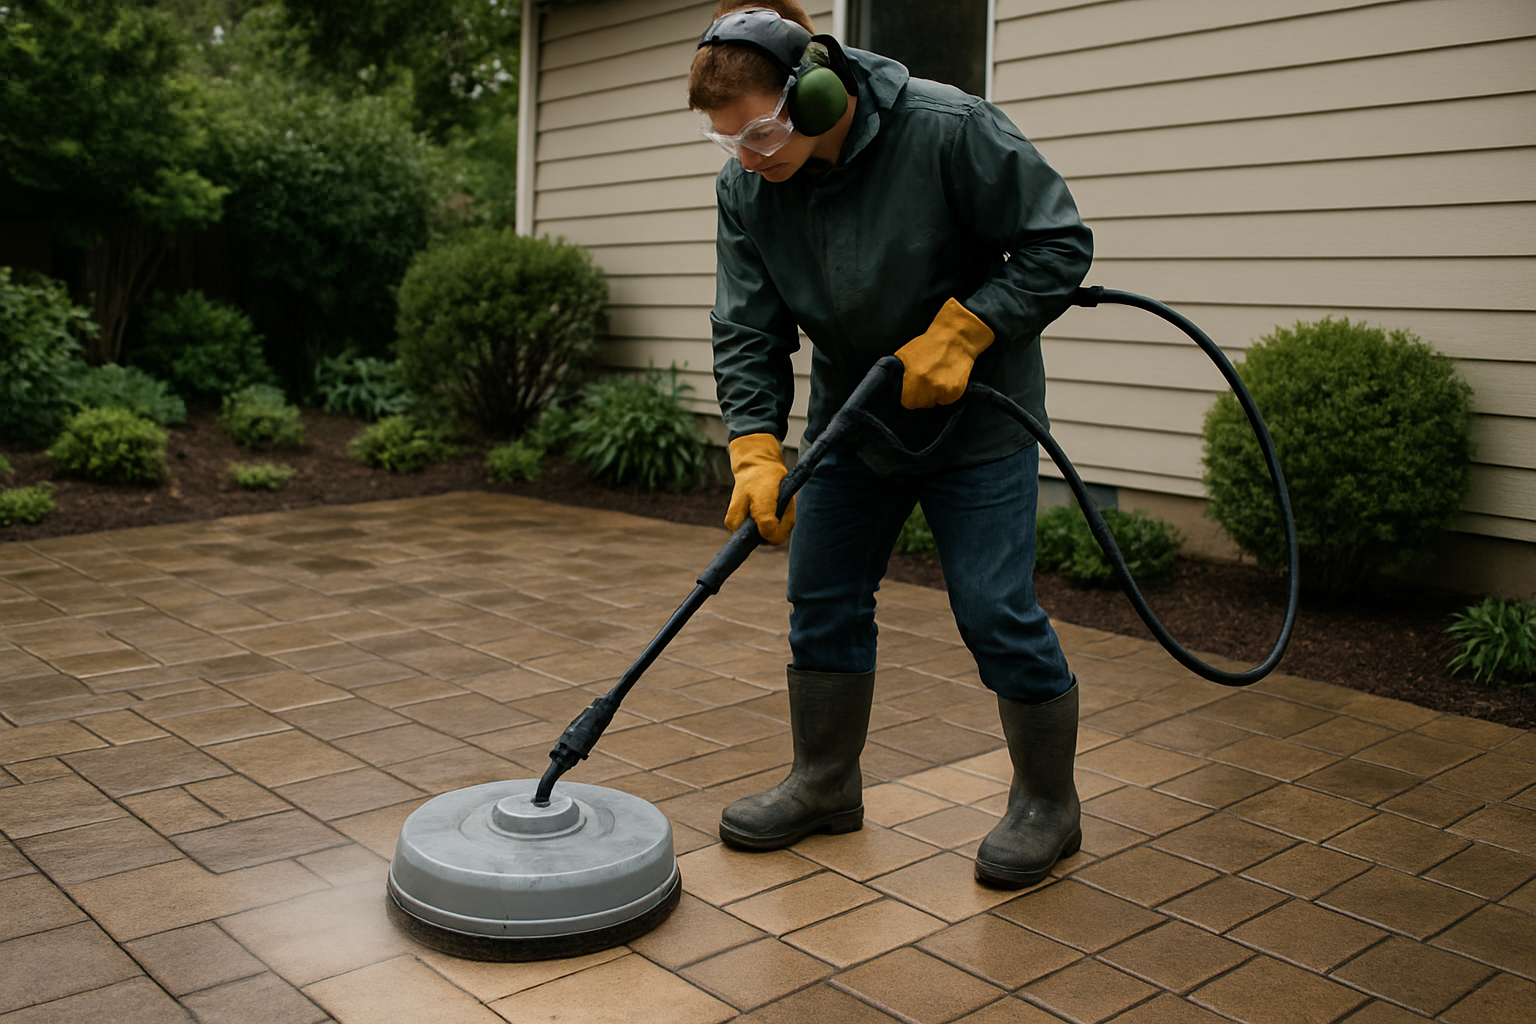
Here’s the honest truth about my rental machine disaster: the gas-powered beast I rented was overkill for a standard residential paver patio, and I had no surface cleaner attachment, which meant I was holding the wand by hand the whole time. That’s what caused the streaking, the splashback, and frankly most of my misery. A surface cleaner keeps the spray contained in a spinning shroud so you get even cleaning without shooting water at your own face. Transformative little invention.
For most homeowners doing a patio or driveway, a solid electric pressure washer paired with a surface cleaner is all you need. Here’s what I’d actually recommend:
Pressure Washers
The Westinghouse ePX3500 Electric Pressure Washer puts out up to 2500 PSI, includes a 5-nozzle set, a pro-style steel wand, and an onboard soap tank — it’s genuinely well-suited for paver cleaning without being so powerful that you risk blasting the surface off your pavers. It even has anti-tipping technology, which, given my history, I personally appreciate. If you’re looking for a lighter-duty and more budget-friendly option, the Greenworks 2000 PSI Electric Pressure Washer is a reliable pick for smaller patios, with a 20-foot hose and a 35-foot power cord that give you plenty of reach.
Surface Cleaner Attachments
This is the piece of equipment that would have saved me an entire soggy shirt. A surface cleaner makes pressure washing pavers before sealing dramatically more effective and way less dramatic. Here are three solid options depending on your setup: