This post contains affiliate links. As an Amazon Associate I earn from qualifying purchases.
I got a call a few years back from a homeowner in northern Ohio. She had hired a neighbor’s son to install a paver patio the previous spring — 400 square feet, decent pavers, not a bad layout. By October, the whole thing had shifted. Edges were lifting, joints were blowing out, and she had pavers rocking like loose teeth. When I went out to assess it, I already knew what I was going to find before I even stepped onto the patio. I’ve seen it hundreds of times across seventeen years of doing this work professionally. It is almost always the same mistake. Sometimes it is two mistakes working together. And here is what frustrates me: none of it is secret knowledge. It is just the stuff that gets skipped because people either don’t know it matters or they’re trying to save a Saturday.
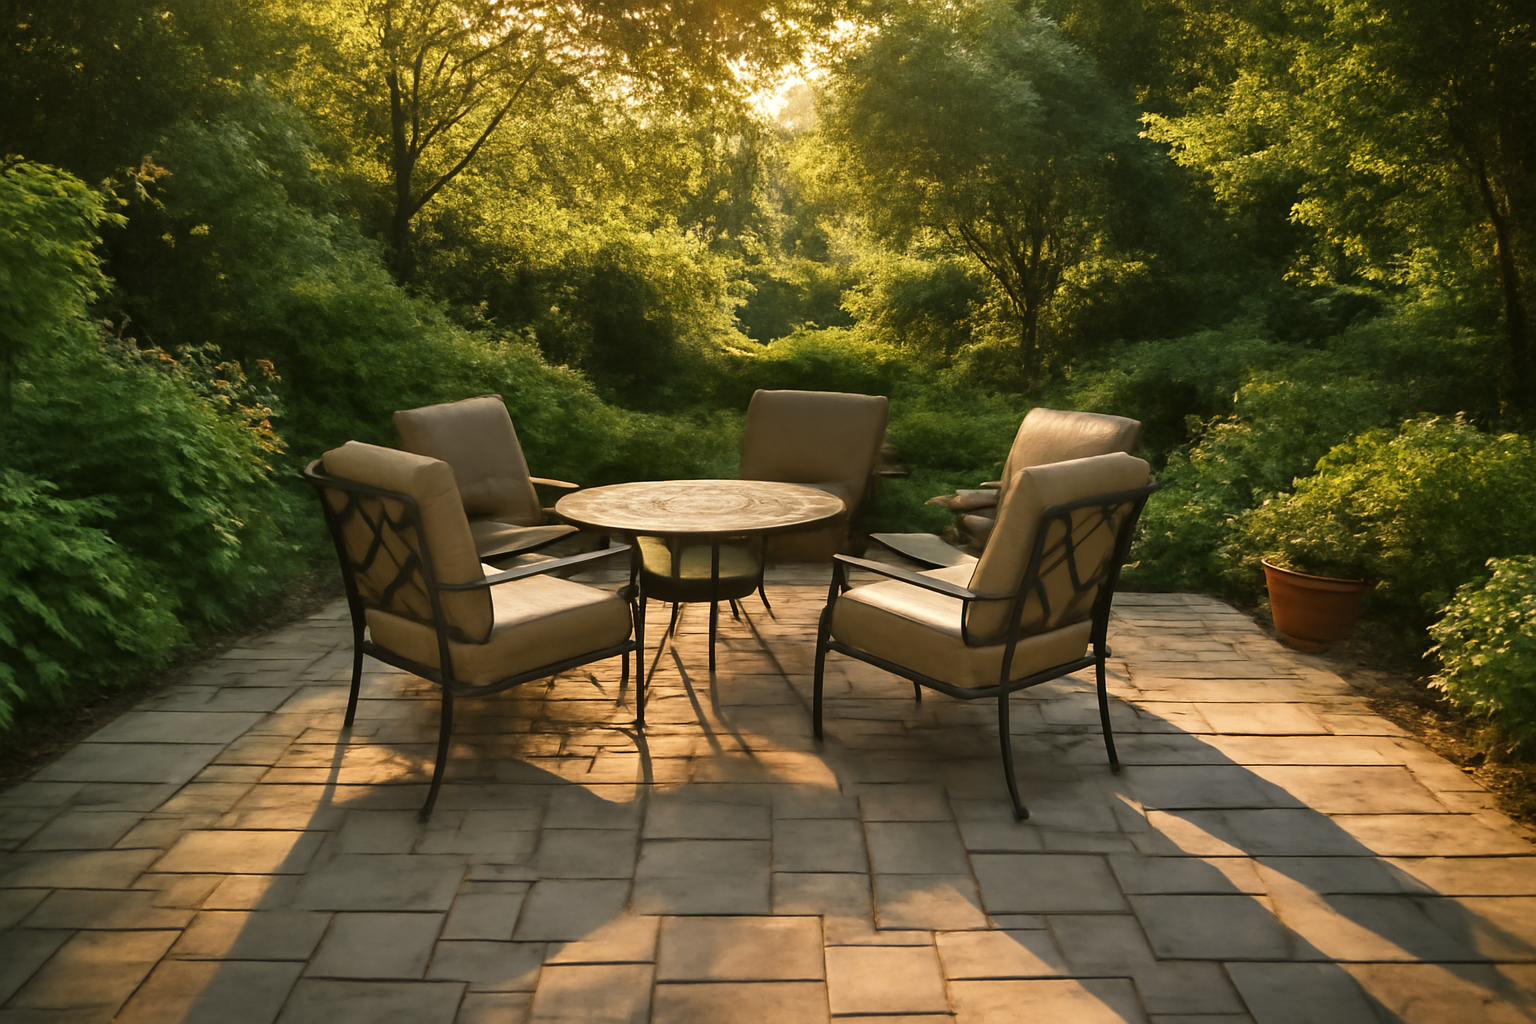
If you are planning a DIY paver patio — or if you already built one and something feels off — this post is for you. I am going to walk you through the most common paver patio installation mistakes I see, what actually goes wrong structurally, and how to fix your process before it costs you a full reinstall.
The Single Most Common Mistake: Inadequate Base Preparation
I will say it plainly: the base is everything. The pavers themselves are almost secondary. What I find on nearly every failed DIY patio is a base that was either too shallow, not compacted properly, or both. The industry standard for a pedestrian paver patio in a region with freeze-thaw cycles is a minimum of 4 to 6 inches of compacted crushed stone base — and in colder climates, I routinely go to 8 inches. What I typically find on a failed job? Two inches of gravel, loosely raked, with pavers set directly on top.
Here is why that matters. Soil expands and contracts with moisture and temperature. When you lay pavers directly on native soil or on a thin, uncompacted base, that movement transfers directly into your patio surface. You get waves. You get settled spots. You get edges that heave in spring and never come back down level. In Ohio, Minnesota, Michigan — anywhere that sees hard freezes — an underbuilt base is not a cosmetic issue. It is a structural failure waiting to happen, usually within the first two winters.
The compaction step is the one people skip most often. Raking gravel flat is not the same as compacting it. You need a plate compactor running over that base in multiple passes — typically two to three passes, then add material, then compact again — before you ever touch a screed rod or a paver. I have seen DIYers use a hand tamper for a 300-square-foot patio. A hand tamper has its place for small spots and tight edges, but it cannot achieve the compaction density you need across an entire base. It just cannot.
The Second Mistake: Skipping or Rushing the Bedding Sand Layer
After the base, you set pavers on a one-inch layer of coarse bedding sand — not play sand, not polymeric sand, but concrete sand or coarse washed sand. This layer serves as a fine leveling medium. The mistake I see here is threefold: people use the wrong sand, they make the layer too thick, or they screed it and then walk all over it before setting pavers.
Once you screed that bedding layer, you do not walk on it. You set a piece of plywood or a kneeling board and you work from the paver surface forward. Every foot traffic impression you leave in screeded sand becomes a low spot under a paver. I have pulled up pavers on two-year-old patios and found footprint voids under individual stones. That is where cracking and rocking starts.
The bedding layer should also never exceed one inch. I have seen people try to use a thick sand layer to compensate for an uneven base. It does not work. Sand is not structural. A thick sand bed will compress unevenly over time and your patio will develop waves regardless of how perfect the pavers looked on day one. Fix the base. Do not try to fix it with sand.
The Third Mistake: Wrong Jointing Sand and Poor Finishing
This one has gotten worse over the last decade as polymeric sand has become more widely available but less well understood. Polymeric sand is genuinely excellent technology when it is used correctly. When it is used incorrectly, it either washes out immediately or it hazes over the pavers and bonds in a way that is very difficult to remove.
The most common polymeric sand mistakes I see:
- Applying it to damp pavers. The surface must be completely dry. Any moisture activates the binders before the sand is properly seated.
- Not compacting after sweeping. You need to do a final compaction pass after the initial brooming to drive the sand fully into the joints. Then sweep again, then compact again.
- Leaving excess sand on the surface before misting. Any polymeric sand sitting on top of a paver face when you activate it with water will bond there. Blow it off completely before you ever introduce moisture.
- Using the wrong product for joint width. Standard polymeric sand is formulated for joints up to about 1.5 inches. Wider joints need a product specifically rated for them.
The Fourth Mistake: No Edge Restraints, or Cheap Ones Installed Wrong
I cannot tell you how many times I have pulled back landscape fabric or sod around a failed patio and found no edge restraints at all. Or I find those thin black plastic edging strips that were designed for garden beds, not for pavers. Without proper edge restraints spiked into the base at regular intervals — I use 12-inch spikes every 12 inches on straight runs, closer on curves — the entire patio has nothing holding it together laterally. Pavers migrate outward over time. It is slow at first. Then one frost cycle accelerates it and the whole perimeter falls apart.
Use a purpose-built paver edge restraint — Snap Edge or a comparable product — and spike it correctly into the compacted base, not just into the ground beside it. This is a $40 to $80 material cost on most patios. It is not where you cut corners.
What I Use on My Own Jobs
After years of testing different products, I have settled on a short list of things I trust. For jointing sand, I have been using DOMINATOR Polymeric Sand in Titanium Gray and DOMINATOR Polymeric Sand in Gray Beige on my professional installs. The ceramic flex technology in this product gives it better flexibility through freeze-thaw cycles compared to standard polymer-only formulas — that flex matters in cold climates where joint movement is real. It handles joints from 1/8 inch up to 4 inches, which covers most residential applications. The color options also let me match the paver tone instead of fighting it.
For compaction, the tool that makes the single biggest difference in a DIY context is a proper gas-powered plate compactor. If you are doing more than about 100 square feet, renting or owning one is not optional — it is the job. The VEVOR 6.5HP Plate Compactor with its 196CC engine and 5,600 VPM delivers the kind of compaction force you actually need for a stable base. At 2,360 pounds of compaction force across a 22-by-16-inch plate, it does in four passes what a hand tamper cannot do in forty. This is the category of tool that separates a patio that holds for twenty years from one that needs attention in year two.
An Honest Caveat
I want to be straightforward about something: even a perfectly installed patio will show minor movement over many years in climates with hard freezes. Thermal expansion and contraction are real forces. Some settling at the perimeter in year five or six is not necessarily a sign of failure — it is physics. What proper installation does is slow that process dramatically and make any adjustments simple rather than catastrophic. If you build the base right, the fixes are minor. If you cut corners on the base, the fixes are a full reinstall. That is the honest version of what I have seen across seventeen years.
The Bottom Line
If I had to reduce all of this to the most actionable advice I could give a homeowner about paver patio installation mistakes, it would be this: spend eighty percent of your time and effort on what is under the pavers. The pavers themselves are the easy part. The base preparation, the compaction, the bedding layer technique, the edge restraints — that is where the job is won or lost. Do that part right and you will be the neighbor whose patio still looks perfect in year ten while everyone else is calling contractors for repairs.