This post contains affiliate links. As an Amazon Associate, I earn from qualifying purchases.
When a client asks me to improve curb appeal, I always walk around to the backyard first. What’s happening behind the house tells me everything about how the property has been maintained, where the drainage problems are, and whether a cosmetic front fix is going to hold up or just paper over something structural. And nine times out of ten, what I find back there is a lawn that’s been quietly failing for years — compacted soil, thin coverage, thatch buildup choking out new growth — problems that no amount of hardscaping or planting beds can fully disguise. Lawn aeration and overseeding in fall is one of the first things I recommend before we even talk about patios, borders, or outdoor structures, because a well-executed turf renovation is the foundation everything else sits against. What I’m laying out here is the same process I walk clients through on job sites — no shortcuts, no guesswork, just what actually works.
How Bad Was It, Really?
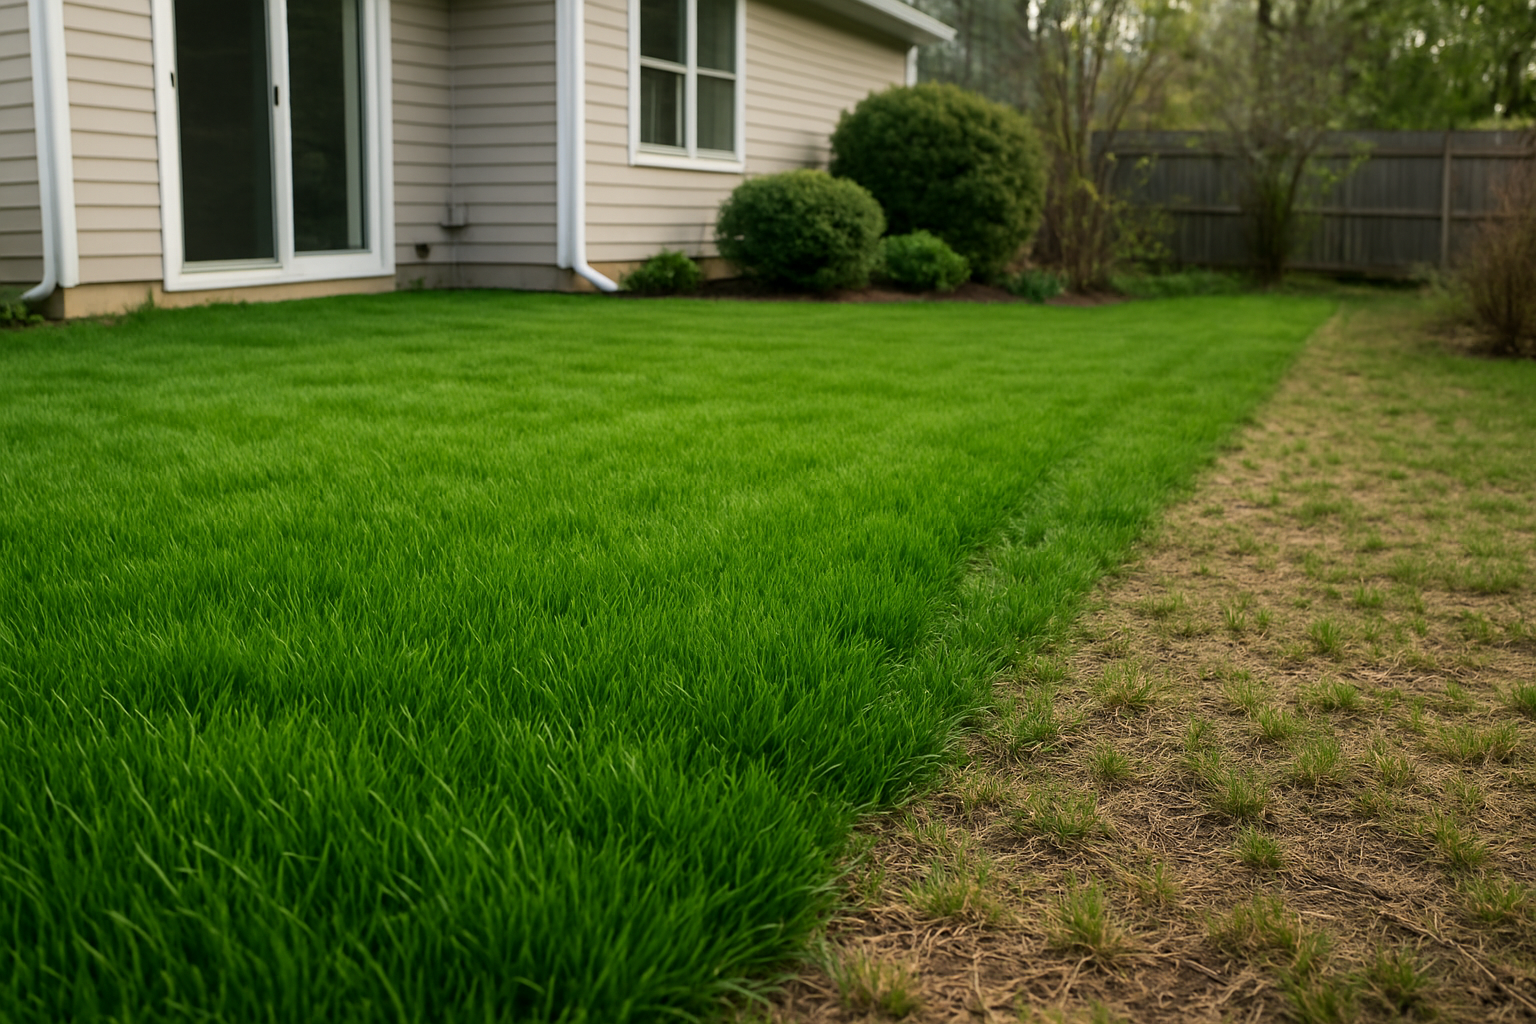
Let me set the scene. Our backyard had maybe 40% actual grass coverage. The rest was a rotating cast of crabgrass, bare hardpan soil, and a mysterious spreading weed my kids called “the carpet.” The soil was so compacted you could barely push a screwdriver into it. Years of foot traffic from kids, a dog with boundary issues, and one unfortunate summer where I let the lawn go completely dry had basically destroyed what our previous owners had worked hard to build.
I priced out a professional lawn care service. The quotes came back between $400 and $850 just for aeration and overseeding — not including any soil amendments or follow-up treatments. My wife and I looked at each other and decided we’d either do it ourselves or move. (Kidding. Mostly.) That’s when I started doing serious research and realized I’d been skipping the most critical step all along: proper core aeration before seeding.
Why Fall Is the Best Time for Lawn Aeration and Overseeding
If you’ve been putting off this project, fall is your window — and it’s genuinely the best one you’ve got. Cool-season grasses like fescue, bluegrass, and ryegrass thrive when soil temperatures are between 50°F and 65°F. In most parts of the country, that sweet spot hits sometime between late August and mid-October. The air is cooler, which means less stress on new seedlings. The soil is still warm from summer, which encourages fast germination. And weed pressure drops significantly in fall, so your new grass isn’t competing as hard right out of the gate.
Core aeration is what makes overseeding actually work. Without it, you’re essentially sprinkling seeds on concrete. Compacted soil prevents water, oxygen, and nutrients from reaching the root zone. When you pull plugs from the ground — those little cores you’ve probably seen dotting a freshly aerated lawn — you’re opening up channels that allow seed, fertilizer, and moisture to make direct contact with healthy soil. The difference in germination rates between an aerated lawn and a non-aerated one is dramatic. We’re talking 2–3 times better seed-to-soil contact.
What I Used: My Recommended Products
I want to be upfront: I did this project manually, without renting a gas-powered aerator. For a yard under 5,000 square feet, a quality manual core aerator is completely manageable — and far cheaper. Here’s what I used and what I’d recommend.
Core Aerators
For smaller or tighter areas near garden beds, I loved the Manual Core Aerator Lawn Tool with 3 Hollow Tines. It’s semi-assembled out of the box, easy to maneuver, and the hollow tines pull clean plugs without tearing up turf. The orange color made it easy to spot when I inevitably left it in the yard.
For the main yard, I switched to the Manual Lawn Aerator Tool with Adjustable Height and Stainless Steel Hollow Tines. The adjustable handle was a game-changer for my back — I’m 6’2″ and standard tools kill me after 20 minutes. The stainless steel construction felt genuinely heavy-duty, and it drove into my dense clay soil without bending or skipping.
If you want a third option that splits the difference, the Manual Lawn Aerator Tool with Adjustable Handle and 3 Hollow Tines is worth a look. It’s similarly well-built, comfortable to use for extended sessions, and gets solid reviews from people dealing with compacted soil — exactly what I was dealing with.
Grass Seed
Choosing the right seed matters more than most people realize. For my sunny backyard with open exposure, I went with Scotts Turf Builder Rapid Grass Tall Fescue Mix. The “rapid” part is real — it combines seed and fertilizer in one product and I started seeing green fuzz within about 10 days. Tall fescue is also incredibly durable once established, which matters when you have kids and a dog.
For the shaded side yard near our fence line, I used Scotts Turf Builder Grass Seed Sun & Shade Mix. This blend is specifically formulated to handle both conditions, which is perfect for transitional areas that get dappled or partial light. It includes a soil improver that helped with my notoriously difficult clay-heavy spots.
The Step-by-Step Process That Actually Worked
Here’s how I broke it down over one Saturday and Sunday morning:
- Mow low first. I dropped my mower to about 1.5 inches before aerating. This lets the tines penetrate more effectively and gives seed better contact with the soil after aeration.
- Water the day before. Aerating dry, rock-hard soil is brutal. I watered deeply the day before to soften things up. This made a massive difference in how cleanly the tines pulled plugs.
- Aerate in two directions. I walked the yard once north-to-south, then again east-to-west. Crossing your passes increases the number of holes per square foot and dramatically improves results.
- Leave the plugs. Don’t rake them up. Those soil plugs break down within a week or two and return organic matter back to the lawn.
- Overseed immediately after. Spread seed right into the open holes. I used a handheld spreader and followed the package rates. Don’t skimp — bare areas can take 1.5x the normal rate.