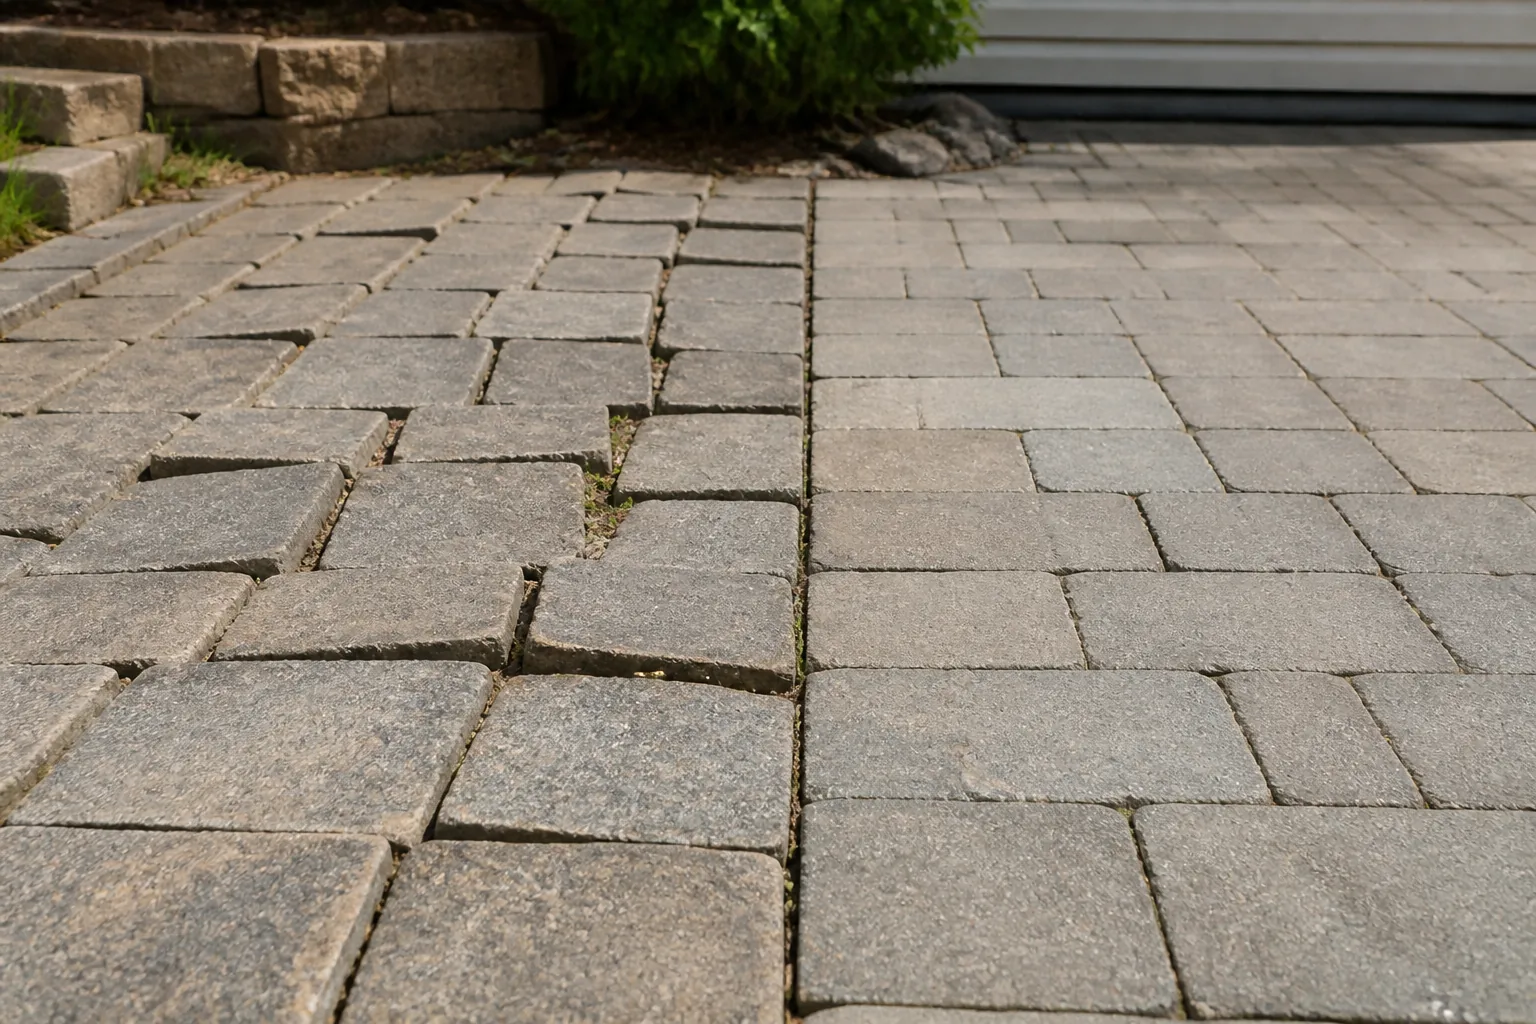
A few weeks ago, I got a call from a homeowner in the next town over. She told me her patio pavers near the edge were rocking when she stepped on them. A few had actually shifted out of alignment, leaving visible gaps. She assumed the pavers themselves were defective. I drove out, crouched down, pressed a few pavers with my palm, and knew within two minutes what was actually wrong. It had nothing to do with the pavers.
That scenario plays out constantly in my own hardscaping work. Shifting pavers are almost never a random defect. They are a symptom — a signal that something underneath or around the installation has failed. The good news is that if you catch it early, it is almost always fixable without tearing everything out and starting over.
In this post, I am going to walk you through exactly why pavers shift, how to diagnose your specific situation, and how I repair it on job sites. I will also give you honest answers to the questions I hear most often — including whether polymeric sand will actually stop the movement and how your watering habits might be making things worse.
The Real Causes of Shifting Pavers
When homeowners ask me “why are pavers shifting,” I never give a one-word answer. There are usually two or three factors working together. However, in my experience, every case traces back to one or more of the following root causes.
Inadequate Base Compaction
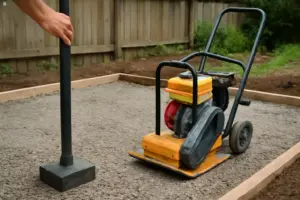
This is the number one culprit I find on failed installations. A paver system needs a compacted gravel base — typically 4 to 6 inches for pedestrian areas and 8 to 12 inches for driveways. That base must be compacted in lifts, meaning no more than 3 to 4 inches of material at a time, with at least two compaction passes per lift using a plate compactor.
When contractors skip lifts or use the wrong base material — like straight topsoil or ungraded fill — the base settles unevenly under load and foot traffic. As a result, the pavers above sink and rock. No amount of surface repair fixes this without addressing what is underneath.
Missing or Failed Edge Restraints
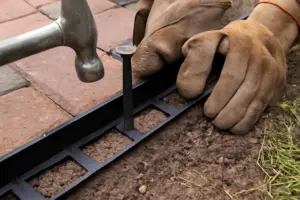
Edge restraints are the rigid border that locks the entire paver field in place. Without them, pavers creep outward over time — especially on patios with open edges or along curved walkways. I see this constantly on DIY installations where plastic edging was either skipped entirely or spiked into soft soil that eventually shifted.
Even one or two missing spikes on a plastic restraint can allow pavers to migrate. That gap at the edge translates into a ripple effect that works its way inward across the whole surface.
Bedding Sand Washout from Poor Drainage
The 1-inch bedding sand layer that pavers sit on is intentionally thin. It is there to provide a fine, level setting bed — not structural support. However, if water pools on or around the patio, that sand migrates. Grading that slopes toward a house instead of away from it is one of the most common drainage mistakes I correct on repair calls.
Specifically, you want a slope of at least 1/4 inch per foot away from any structure. Without that, water sits, saturates the bedding layer, and the sand shifts under load. The pavers follow.
Freeze-Thaw Heave in Cold Climates
In climates that drop below freezing, water trapped in the base expands when it freezes — lifting pavers unevenly. When it thaws, the pavers settle back down, but not always in the same position. Over several winters, this cycle creates an uneven, rocking surface. The fix here is proper base depth and drainage so water does not accumulate beneath the installation in the first place.
Tree Roots and Organic Material
Tree roots growing under a paver installation will lift sections unevenly and aggressively. On the other hand, if organic material like old sod or mulch was left in the base during installation, it decomposes over time and creates voids. Either situation leads to sinking or rocking pavers in localized spots.
Wrong or Worn-Out Jointing Sand
Regular play sand or mason sand in the joints washes out with the first heavy rain. Without solid joint fill, pavers lose lateral stability and begin to rock against each other. Polymeric sand is designed to harden and resist washout — but only when installed correctly on a structurally sound base. More on that in the next section.
Will Polymeric Sand Stop Shifting?
I get this question at least once a week. The honest answer is: yes and no, depending entirely on what is causing the shifting.
Polymeric sand is excellent at locking paver joints, resisting ant activity, and preventing joint washout from rain or irrigation. For those purposes, it genuinely works. However, it is a joint-filler solution — not a structural fix. If your base is poorly compacted or your edge restraints are missing, sweeping polymeric sand into the joints will not stop the movement. The pavers will continue to shift, and the hardened sand will simply crack and pop out.
In my experience, the product that gives the most consistent results is the 10 Pound Titanium Gray DOMINATOR Polymeric Sand with Revolutionary Ceramic Flex Technology for Stabilizing Paver Joints/Gaps, 1/8″ up to 4″, Professional Grade Results, priced at $39.00. The ceramic flex technology in that product gives the hardened joint some controlled flexibility — meaning minor seasonal movement does not immediately crack the joint compound the way rigid polymeric sands can.
That said, correct application is everything. Here is how I apply it on every job:
- Pavers must be completely dry before you begin sweeping
- Sweep sand into joints in multiple passes, filling completely
- Compact the surface with a plate compactor (use a rubber pad to protect pavers)
- Sweep again to top off any joints that settled during compaction
- Blow off all excess sand from paver surfaces before misting
- Mist-activate in two or three light passes — do not flood
- Allow 24 to 48 hours of cure time before any water contact
Skipping the cure window is one of the most common mistakes I see on DIY applications. Even light rain during the first 24 hours can wash activated polymeric sand right back out of the joints before it sets.
How Watering Habits Make Shifting Worse
This one surprises a lot of homeowners. Your irrigation system or garden hose could be actively undermining your paver joints — and you would not immediately connect the two.
Sprinkler heads aimed directly at paver joints are a serious problem. The repeated, high-velocity water stream hits the same joints every cycle, gradually flushing sand out. Over a single irrigation season, you can lose most of the jointing material along the spray path. For example, I diagnosed a walkway last spring where one full section had shifted — it took about three minutes to realize a rotary sprinkler was sweeping directly across it twice a day.
Garden hoses left running near patio edges are similarly damaging. The water pools along the edge, saturates the bedding sand, and the patio edge softens. As a result, pavers along that edge sink or shift inward. Poor grading that allows water to pond underneath compounds the problem significantly.
How to Stop Pavers Shifting When Watering
The fix starts with redirection. Adjust sprinkler heads so they are not spraying directly onto paver surfaces. Switch to drip irrigation near planting beds that border the patio. Regrade any low spots so water flows away from the structure at that 1/4-inch-per-foot slope.
After regrading, reseal the joints with a quality polymeric sand — and respect the cure window. Let the product set for the full 24 to 48 hours before the area sees any water. After the first heavy rain, go back and check joint levels. Top off any spots where sand has settled slightly. Catching this early prevents a minor adjustment from becoming a full relift and relay.
The Diagnostic Checklist: How to Tell What’s Actually Wrong
Before you order materials or call a contractor, walk your patio or walkway through this simple checklist. It will tell you exactly what you are dealing with.
- Step 1 — Rocking test: Press each paver by hand or with your foot. Does it rock individually, or does a whole section move together? Individual rocking usually means base voids. Section movement often points to edge restraint failure.
- Step 2 — Edge restraint inspection: Check the perimeter for plastic edging. Pull gently along the edge of the paver field — if it moves, the restraint is either missing, broken, or insufficiently spiked.
- Step 3 — Standing water check: After the next rainfall, look for pooling on or around the patio. Water pooling near the center suggests improper crown or slope. Pooling at the edge suggests grading drains toward the structure.
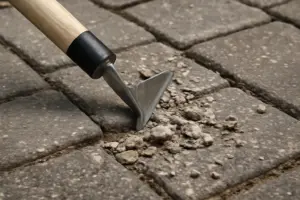
- Step 4 — Joint sand level: Look closely at the joints. Are they flush with the top of the pavers? Joints that are visibly hollow or show gaps mean the jointing sand has washed out and the pavers have lost lateral lock.
- Step 5 — Pattern distortion: Step back and look at the layout. If the pattern has bowed or shifted in a specific direction, trace the widest gap back to its source — that is usually where the edge restraint failed or base movement started.
How I Fix Shifting Pavers
Once I have diagnosed the specific cause, the repair process follows a consistent sequence. Skipping steps here is what leads to repeat calls — and I do not want repeat calls for the same problem.
First, I lift the affected pavers and stack them nearby. I mark their orientation so they go back in the same direction — especially important with tumbled or directional pavers. Then I excavate and inspect the base. If the gravel base is soft or uneven, I add material and re-compact in 3-inch lifts with at least two passes of a plate compactor per lift until the base reads firm underfoot and under the compactor.
Next, I check and replace edge restraints. I use heavy-duty plastic landscape edging spiked every 12 inches — closer on curves. Spikes go through the edging flange and at least 8 to 10 inches into the ground. Shallow spikes are nearly as bad as no spikes at all.
After the base and restraints are solid, I screeded a fresh 1-inch layer of coarse bedding sand, relay the pavers, and check for level. Then comes joint filling. I sweep in polymeric sand, compact, sweep again, clear the surface, and mist-activate. The full cure time before any traffic or water is non-negotiable on my jobs.
Final Verdict: Shifting Pavers Are Fixable — But Prevention Is Always Cheaper
Every paver repair I have completed reinforces the same lesson. Shifting is almost never caused by the pavers themselves. It is caused by what is underneath them, what is holding them in at the edges, and how water is managed around them. Address those three things correctly, and a paver surface can last decades without movement.
If you are already seeing rocking or shifting, act sooner rather than later. A small section that moves today becomes a large section that has migrated, cracked, and damaged the base material by next year. The repair cost grows with every season you wait.
Start with the diagnostic checklist above, identify your specific cause, and follow the repair sequence I described. Use a quality jointing product like the 10 Pound Titanium Gray DOMINATOR Polymeric Sand with Revolutionary Ceramic Flex Technology for Stabilizing Paver Joints/Gaps, 1/8″ up to 4″, Professional Grade Results, respect the cure time, redirect your irrigation, and make sure your edge restraints are solid. Do those things correctly once, and you will not be asking “why are pavers shifting” again anytime soon.
About This Article

Written by Marcus Delvecchio. Marcus Delvecchio isn't a licensed contractor — he's a handyman and DIY outdoor landscaper who got obsessed with driveways, patios and pavers after redoing his own place badly enough to want to understand why. Twenty years later he spends his weekends on his own projects and on side jobs for neighbours and friends around the mid-Atlantic, and writes up what actually worked, mistakes included. More about this site.
Scope and limits. Marcus is a homeowner who got obsessive about driveways, not a licensed contractor. Structural repair, drainage changes, and anything requiring a permit should go to a licensed contractor.
Verify this against a primary source
Specifics change, and your situation may differ from the one described here. These are the authorities worth checking directly:
- Concrete Masonry & Hardscapes Association — segmental paver installation standards
- National Asphalt Pavement Association — asphalt placement and maintenance guidance
- Portland Cement Association — concrete durability and jointing