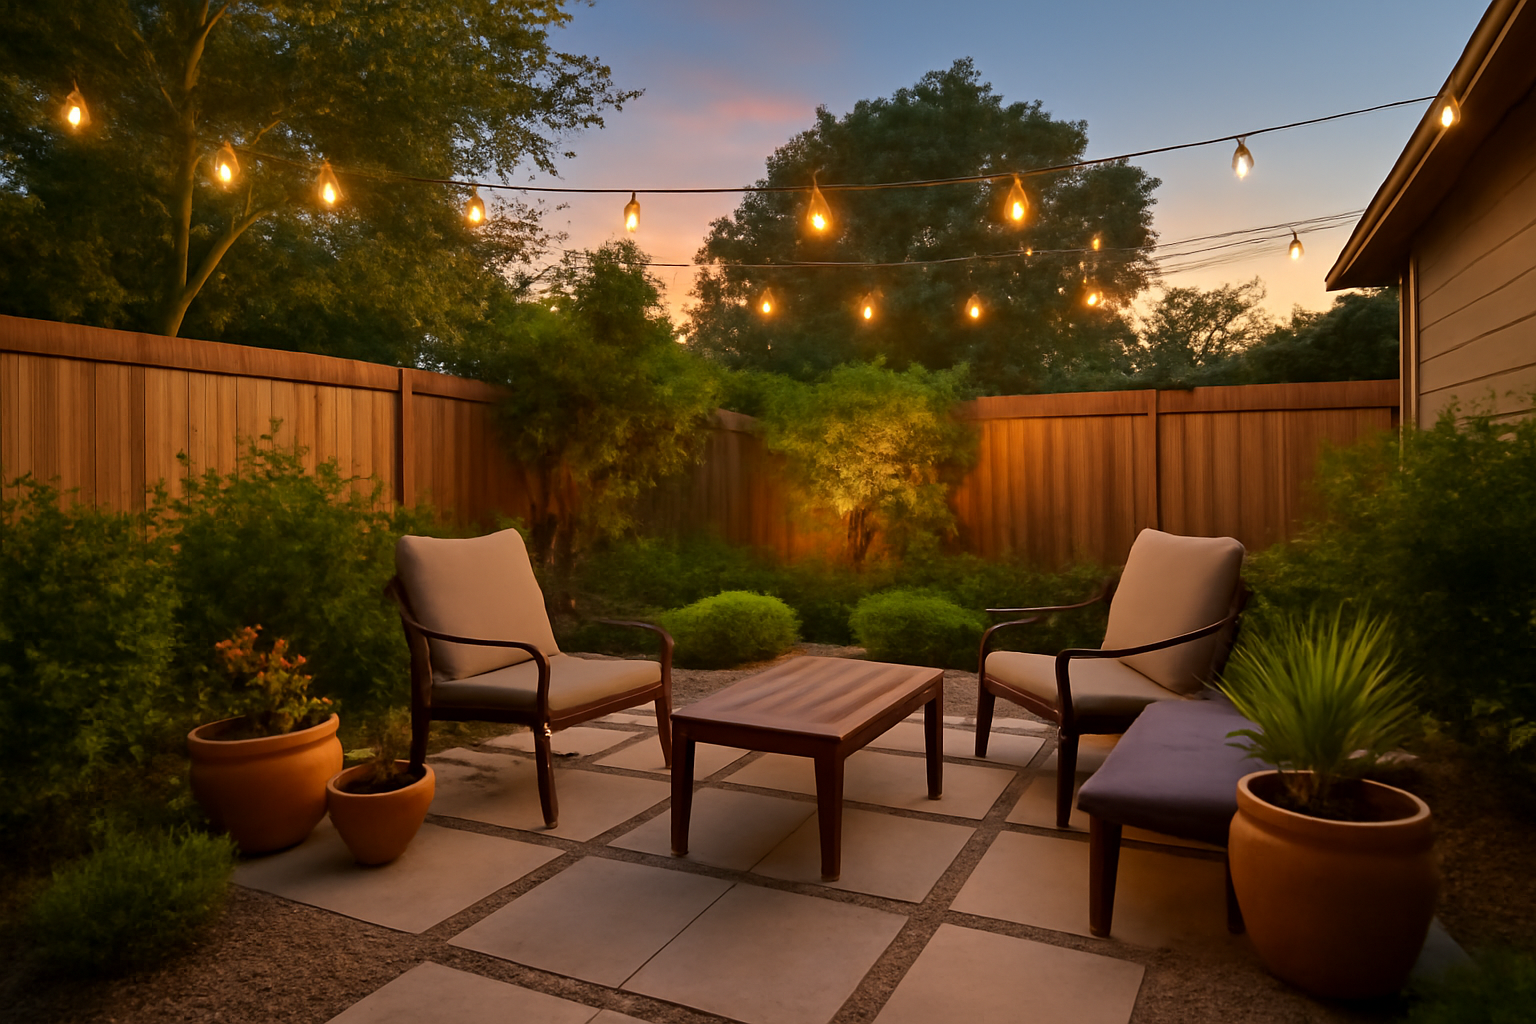
After transforming three backyards on tight budgets, I can tell you with complete confidence: you do not need $10,000 to have a gorgeous, functional outdoor space. The best patio I ever built cost me just over $500 out of pocket, and my neighbors still ask who designed it. The secret isn’t a big budget — it’s knowing where to spend and where to save. The truth is, my first budget patio attempt actually flopped — I tried to save money by laying pavers directly on unmulched soil, and within two seasons half of them had sunk and cracked from settling and frost heave. Whether you’re starting from bare dirt or refreshing a tired concrete slab, these patio ideas on a budget will help you create something you’re genuinely proud of without draining your savings account.
Budget Patio Flooring Options
Flooring is where most patio budgets spiral out of control. Natural stone and poured concrete quotes can easily hit $15–$25 per square foot installed. But there are legitimate alternatives that look great, hold up to weather, and leave money in your pocket for the fun stuff like furniture and lighting.
Pea Gravel Patio ($1–$3/sq ft)
Pea gravel is hands-down the cheapest patio surface that still looks intentional and polished. At $1–$3 per square foot depending on your region, a 200-square-foot patio might cost you $200–$600 total. The key is edging — use steel landscape borders, timber borders, or even stacked retaining wall blocks to define the space. Without a clean border, pea gravel just looks like someone dumped rocks in the yard. With one, it looks like a deliberate design choice. I also recommend laying landscape fabric underneath to suppress weeds before you pour the gravel.
Concrete Pavers ($2–$4/sq ft)
Concrete pavers are my personal favorite for a DIY-friendly surface that genuinely looks professional. At $2–$4 per square foot for materials, a 200-square-foot patio runs $400–$800. You’ll need a weekend, a rubber mallet, some leveling sand, and a little patience — but the result is a clean, durable surface that can last decades. The variety of shapes, sizes, and colors available today is impressive. You can mimic expensive natural stone patterns for a fraction of the price.
The Interlocking Tiles That Let Me Skip the Concrete Contractor
When you’re working with an existing concrete slab or bare ground, you’re usually looking at either expensive professional installation or a backbreaking DIY pour. These interlocking stone tiles changed that equation for me — no mortar, no special tools, no contractor bill.
What works
- You can lay them directly on packed soil or over an existing concrete slab with zero special skills — I had my first section done in under an hour on my first attempt.
- They look genuinely high-end, like real slate or natural stone, but cost a fraction of the price — neighbors legitimately couldn’t believe I didn’t hire a mason.
- Individual tiles can be replaced if one gets damaged or settles unevenly, so you’re not ripping up your whole patio to fix one problem.
What doesn’t
- If your ground isn’t properly leveled beforehand, you’ll end up with slight wobbles and uneven surfaces — the tiles won’t hide bad prep work.
- Weeds can grow up between the joints if you don’t add landscape fabric underneath, which adds a step to the process.
I’ll admit I second-guessed the durability the first winter — I was convinced freeze-thaw cycles would destroy them — but they’ve held up solid for three seasons now. Grab the Slate Stone Deck Tiles Interlocking Outdoor Flooring and get started this weekend.
About This Article

Written by Marcus Delvecchio. Marcus Delvecchio isn't a licensed contractor — he's a handyman and DIY outdoor landscaper who got obsessed with driveways, patios and pavers after redoing his own place badly enough to want to understand why. Twenty years later he spends his weekends on his own projects and on side jobs for neighbours and friends around the mid-Atlantic, and writes up what actually worked, mistakes included. More about this site.
Scope and limits. Marcus is a homeowner who got obsessive about driveways, not a licensed contractor. Structural repair, drainage changes, and anything requiring a permit should go to a licensed contractor.
Verify this against a primary source
Specifics change, and your situation may differ from the one described here. These are the authorities worth checking directly:
- Concrete Masonry & Hardscapes Association — segmental paver installation standards
- National Asphalt Pavement Association — asphalt placement and maintenance guidance
- Portland Cement Association — concrete durability and jointing