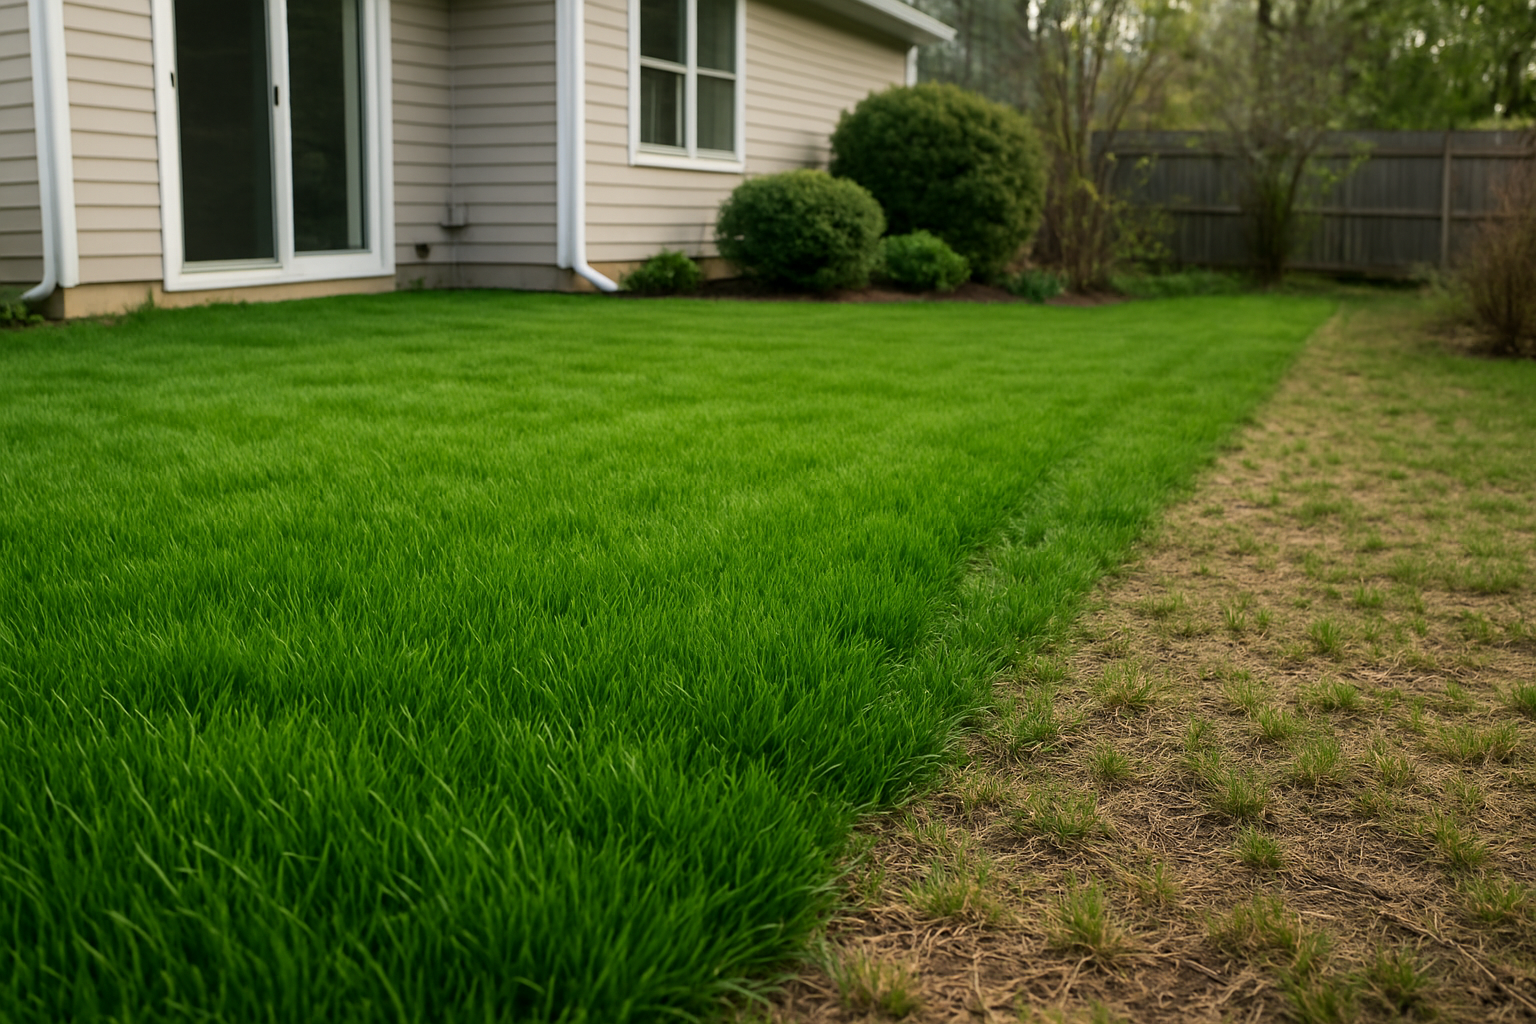
Most homeowners believe that a beautiful lawn is built on the surface—the right fertilizer, the right mower, the right watering schedule—when the truth is that nothing grows in compacted, suffocated soil, no matter what you throw at it. I spent years watching people dump money into their yards only to watch grass thin out again by midsummer, and every single time the real problem was underneath, invisible until I started pulling soil cores and seeing just how locked down the earth had become. Fall aeration and overseeding isn’t glamorous work, but it’s the single most important thing I do before touching anything else on a property—and it’s the one thing that actually sticks.
How Bad Was It, Really?
Let me set the scene. Our backyard had maybe 40% actual grass coverage. The rest was a rotating cast of crabgrass, bare hardpan soil, and a mysterious spreading weed my kids called “the carpet.” The soil was so compacted you could barely push a screwdriver into it. Years of foot traffic from kids, a dog with boundary issues, and one unfortunate summer where I let the lawn go completely dry had basically destroyed what our previous owners had worked hard to build.
I priced out a professional lawn care service. The quotes came back between $400 and $850 just for aeration and overseeding — not including any soil amendments or follow-up treatments. My wife and I looked at each other and decided we’d either do it ourselves or move. (Kidding. Mostly.) That’s when I started doing serious research and realized I’d been skipping the most critical step all along: proper core aeration before seeding.
Why Fall Is the Best Time for Lawn Aeration and Overseeding
If you’ve been putting off this project, fall is your window — and it’s genuinely the best one you’ve got. Cool-season grasses like fescue, bluegrass, and ryegrass thrive when soil temperatures are between 50°F and 65°F. In most parts of the country, that sweet spot hits sometime between late August and mid-October. The air is cooler, which means less stress on new seedlings. The soil is still warm from summer, which encourages fast germination. And weed pressure drops significantly in fall, so your new grass isn’t competing as hard right out of the gate.
Core aeration is what makes overseeding actually work. Without it, you’re essentially sprinkling seeds on concrete. Compacted soil prevents water, oxygen, and nutrients from reaching the root zone. When you pull plugs from the ground — those little cores you’ve probably seen dotting a freshly aerated lawn — you’re opening up channels that allow seed, fertilizer, and moisture to make direct contact with healthy soil. The difference in germination rates between an aerated lawn and a non-aerated one is dramatic. We’re talking 2–3 times better seed-to-soil contact.
What I Used: My Recommended Products
I want to be upfront: I did this project manually, without renting a gas-powered aerator. For a yard under 5,000 square feet, a quality manual core aerator is completely manageable — and far cheaper. Here’s what I used and what I’d recommend.
The Manual Aerator That Finally Let Me Feel the Soil Fighting Back
After five years of neglect, compacted soil doesn’t just need puncturing—it needs the kind of controlled, repetitive core extraction that a manual aerator gives you. You feel every plug coming up, you see exactly where the thatch is thickest, and you know you’re actually breaking the crust instead of just poking holes.
What works
- The hollow tines pull up actual soil cores instead of compressing soil further, which is critical when you’re dealing with years of foot traffic and drainage issues.
- You control the pace and can adjust pressure on dense patches—no guessing whether a gas-powered machine is going deep enough or too deep for shallow-rooted areas.
- The footprint is narrow enough to work around existing hardscape and drainage lines without the safety concerns of motorized equipment near driveways or concrete edges.
What doesn’t
- A half-acre lawn takes real effort—your legs and lower back will know it by hour two, which is why I always do this work in two or three weekend sessions instead of one push.
- You need to go over the same area multiple times in different directions to get proper coverage, so don’t expect it to be fast if you’re used to tractor-mounted aerators.
I almost rented a power aerator that first Saturday—I was tired, the lawn looked impossibly thick, and I doubted whether manual work would make any real difference. But after the first few passes with the hollow tines, I saw the soil cores piling up and realized I had actual control over what was happening. Grab the Manual Core Aerator Lawn Tool with 3 Hollow Tines and you’ll have the same realization.
About This Article

Written by Marcus Delvecchio. Marcus Delvecchio isn't a licensed contractor — he's a handyman and DIY outdoor landscaper who got obsessed with driveways, patios and pavers after redoing his own place badly enough to want to understand why. Twenty years later he spends his weekends on his own projects and on side jobs for neighbours and friends around the mid-Atlantic, and writes up what actually worked, mistakes included. More about this site.
Scope and limits. Marcus is a homeowner who got obsessive about driveways, not a licensed contractor. Structural repair, drainage changes, and anything requiring a permit should go to a licensed contractor.
Verify this against a primary source
Specifics change, and your situation may differ from the one described here. These are the authorities worth checking directly:
- Concrete Masonry & Hardscapes Association — segmental paver installation standards
- National Asphalt Pavement Association — asphalt placement and maintenance guidance
- Portland Cement Association — concrete durability and jointing