How to Build a Fire Pit: The Complete DIY Guide for Under $200

This post contains affiliate links. As an Amazon Associate, I earn from qualifying purchases at no extra cost to you.

If you’ve been putting off a backyard upgrade because you think it has to be expensive or complicated, let me stop you right there. Learning how to build a fire pit is genuinely one of the highest-impact projects you can knock out in a single afternoon — no contractor, no permits in most areas, and no special skills required. I’ve built three of these over the years, and every single one has become the most-used spot in the yard the moment it was finished. A crackling fire, some chairs pulled close, and suddenly your backyard feels like a destination. Let’s get into it.

Fire Pit Types: Choose Your Build

Before you grab a shovel, take five minutes to decide which style fits your yard and your goals. Not every build is right for every situation.

In-Ground Fire Pit

This is the simplest build of all — you dig a bowl roughly 12 inches deep and 3 feet across, line the bottom with gravel for drainage, and drop a steel ring insert inside. It’s permanent, low-profile, and looks like it belongs there. The downside is that it’s essentially invisible until you’re standing right next to it, which can be a tripping hazard if you don’t border it with pavers or stone.

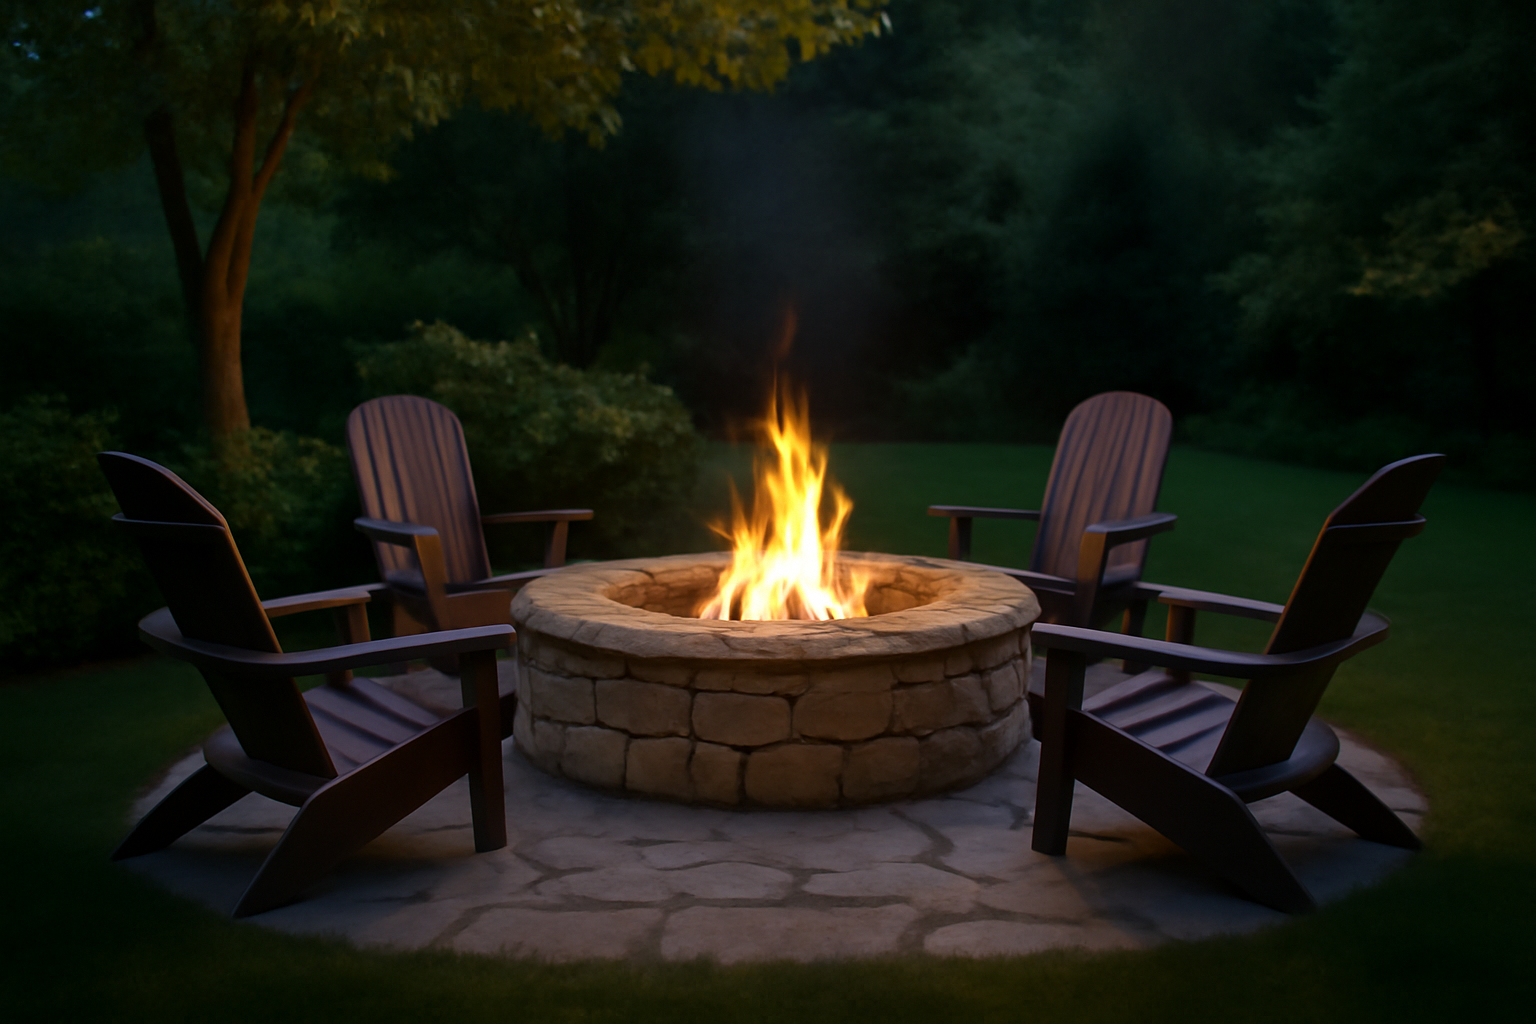
Above-Ground Block Ring

This is the most popular DIY fire pit style for good reason — it’s fast, affordable, looks polished, and anyone can do it. You stack retaining wall blocks in a circle, drop in a steel liner, and you’re done. This is the build we’ll walk through step by step below, and it’s what I’d recommend for most homeowners building their first backyard fire pit.
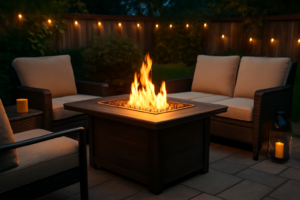
Fire Pit Table

Sometimes the smartest move is to just buy something. Fire pit tables — the kind that run on propane and sit inside a finished frame — are worth considering if you want zero maintenance, no smoke, and a cleaner aesthetic for an entertainment patio. They’re not a DIY project, but they’re also not a bad call if your HOA restricts wood-burning or you just want the ambiance without the ash cleanup.
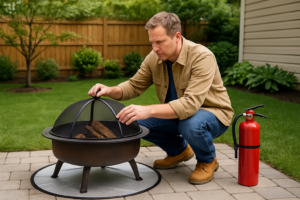
Materials and Costs

One of the best things about this project is how affordable it is. Here’s exactly what you’ll need for a standard 36-inch above-ground block fire pit:

  • Retaining wall blocks: You’ll need approximately 36 blocks for a 36-inch pit stacked 3–4 courses high. At $2–$4 each, that’s $72–$144. Tumbled wall blocks from any home improvement store work perfectly.
  • Steel fire pit ring insert: This is non-negotiable. Without a metal liner, the heat will crack your blocks over time. Budget $40–$80 depending on the insert you choose.
  • Gravel: A couple of bags of pea gravel or crushed stone for the base and to fill the gap between the ring and blocks. Around $10–$15.
  • Landscape adhesive: One or two tubes of construction adhesive rated for outdoor masonry. About $8–$12 per tube.

Total estimated cost: $100–$200 for a fire pit that looks like you spent much more.

On my most recent patio build, I used the Iron Forge Tools Smokeless Firepit – 36 inch Outer/30 inch Inner Round Fire Ring Insert Liner and it’s the one I keep coming back to for block-ring builds. What sets it apart is the utility patent-pending smokeless design — it pulls air from below and creates a secondary burn that dramatically cuts down on smoke output. For a 36-inch pit, the sizing is dead-on, and the heavy-duty metal construction means it’s not warping or rusting out after one season. If you want one ring insert that does everything well, this is it.

If you’re looking for a more budget-friendly liner without giving up durability, the Comzinn 36 Inch Inner Round Fire Pit Ring Insert is a solid choice I’ve tested and trusted. It features a 40-inch outer diameter with a 36-inch inner burning area, and the 1.5mm thick steel construction holds up well to repeated high-heat use. I especially appreciate that it’s purpose-built for wood burning in above-ground and in-ground setups — exactly what this guide covers. Great value for a first-time build.

Step-by-Step: Building a Block Fire Pit

Alright, let’s actually build this thing. Plan for a half-day and you’ll be lighting your first fire by sunset.

Step 1: Choose Your Location

I cannot stress this enough — placement matters. Your fire pit needs to be a minimum of 10 feet from any structure, including your house, fences, sheds, and pergolas. Check overhead for tree branches; you want clear sky above. Also take five minutes to check your local fire codes and HOA rules before you dig or stack a single block. Some municipalities require permits or restrict wood-burning altogether. It’s a quick call or web search that saves a lot of headache.

Step 2: Level the Ground and Add a Gravel Base

Mark out a circle slightly larger than your intended pit — I use a stake and string to scratch the outline into the ground. Remove the sod and dig down about 4 inches. Fill that depth back up with compacted gravel. This does two things: it gives your first course of blocks a stable, level surface to sit on, and it promotes drainage so water doesn’t pool under your fire. Tamp it down firmly before you move on.

Step 3: Lay the First Course

Place your steel ring insert on the gravel base and use it as your guide for the first course of blocks. Arrange the blocks around the outside of the ring in a circle, checking level as you go. Don’t skip the level — a crooked first course means every course above it gets worse. Adjust the gravel beneath individual blocks until everything sits flat and even.

If you’re building a square or rectangular fire pit instead of a round one, the VEVOR Fire Pit Ring, 42×42 in Outer/36×36 in Inner Diameter Square Fire Pit Insert is the product I’d point you toward. I used this on a square paver build last fall and was impressed by the heavy-duty carbon steel construction and the 10-inch height that keeps everything contained. It works equally well above-ground or in-ground, which gives you flexibility if your design changes mid-project. Knowing how to build a fire pit in a square format is easier when your liner is already designed for that shape.

Step 4: Stack the Remaining Courses

Stack 3–4 courses of blocks total, applying landscape adhesive between each course. The key technique here is staggering your joints — each block should sit centered over the joint between two blocks below it, just like bricklaying. This gives the wall structural integrity and a clean, professional look. Run a bead of adhesive on top of each course before laying the next. Let it tack up slightly before pressing the next blocks in place.

Step 5: Place the Ring Insert and Fill with Gravel

Once your block walls are stacked and the adhesive has set, lower your steel ring insert into the center of the pit. There will be a gap between the outside of the ring and the inside face of your blocks — fill that gap with pea gravel. This prevents heat from transferring directly into the blocks and extends the life of your wall significantly. Your DIY fire pit is now structurally complete.

For those who want a square format but prefer a more streamlined profile, I also recommend taking a look at the OutVue 36 inch Square Fire Pit Ring. This is a heavy-duty campfire insert that works both above and in-ground, and the build quality feels solid right out of the box. What I like about this one specifically is how cleanly it fits into a square block build — the dimensions are consistent and forgiving, which makes the layout step much less fiddly. A great option if you want to know how to build a fire pit with a more modern, geometric look.

Fire Pit Safety Rules

Building it right is only half the job. Using it safely is the other half, and I’ve seen enough close calls to take this section seriously.

  • Clearance from structures and trees: Maintain that 10-foot minimum from any structure and watch for overhead branches. Embers travel farther than you think, especially on a dry night.
  • Water and extinguisher access: Always keep a bucket of water or a garden hose within reach before you light the first match. A fire extinguisher nearby is even better. Never leave a fire unattended, even for a few minutes.
  • Wind awareness and spark screens: Check wind direction before lighting. If wind is gusting toward your house or seating area, wait for calmer conditions. A spark screen or ember guard is an easy, inexpensive addition that keeps flying embers contained — well worth the $20–$30.
  • Local fire codes and burn bans: Your area may issue seasonal burn bans during dry conditions. Check local advisories before each use, not just when you build. Burning during a ban is a fine at best and a genuine hazard at worst.
  • Burn only seasoned hardwood: Avoid treated lumber, plywood, or trash — they release toxic fumes and produce excessive sparks. Seasoned oak, hickory, or ash burns cleaner and hotter.

You’re Ready to Build

There’s a reason the backyard fire pit is one of the most-requested weekend projects I get asked about — it’s approachable, affordable, and the payoff is immediate. From choosing a location to lighting your first fire, this entire project can realistically be done in one afternoon for well under $200. Whether you go with a round block design or a square in-ground build, following these steps gives you a safe, durable, good-looking fire pit that will get used year after year. Now go grab some blocks, pick your insert, and get building.