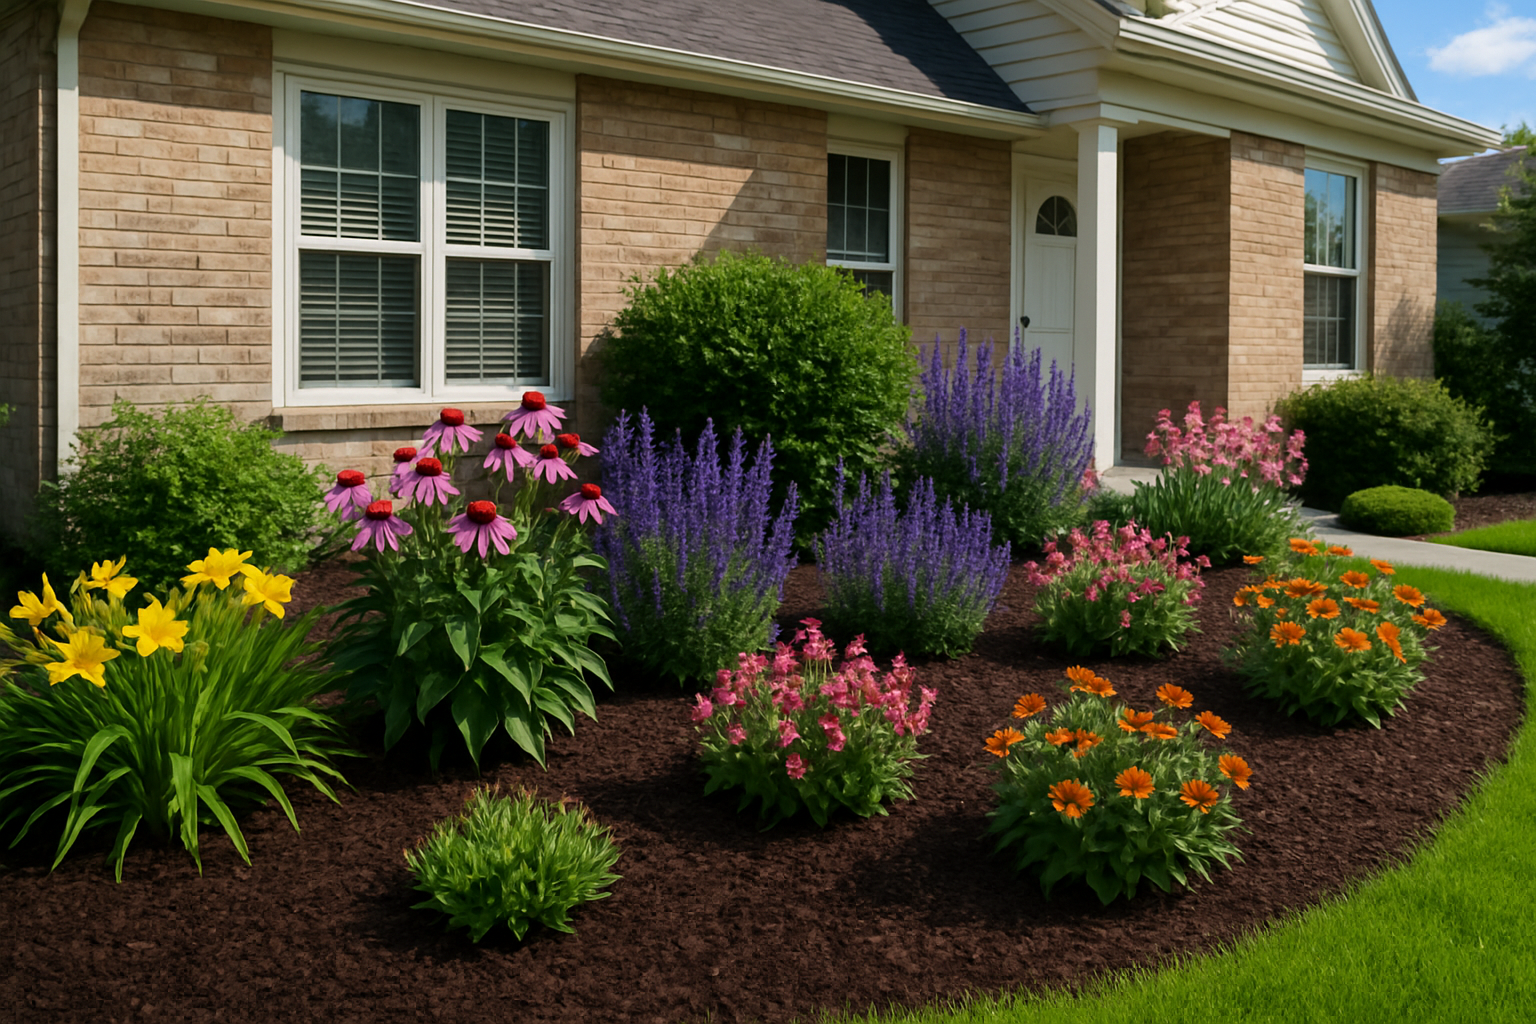
Pull back from two front yards on the same street, and the difference between a quick mulch job and a thoughtful one becomes impossible to miss—one looks refreshed and intentional, while the other looks tired and neglected within weeks. I’ve seen this contrast play out hundreds of times across properties I’ve worked on, and it taught me that mulching isn’t just about dumping dark material over your beds; it’s about understanding prep work, depth, placement, and timing if you want that curb appeal boost to actually last. The homeowners who get it right don’t necessarily spend more money or time—they just approach it differently than the ones watching their investment fade by summer.
Here’s the thing though — once I dusted myself off, watched approximately forty-five minutes of tutorial videos, and actually did the project the right way, the results were genuinely stunning. My front yard went from “tired and forgettable” to “did you hire someone?” in a single afternoon. So let me save you from the hydrangea faceplant and walk you through exactly what I learned.
Why Mulching Your Front Yard for Curb Appeal Actually Works
Mulch is one of those landscaping upgrades that looks like it took significant effort but is genuinely achievable in a weekend — or yes, a single afternoon if you plan ahead. A fresh layer of mulch does several things at once: it defines your flower beds, creates a clean visual contrast against your lawn and plants, suppresses weeds (huge bonus), and retains moisture in the soil. From the street, even a modest front yard with well-mulched beds looks intentional and polished. It signals that someone cares about this home.
The transformation is partly psychological. Clean edges and uniform ground cover draw the eye in an organized way. Mess and bare dirt do the opposite. Mulch essentially gives your landscaping a visual framework, and it works whether you have elaborate flower beds or just a strip of shrubs along your foundation.
What to Do Before You Spread a Single Piece of Mulch
This is where I went wrong the first time. I skipped basically every prep step and paid for it with my dignity. Here’s the correct order of operations:
The Edging That Finally Kept My Mulch From Creeping Into the Driveway
Here’s what I learned the hard way: mulch without a proper barrier migrates. Rain pushes it toward pavers, foot traffic scatters it onto concrete, and within two seasons you’re looking at organic debris staining your hardscape and binding into joints. A clean, defined edge doesn’t just look professional—it protects the work you did on the driveway.
What works
- Holds a crisp line between mulch beds and pavement without sagging or rolling inward after the first watering
- Galvanized steel stays put through freeze-thaw cycles—I’ve had cheaper plastic edges buckle in mid-winter and need replacement
- Ten-pack gives you enough to edge an average front bed with leftover stock for repairs or future projects without a second order
What doesn’t
- Installation requires a rubber mallet and a straight line marked out beforehand—if you eyeball it, the result looks off even if it functionally works
- Galvanized finish will eventually show oxidation and weather patina; if you’re after a dark landscape look, the silver-gray tone reads industrial rather than invisible
I second-guessed the installation depth the first time I drove this—wasn’t sure three inches down was enough to hold against aggressive mulch migration—but three seasons later I’m still looking at clean separation between bed and concrete. Grab the 33ft. Galvanized Steel Landscape Edging 10-Pack and you’ll have the same confidence.
About This Article

Written by Marcus Delvecchio. Marcus Delvecchio isn't a licensed contractor — he's a handyman and DIY outdoor landscaper who got obsessed with driveways, patios and pavers after redoing his own place badly enough to want to understand why. Twenty years later he spends his weekends on his own projects and on side jobs for neighbours and friends around the mid-Atlantic, and writes up what actually worked, mistakes included. More about this site.
Scope and limits. Marcus is a homeowner who got obsessive about driveways, not a licensed contractor. Structural repair, drainage changes, and anything requiring a permit should go to a licensed contractor.
Verify this against a primary source
Specifics change, and your situation may differ from the one described here. These are the authorities worth checking directly:
- Concrete Masonry & Hardscapes Association — segmental paver installation standards
- National Asphalt Pavement Association — asphalt placement and maintenance guidance
- Portland Cement Association — concrete durability and jointing