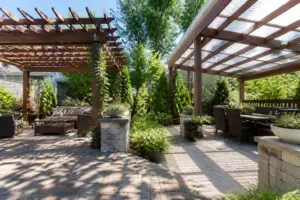
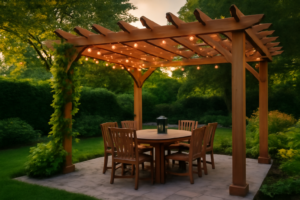
I’ve watched pergola kits turn into five-figure repair nightmares because someone skipped the foundation work and discovered six months later that the posts were sinking into clay, or that their local building inspector showed up mid-project and red-tagged the whole thing. The truth is, those sleek manufacturer instructions—the ones with smiling families and perfect angles—gloss right past the decisions that determine whether your pergola stands solid for a decade or becomes a wobbling liability in your backyard. After I’ve had to help people dismantle poorly installed kits and start over, I realized what actually separates a one-day installation from a weekend of frustration and regret: knowing which corners you can cut and which ones will cost you dearly later.
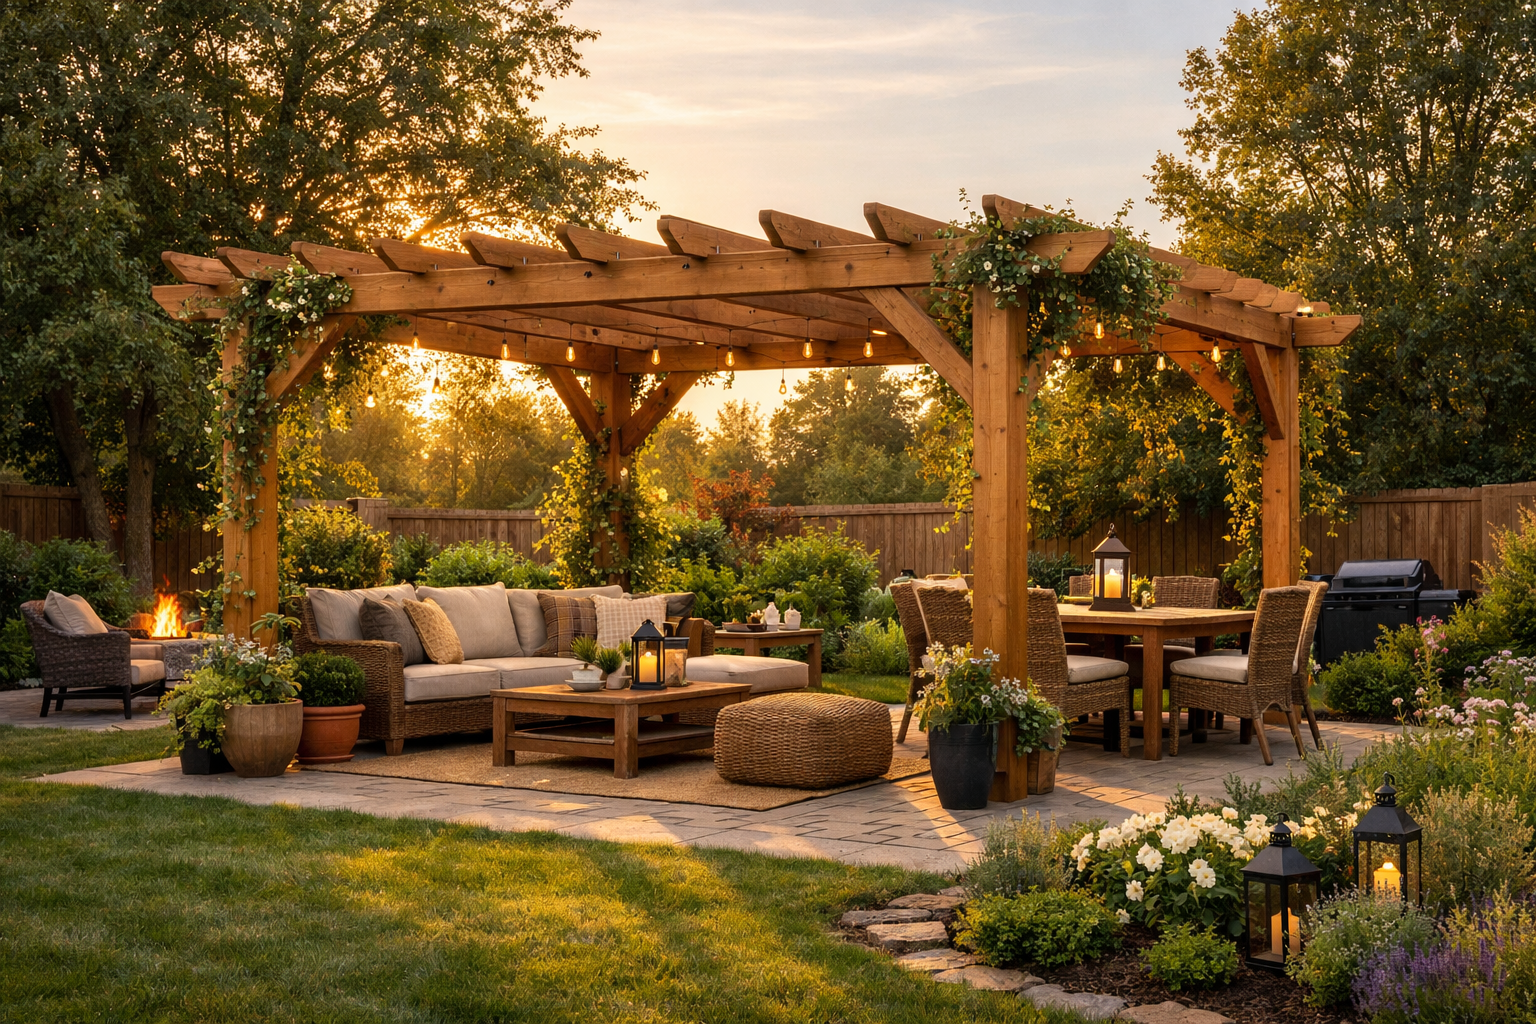
Why I Chose a Kit Over Building from Scratch
Let me back up. My backyard patio had been a sad, sun-blasted rectangle for two years. Every summer I’d squint out there, think “I should do something about that,” and then retreat inside to the air conditioning. I finally committed to a pergola last spring, and the first big decision was whether to build from raw lumber or buy a pre-engineered kit.
I have moderate DIY confidence. I’ve built raised garden beds, laid a flagstone pathway, and installed a basic fence panel or two. But I am not a carpenter, and the idea of calculating spans, choosing the right joinery, and sourcing finished cedar posts sent me straight to the kit route. After a lot of research, I landed on the BlueWish 10′ x 12′ Patio Pergola. It’s a cedar wood kit with a slatted trellis roof, solid pre-cut structure, and enough good reviews to give me confidence. The price was fair for the quality, and the dimensions fit my patio almost perfectly.
If you’re working with a slightly larger footprint or want something with more coverage, I’d also point you toward the MUPATER 12×24 FT Cedar Wood Pergola, which is a serious all-cedar structure with snow and wind ratings and stakes included — genuinely impressive for the price. And for families who want a ready-made, slightly more traditional look, the Backyard Discovery Beaumont 12′ x 12′ Traditional Cedar Wood Pergola Kit with Trellis Roof, All-Season Durability, High-Wind Rating, PowerPort, Shade for Outdoor Patio, Deck, Garden, and Entertaining has a PowerPort feature built in and a high-wind rating that gives you real peace of mind in stormy climates.
The Actual Installation: What the Instructions Didn’t Tell Me
Here’s where I stop being polite and start being useful. I finished the pergola in one day — that part is true. But it was nine hours of work, two trips to the hardware store, one minor injury involving a rafter and my shin, and a moment around 4 p.m. where I sat on the patio and questioned every decision I’d ever made. Here is everything the instruction sheet glossed over.
Have Two People. No, Really.
The instructions say “two people recommended.” Let me translate that: one person is not possible once you get to raising the beam assembly. I tried. I used clamps, I used my truck, I used my neighbor’s fence as a temporary brace. Eventually I called my brother-in-law and waited forty minutes for him to arrive. Save yourself that time and just schedule a helper from the start.
Your Ground Probably Isn’t Level — Check It First
This one cost me the most time. My patio looks level. It is not level — it has a slight drainage slope, as most do. When I set the four post bases and started plumbing the posts, two corners were sitting a quarter inch high. I had to shim two post bases, which meant disassembling and starting a section over. Spend fifteen minutes with a long spirit level and a tape measure before you touch a single bolt. It is the best fifteen minutes you will spend all day.
The Hardware Bag Is Optimistic
My kit came with exactly the number of bolts and washers needed — not one extra. I dropped one washer into a gap in my patio pavers and lost it forever. That was my first hardware store trip. Pre-sort and count all hardware into labeled cups or a muffin tin before you begin. This sounds fussy. It is also the advice of someone who made two unnecessary trips to Ace Hardware on what should have been a relaxing Saturday.

Tools You’ll Actually Need (Beyond the List)
Every kit gives you a tool list. Mine was technically accurate and practically incomplete. Here is the real list based on my experience:
- Power drill with multiple charged batteries — you will use it far more than expected
- Socket wrench set, metric and standard (the kit used both on mine)
- 4-foot spirit level and a 2-foot level
- Rubber mallet — essential for fitting mortise joints without splitting wood
- Bar clamps, at least two — for holding beams in position while you drive bolts
- Step ladder and a 6-foot ladder — you will need both heights
- Safety glasses — wood chips are real
- Extra hardware — washers, bolts in the same size, picked up preemptively
A cordless impact driver makes tightening lag bolts dramatically faster. If you don’t own one, now is a good time to acquire one. It will not be the last project you use it on.
What I Would Do Differently
Looking back with the clarity that only comes after you’ve finished something difficult and had a cold drink, here are the things I genuinely wish I’d done differently.
Pre-stain the Wood Before Assembly
Cedar is beautiful raw, but it weathers quickly without protection. I stained mine after assembly, which meant working around every joint and losing coverage in all the tight spots where pieces overlap. Pre-staining each component before you bolt it together takes maybe two extra hours but gives you much more even, lasting protection. I’ll do this every time going forward.
Plan the Anchoring Method Before Delivery Day
How you attach post bases to your surface matters enormously and varies depending on whether you have concrete, pavers, decking, or soil. I had concrete and needed masonry anchors, which I had not purchased in advance. Know your surface, buy the right anchors ahead of time, and if you’re going into soil, the MUPATER kit I mentioned earlier actually includes stakes — a thoughtful detail that saves a separate purchase.
Consider Whether You Actually Want a Pergola or Something More Covered
This might sound strange after a full pergola installation, but about a month into using mine, I found myself wishing for more overhead protection on really blazing days. If you’re in a hot climate and want genuine shade rather than filtered light, a hardtop gazebo might serve you better. The Aoxun 10×12 Hardtop Gazebo has a double galvanized steel roof, netting, and privacy curtains — it’s a very different vibe from a pergola, but worth knowing about before you commit. If you grill outdoors a lot, something like the 6′ x 8′ Outdoor Bar Grill Gazebo with TV Mount & 𝐏𝐨𝐰𝐞𝐫 𝐎𝐮𝐭𝐥𝐞𝐭𝐬 or the compact AECOJOY 5’x8′ Metal Outdoor Grill Gazebo & 215 Cu.ft Lean to Storage Shed might be exactly what your backyard actually needs instead.
Add Climbing Plants and Arches to Complete the Look
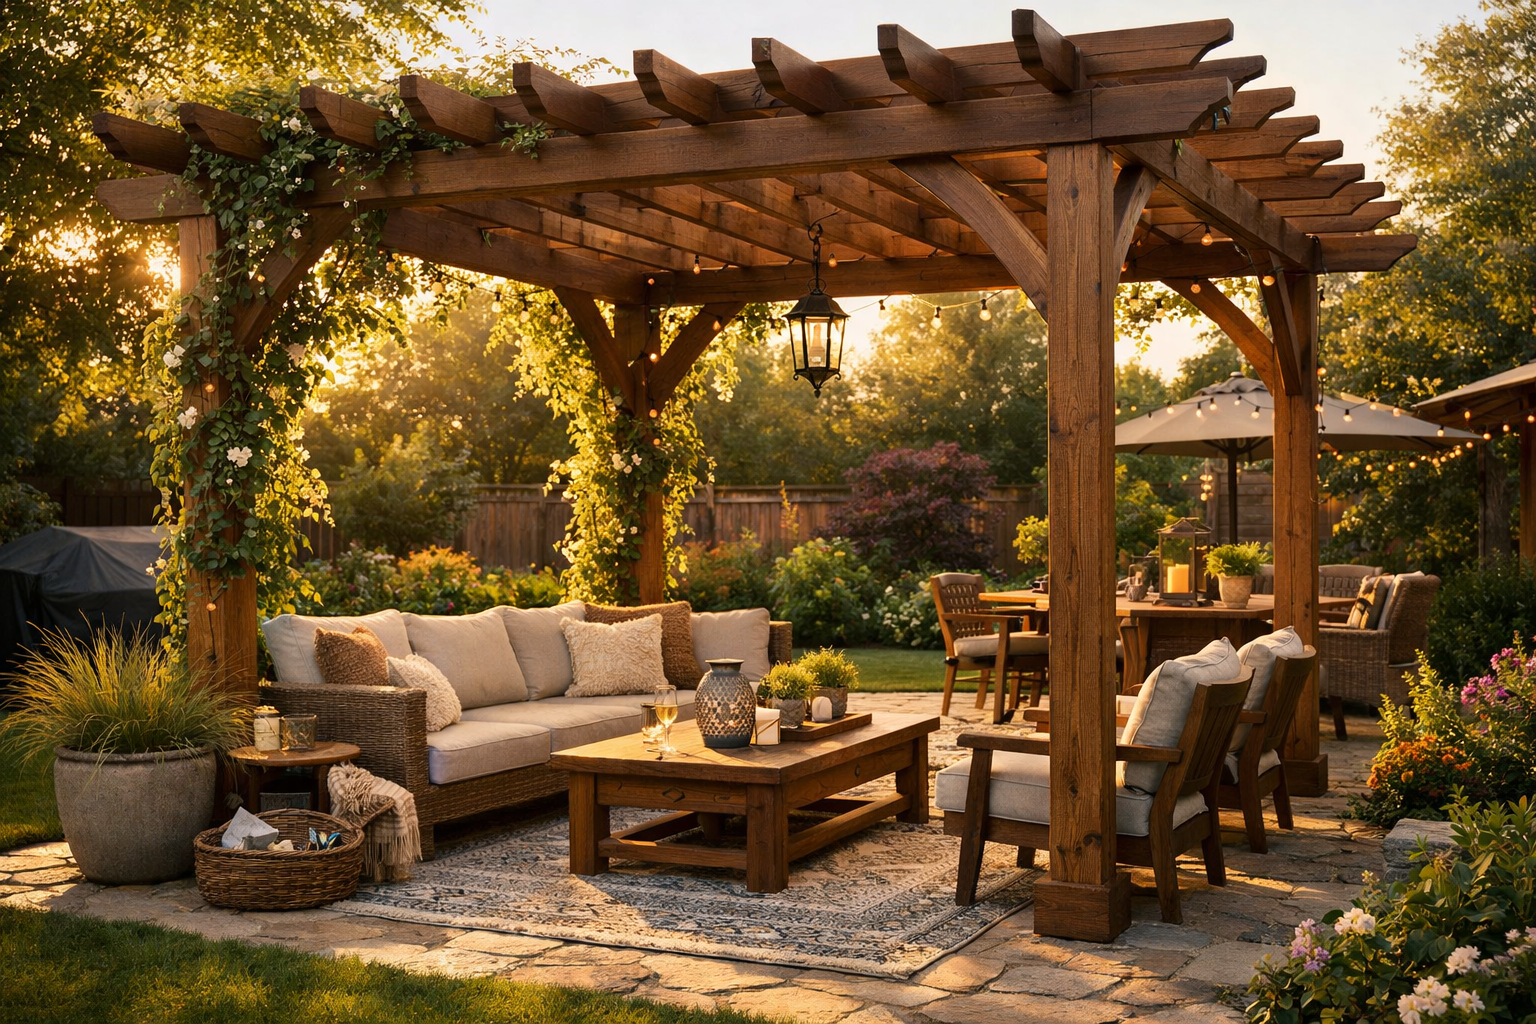
One thing the kit photos never show is how bare a new pergola looks for the first season. I’ve started training a climbing rose up one post, and I added a Metal Garden Arch at the entrance to the patio to define the space and give the plants something to grow through before they reach the pergola. The Fecita Thickened Rustproof Garden Arch is another strong option if you want something wider — it comes in two sizes and has excellent rust resistance for something that lives outside year-round. These arches transformed the entry to my outdoor space in a single afternoon and made the whole project feel finished in a way the pergola alone didn’t quite achieve.
The Kit That Actually Came With Straight Lumber and Hardware That Fit
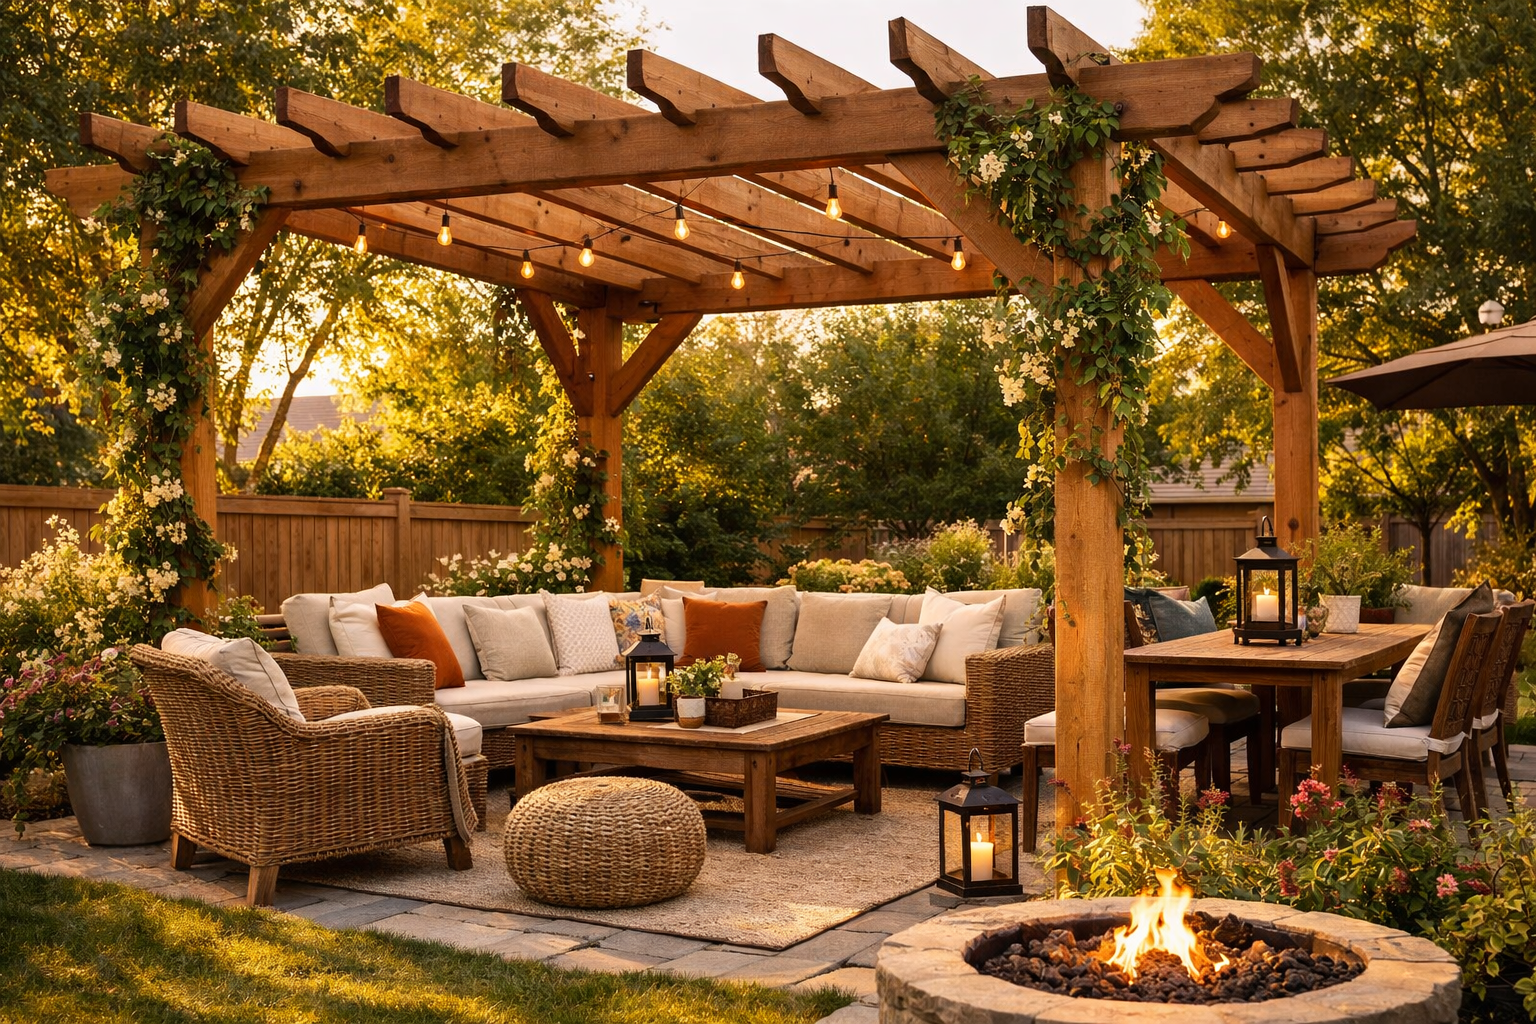
After years of watching DIYers wrestle with warped boards and missing bolts halfway through assembly, I finally installed a pergola kit where the parts actually matched the instruction manual. The BlueWish checks the boxes that separate a one-day job from a weekend disaster.
What works
- Hardware bag is actually complete—I didn’t have to make a second Home Depot run or improvise with fasteners that were close enough.
- Lumber arrived straight and dry, not the typical warp-and-check situation that derails half the DIY jobs I see posted online.
- Instructions use actual measurements instead of vague diagrams—paired with a concrete foundation, assembly felt like following a real plan instead of reverse-engineering one.
What doesn’t
- The 10′ x 12′ footprint is deceptively large—you need a dead-level, prepared base or the whole structure will sit uneven and create water-pooling issues down the road.
- Finish quality depends entirely on post-install work; the kit ships primed but unfinished, so staining or sealing adds another full day if you want it to last more than two seasons.
I hit a real moment of doubt during layout when I realized my patio wasn’t quite square—almost abandoned the footprint before taking time to correct it. That decision saved the whole project. If you’re serious about the one-day timeline, grab the BlueWish 10′ x 12′ Patio Pergola and spend your prep day getting the base right.
About This Article

Written by Marcus Delvecchio. Marcus Delvecchio isn't a licensed contractor — he's a handyman and DIY outdoor landscaper who got obsessed with driveways, patios and pavers after redoing his own place badly enough to want to understand why. Twenty years later he spends his weekends on his own projects and on side jobs for neighbours and friends around the mid-Atlantic, and writes up what actually worked, mistakes included. More about this site.
Scope and limits. Marcus is a homeowner who got obsessive about driveways, not a licensed contractor. Structural repair, drainage changes, and anything requiring a permit should go to a licensed contractor.
Verify this against a primary source
Specifics change, and your situation may differ from the one described here. These are the authorities worth checking directly:
- Concrete Masonry & Hardscapes Association — segmental paver installation standards
- National Asphalt Pavement Association — asphalt placement and maintenance guidance
- Portland Cement Association — concrete durability and jointing