Here’s something manufacturers won’t put in their brochures: most product warranties are void the moment installation goes wrong. I’ve seen perfectly good materials fail in two years because of bad prep, poor drainage, or incorrect sealing — and none of it was covered because the install wasn’t done to spec. Garden ponds are no different. Get the excavation depth wrong, skip proper liner protection, or ignore how water will move around that feature during a heavy rain, and you’re not looking at a weekend project — you’re looking at a soggy, sinking mess that costs twice as much to fix. What follows is a straightforward breakdown of how to do this right the first time, written with the same standards I’d hold any professional installation to.
This post contains affiliate links. As an Amazon Associate I earn from qualifying purchases at no extra cost to you.
Why I Finally Stopped Pinning Pond Photos and Actually Dug One
I’d had a pond on my wishlist for about three years. Every spring I’d save another dozen photos to a folder called “someday backyard,” and every autumn I’d close the folder and tell myself it was too complicated, too expensive, or too messy to attempt. What finally changed my mind was stumbling across a kit that essentially bundled everything I needed into one purchase. Once I realized I didn’t have to source a pump, skimmer, liner, and filter separately — cross-referencing specifications I barely understood — the project started to feel achievable.
I also gave myself a hard budget ceiling. Four hundred dollars. Not a dollar more. That constraint actually made the planning easier because it eliminated a lot of decision fatigue. I knew what I was working with, so every choice became simple: does this fit the budget or not?
Choosing the Right Kit: What I Bought and Why
After an embarrassing amount of research (we’re talking browser tabs plural, spread across two evenings), I landed on the Aquascape DIY Backyard Pond Kit 8 x 11 feet. It comes as a complete water garden ecosystem with a pump, skimmer, and filter — which, for someone who had never built a pond before, was genuinely reassuring. Having those three components matched and designed to work together meant I wasn’t going to accidentally pair an underpowered pump with an oversized filter and wonder why the water looked like pea soup after a week.
The 8 x 11 footprint was also the sweet spot for my space. Large enough to look intentional and support a few plants and fish, but small enough that two adults with basic fitness levels could realistically dig it in a day. (Spoiler: it took us most of Saturday, and we are not especially athletic people.)
I also seriously considered the Aquascape Micro Pond Kit, which comes with a free LED 3-light kit — genuinely tempting if you want that lit-up evening look from day one. I ended up sticking with the standard kit because I wanted to add lighting later as a separate project, but if evening ambiance is a priority for you, the Micro Pond Kit is worth the look.
For those who want the soothing sound of moving water without the full ecosystem commitment, I’d also point you toward the Aquascape DIY Backyard Waterfall Kit, which pairs beautifully with the pond kit if you want to add a cascading feature down the line.
The Weekend Build: A Realistic Hour-by-Hour Breakdown
Saturday: The Digging, the Doubt, and the Dirt
We marked out the shape with a garden hose on Friday evening — a loosely kidney-shaped outline that felt more natural than a perfect rectangle. Saturday morning started with coffee and optimism. By noon we had optimism and blisters. By 3pm we had a hole we were actually proud of.
A few things that made the digging go smoother than expected:
- We dug in two depths — a shallower shelf around the edges (about 12 inches) for marginal plants, and a deeper central area (roughly 18 to 24 inches) for fish and pump placement.
- Removing sod first in clean strips saved a lot of time versus trying to dig through it.
- We piled the excavated soil directly onto a tarp, which made cleanup and redistribution around the garden much easier.
Once the hole was shaped, we smoothed the walls, removed any sharp rocks or roots, and laid down the underlayment that came with the kit. Then came the liner — which is where I was most nervous, having read horror stories about wrinkles causing leaks. Honestly? It was more forgiving than I expected. We draped it loosely, weighted the edges temporarily with smooth stones, then worked out the major folds before filling slowly with water. The weight of the water does most of the work for you.
A Note on Liner Care
While our liner went in without any drama, I did pick up a couple of backup products just in case. The Pond Guy EPDM Liner Seam Kit is worth keeping on hand if you’re joining two pieces of liner or need to make a repair later. And for smaller patches, the ToLanbbt EPDM Liner Repair Patch Kit — a self-adhesive, waterproof rubber patch — is the kind of thing you’ll be glad you have in the shed and never need to use.
Sunday: Plumbing, Plants, and Paying Ourselves in Compliments
Sunday was far more satisfying than Saturday. Installing the skimmer and filter was straightforward — the kit instructions were clear enough that I only had to watch one YouTube video, which I’m counting as a personal victory. The pump connected without fuss, and when we turned it on for the first time and watched water start to circulate, the sense of achievement was completely disproportionate to the actual complexity of what we’d done. We felt like engineers.
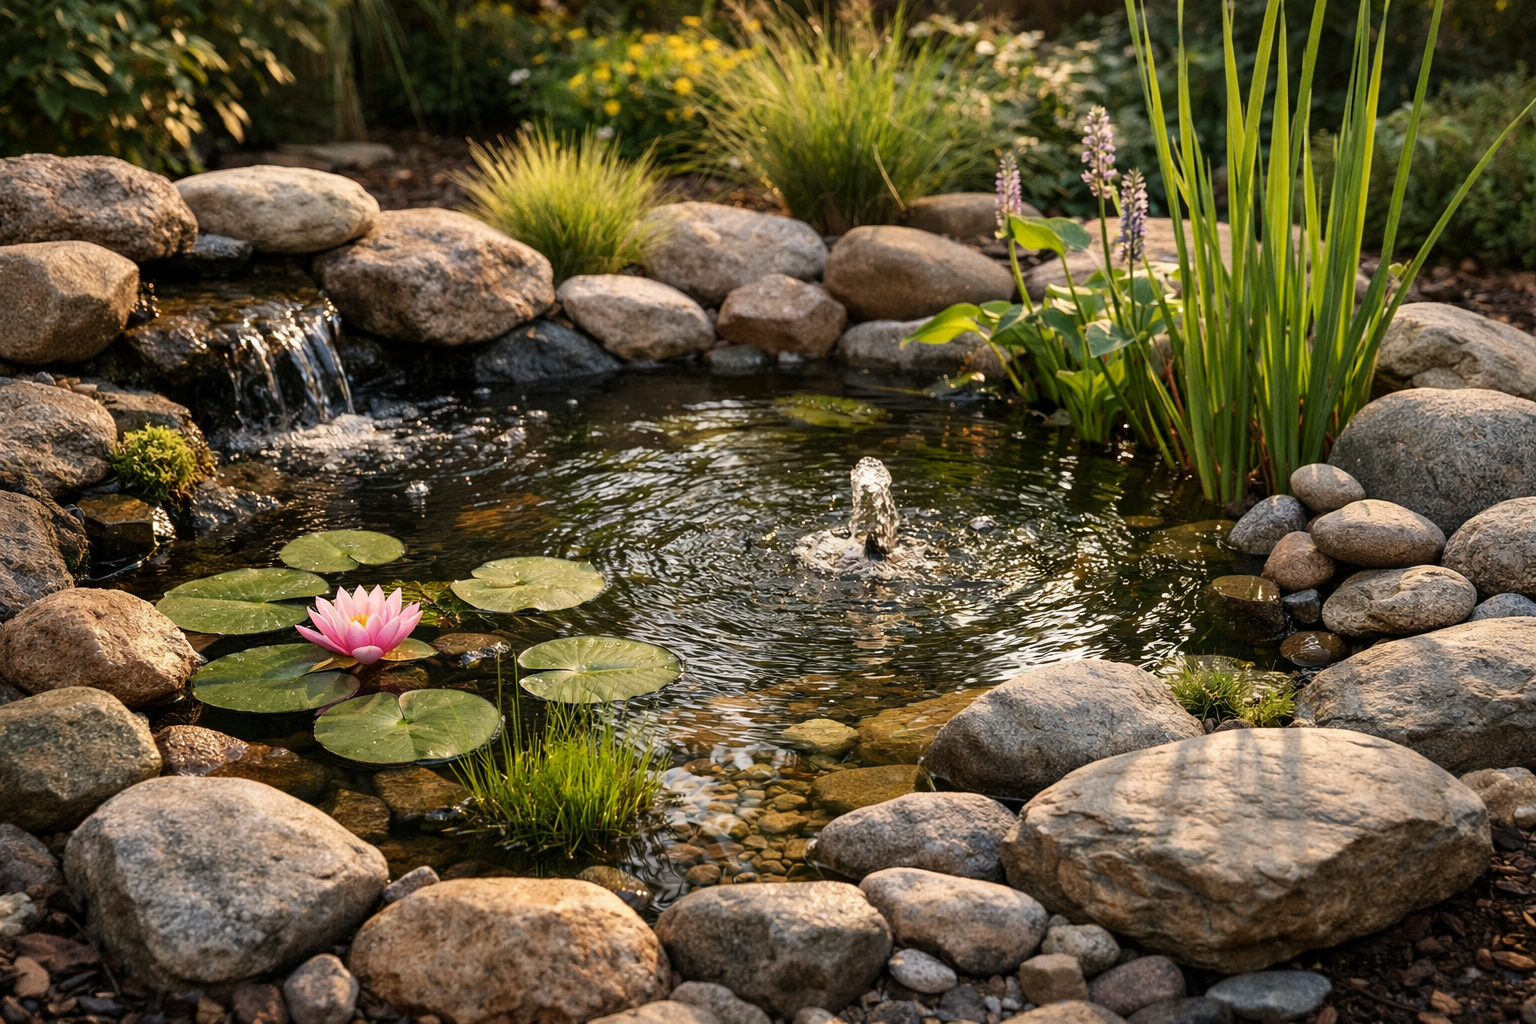
We edged the pond with a mix of flat flagstone we’d had left over from a previous patio project and some river cobble purchased from a local landscape supplier for about $22. Rocks were tucked around the liner edge to hide the rubber and create a natural transition into the surrounding garden bed.
Plants went in last — a couple of water lilies, some marginal sedge, and a small papyrus. We sourced these from a local water garden nursery for around $45 total. Placing them was genuinely enjoyable, the kind of slow, satisfying work that makes you feel like you know what you’re doing even when you’re largely guessing.
For anyone building a smaller feature or wanting supplemental circulation without running power to a remote corner of the yard, a solar-powered pump is a brilliant addition. The Solar Fountain Water Pump by Upgraded Mini Solar is a tidy 1.5W option that works well for smaller ponds or bird baths. Alternatively, the Mademax 1W Solar Bird Bath Fountain Pump is a freestanding float option with good reviews for gentle surface movement. If you’re specifically after tubing reach, the Biling Solar Fountain comes with 4 feet of tubing and works nicely for small ponds and fish tanks.
What the $380 Actually Bought
Since I promised transparency, here’s roughly where the money went:
- Aquascape DIY Backyard Pond Kit: approx. $295
- Aquatic plants from local nursery: $45
- River cobble edging stone: $22
- Miscellaneous (cable ties, waterproof sealant, a new pair of garden gloves because mine had a hole): $18
Total: $380. The flagstone edging came from our existing stash, which brought the cost down considerably. If you’re starting from scratch on edging materials, budget an extra $30 to $60 depending on your look.
My Honest Verdict — and What I’d Do Differently
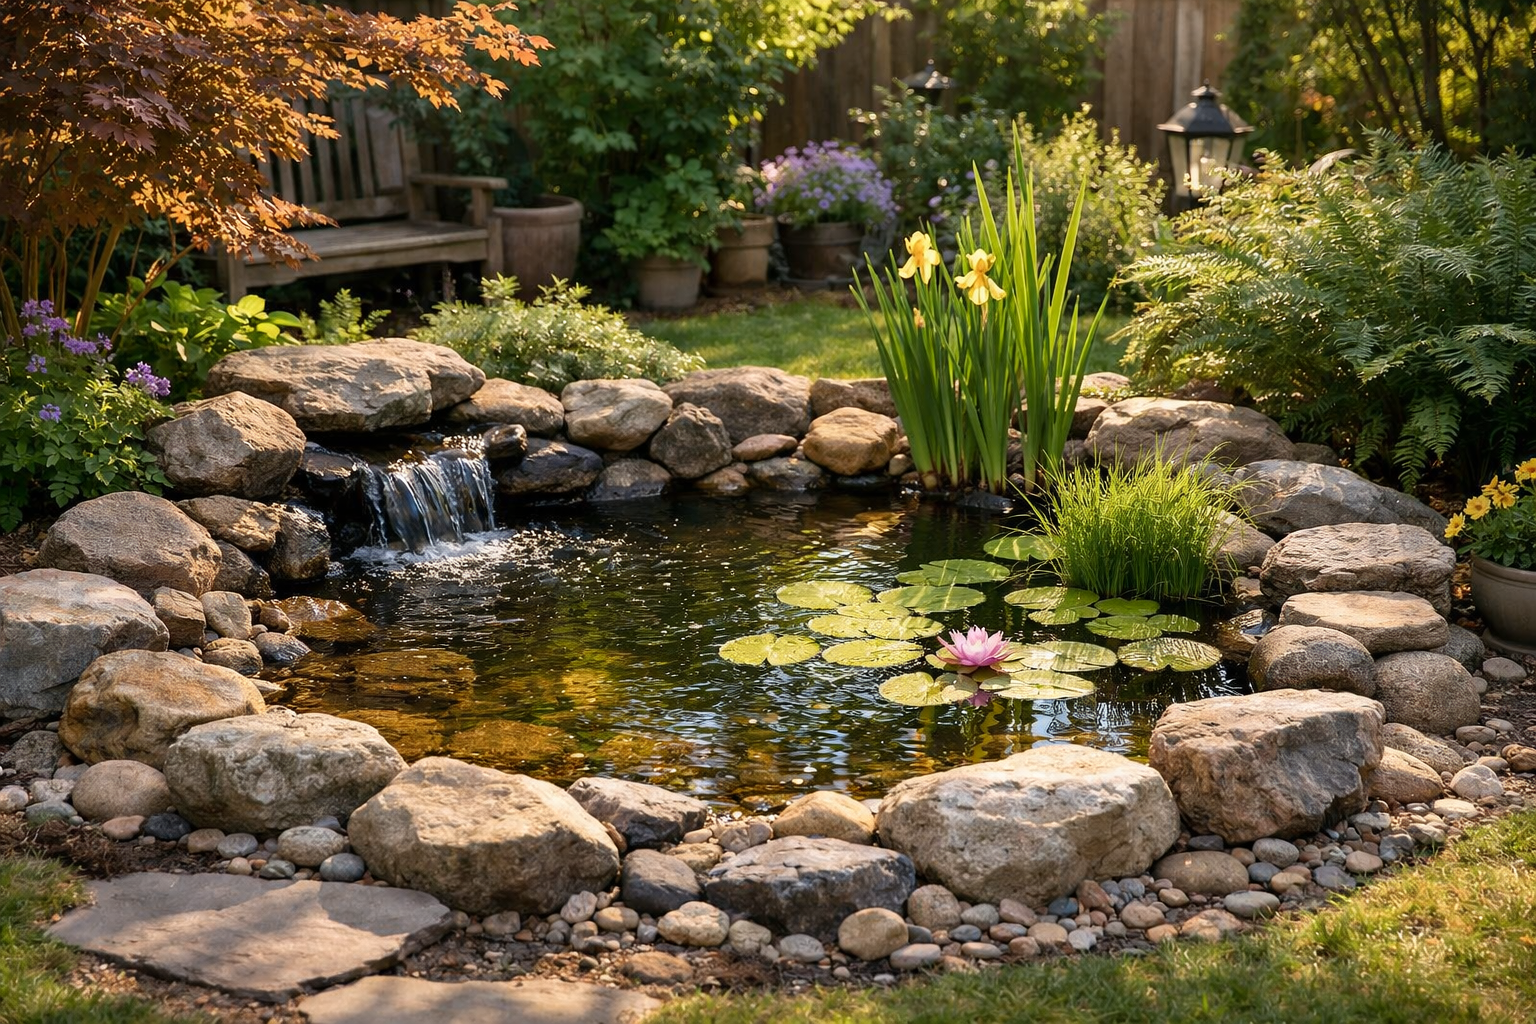
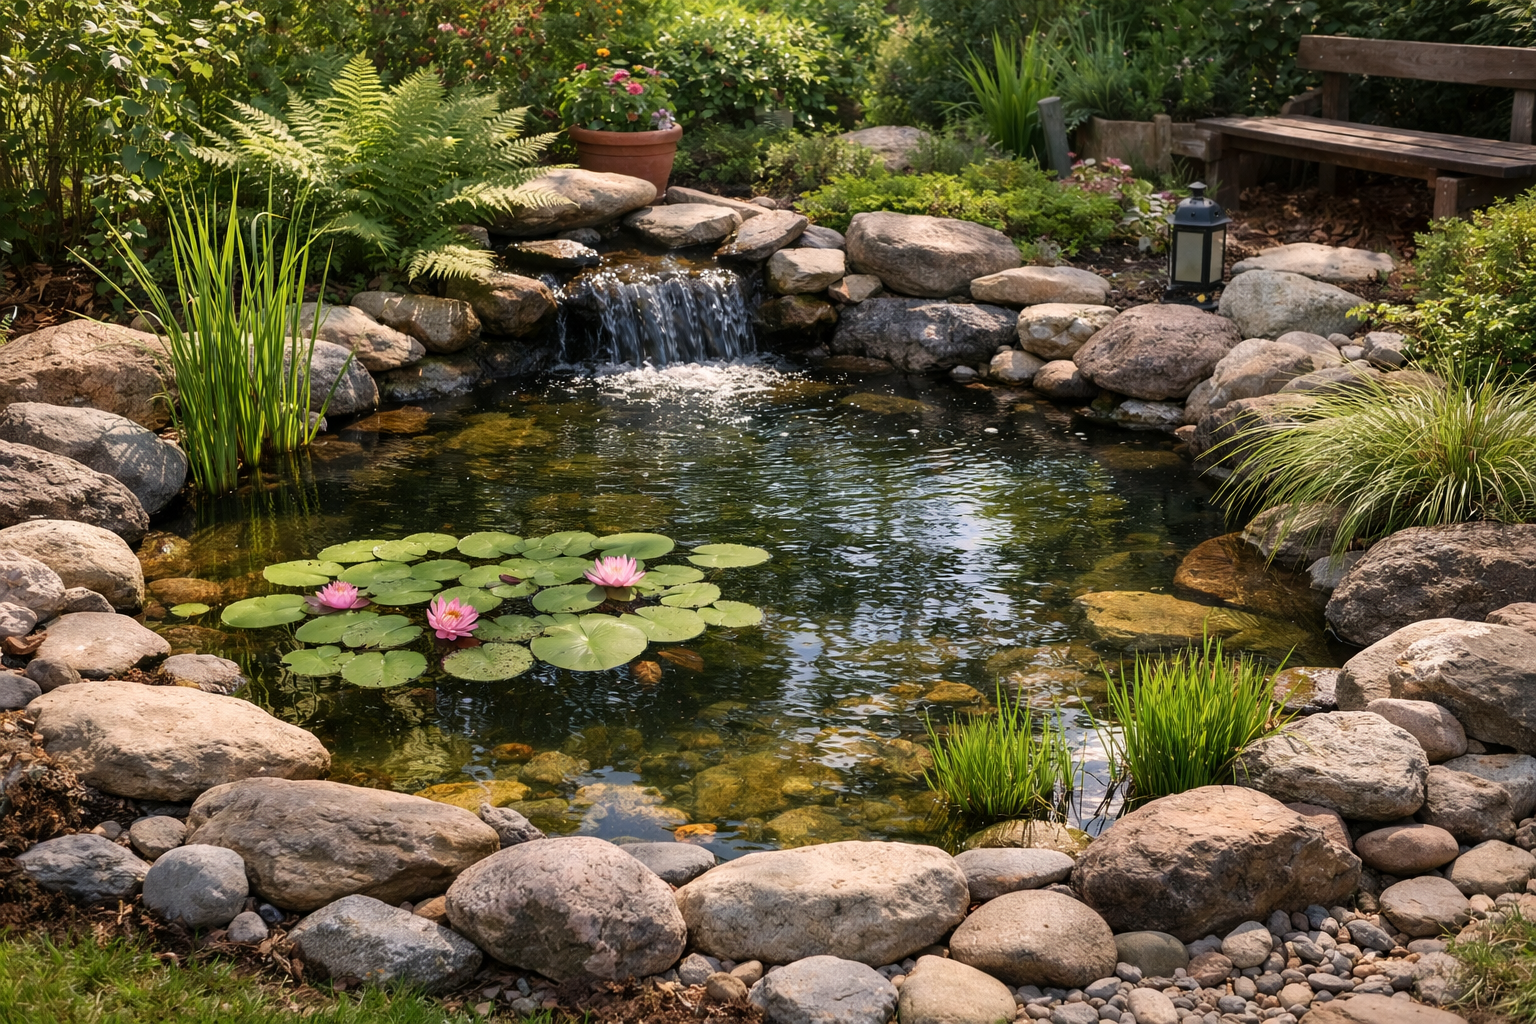
Building a DIY garden pond under 400 dollars is not just achievable — it genuinely transformed a dull corner of our backyard into the spot everyone gravitates toward. We’ve had frogs show up within two weeks. The sound of the water is audible from the back porch. And yes, my partner has forgiven me for the raised bed situation. Progress on all fronts.
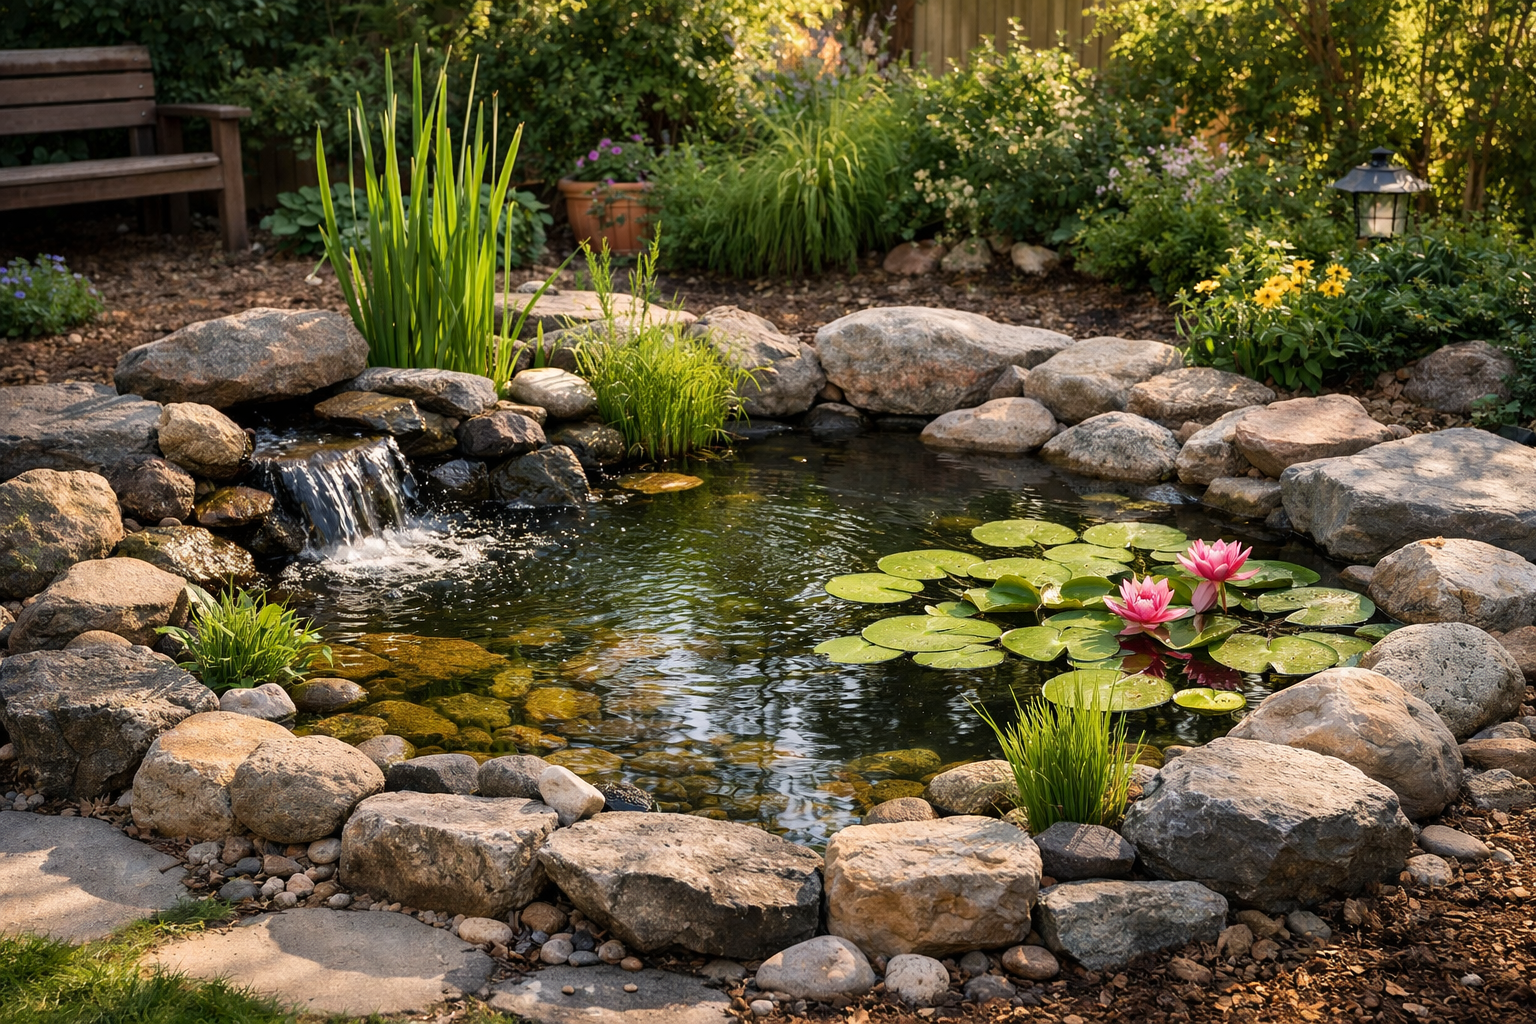
If I were doing it again, I’d do two things differently. First, I’d add the waterfall kit from day one rather than retrofitting it later — the Aquascape DIY Backyard Waterfall Kit would have been easy to integrate during the initial build and it’s a more awkward project once the liner is already in and the edges are set. Second, I’d have a repair patch kit in my supplies from the start — the ToLanbbt EPDM Liner Repair Patches are inexpensive and having them on hand would have saved me a panicked online order six weeks later when I nicked the liner trimming back some overgrown roots. (We caught it early. All was well. But my heart rate was not.)
If you’re ready to stop saving pond photos to a folder called “someday” and actually dig one, my clear recommendation is to start with the Aquascape DIY Backyard Pond Kit 8 x 11 feet. It’s the foundation that makes the rest of the project manageable, even for first-timers. Pick a weekend, find a helper, and just start digging. You’ll thank yourself every single morning you drink your coffee next to the water you made.
Have questions about the build, the plants, or how many times I second-guessed myself during the liner installation? Drop them in the comments below — I read every one.