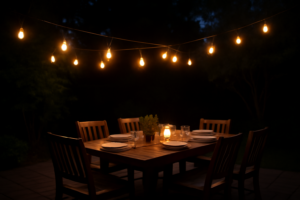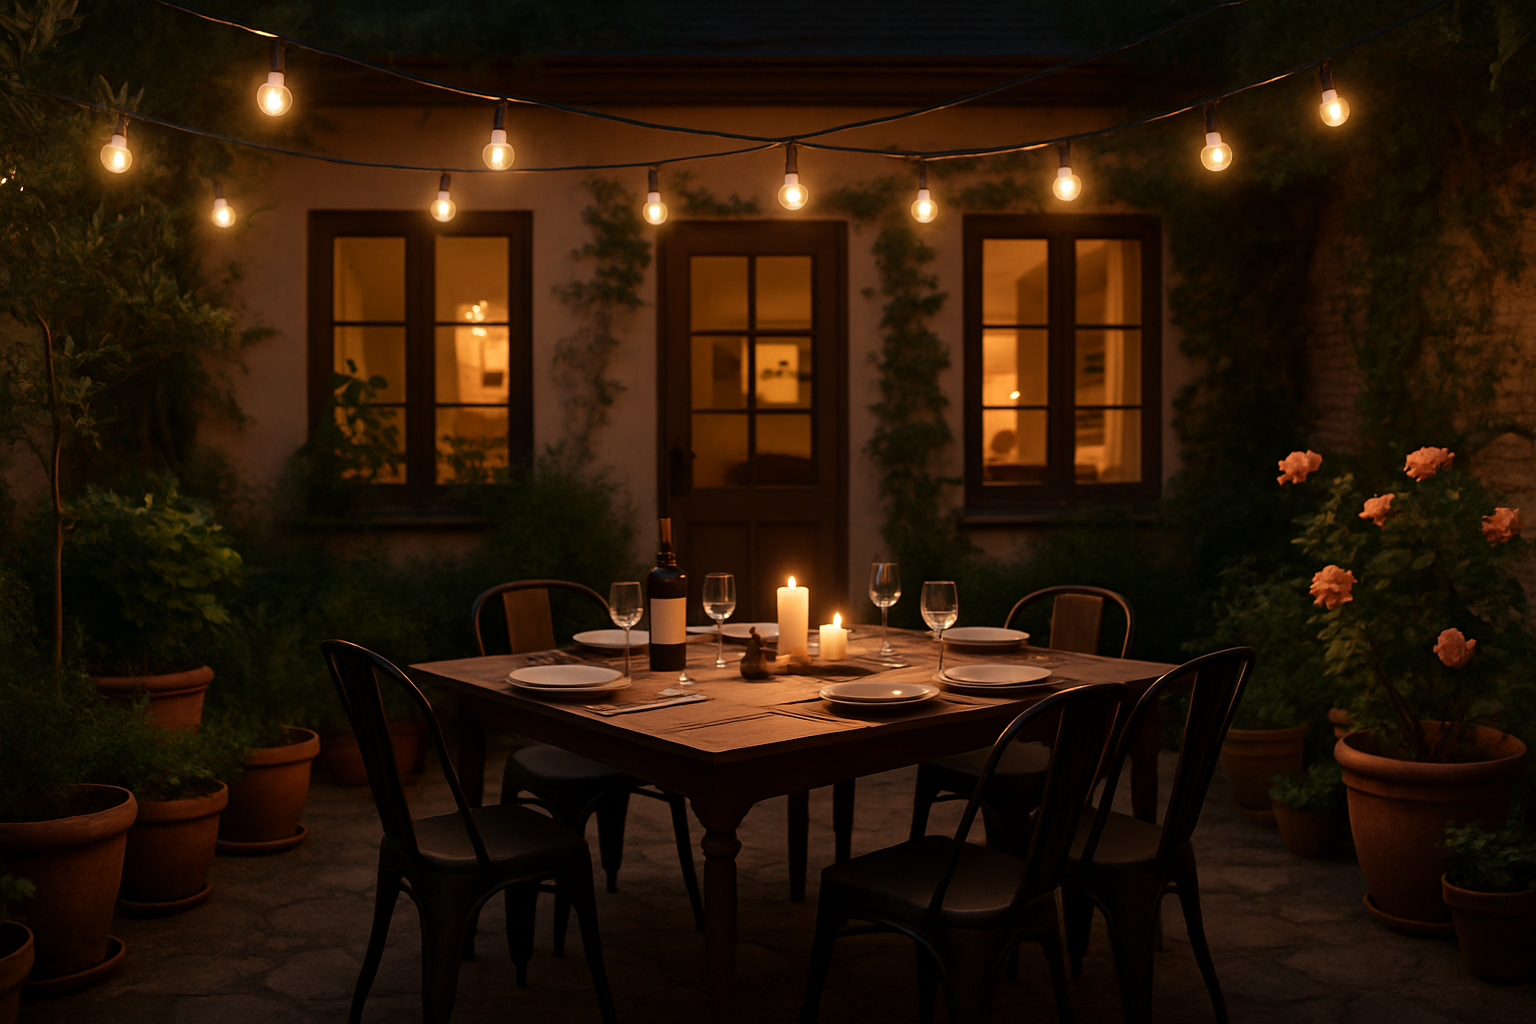
Spring arrives and suddenly everyone wants bistro lights strung across their patio—but that’s exactly when I see the most frustrated DIYers realize their weekend project has turned into something far more complicated than hanging a few strands. You pick a warm evening to install them, get halfway through, and discover your outdoor circuits are either maxed out, your anchor points won’t hold the tension, or worse, you’re looking at wiring that was never designed for permanent load. I learned this the hard way when a quick Saturday afternoon job with my neighbor turned into a four-hour lesson in why “simple string lights” demand the same structural and electrical respect as any permanent outdoor installation—and why skipping that due diligence can cost you both a project and a friendship.
How One “Quick” Weekend Project Nearly Ended a Friendship
My friend Carla and I had been talking about transforming my back patio for months. The space had good bones — a decent concrete slab, a pergola frame, some container plants — but it felt flat and lifeless after dark. We’d both been swooning over those warm, glowing café-style lights we kept seeing on Instagram and Pinterest, and we finally committed to a date: second Saturday of October, start at 10 a.m., done by noon. Lunch on the patio. Easy.
Reader, we were not done by noon.
The first problem was that I’d eyeballed my measurements instead of actually measuring. My pergola spans about 14 feet across and 18 feet deep, and I’d bought what I thought was plenty of string light length. Wrong. I also hadn’t accounted for the drape — that gentle, festive swag that makes bistro lights look like bistro lights instead of a sad clothesline. By the time Carla and I had unspooled everything and started mapping out the runs, we were already short, already bickering about whose fault it was, and already thirty minutes behind.
Then came the guide wire situation. I’d assumed I could just clip the lights to my pergola beams and call it a day. Carla — bless her and also briefly curse her — pointed out that without a support wire, the lights would sag unevenly and the weight could stress the sockets over time. She was right. I knew she was right. I did not want to hear it in that moment.
What I Wish I’d Known Before the Bistro Outdoor Lighting Install
Here’s everything I learned the hard way, packaged neatly so you don’t have to white-knuckle your way through it like we did.
Measure Twice (For Real This Time)
Before you buy a single strand, measure your space and then add 20–30% more length to account for the natural drape of the lights. A gentle swag between anchor points looks intentional and beautiful. A tight, straight run looks like you’re drying laundry. Measure the full perimeter if you’re doing a border run, or calculate each individual span if you’re doing a crisscross overhead pattern.
Use a Guide Wire — Always
Carla was right. String lights are not designed to bear their own weight over long spans without support. A stainless steel guide wire runs taut between your anchor points, and your lights drape gently over it. This protects the sockets, keeps everything level, and means your lights will still look gorgeous years from now instead of listing sadly to one side.
Plan Your Power Source First
Know where your outdoor outlet is before you start stringing. The end of your light strand with the plug needs to land close to power. If you plan backward from your outlet, you’ll save yourself a lot of frustrated re-hanging. If you don’t have a conveniently located outdoor outlet, this may be the time to call an electrician — don’t run extension cords permanently across a patio surface.
Anchor Points Matter More Than You Think
Your guide wire needs solid anchor points. Pergola posts, exterior walls with proper hardware, and wooden fence posts all work well. Use eye hooks rated for outdoor use and make sure they’re drilled into structural material, not just siding or trim. Turnbuckles help you tension the wire after installation so you can get that perfect, even line.
What I Used — My Recommended Products
After my chaotic first attempt, I did a lot more research before buying my second strand (yes, I needed a second strand). Here’s what I ended up with and what I’d buy again in a heartbeat.
The String Lights That Survived My Overambition (And the Concrete Work That Almost Didn’t)
When you’re anchoring bistro lights to a freshly sealed driveway apron, you need commercial-grade hardware that won’t fail mid-season—or worse, mid-party. I learned this the hard way when I realized my initial fixture plan would’ve put too much load on inadequate anchor points.
What works
- 105-foot span eliminates mid-run splicing on larger patios, which means fewer failure points and cleaner load distribution across multiple anchor points.
- Commercial-grade sockets are rated for outdoor moisture and thermal cycling—they actually hold up when your concrete expands and contracts seasonally.
- Heavy-duty wire gauge handles tension without sagging noticeably, which matters when you’re anchoring to freshly sealed surfaces that need to breathe.
What doesn’t
- The weight demands solid anchor points—you can’t just stake these into soft ground or newly worked soil, which forced me to core into my own concrete footer.
- 110V requirement means running dedicated outdoor-rated circuits if you’re not already set up, an extra step most weekend projects don’t budget for.
I almost talked myself into a cheaper 50-foot option halfway through, convinced I was overengineering—until I test-loaded the span and watched the sag pattern that would’ve hit head-level at the party center. Grab the Svater 105FT Commercial Grade Bistro String Lights and size your anchors accordingly.
About This Article

Written by Marcus Delvecchio. Marcus Delvecchio isn't a licensed contractor — he's a handyman and DIY outdoor landscaper who got obsessed with driveways, patios and pavers after redoing his own place badly enough to want to understand why. Twenty years later he spends his weekends on his own projects and on side jobs for neighbours and friends around the mid-Atlantic, and writes up what actually worked, mistakes included. More about this site.
Scope and limits. Marcus is a homeowner who got obsessive about driveways, not a licensed contractor. Structural repair, drainage changes, and anything requiring a permit should go to a licensed contractor.
Verify this against a primary source
Specifics change, and your situation may differ from the one described here. These are the authorities worth checking directly:
- Concrete Masonry & Hardscapes Association — segmental paver installation standards
- National Asphalt Pavement Association — asphalt placement and maintenance guidance
- Portland Cement Association — concrete durability and jointing