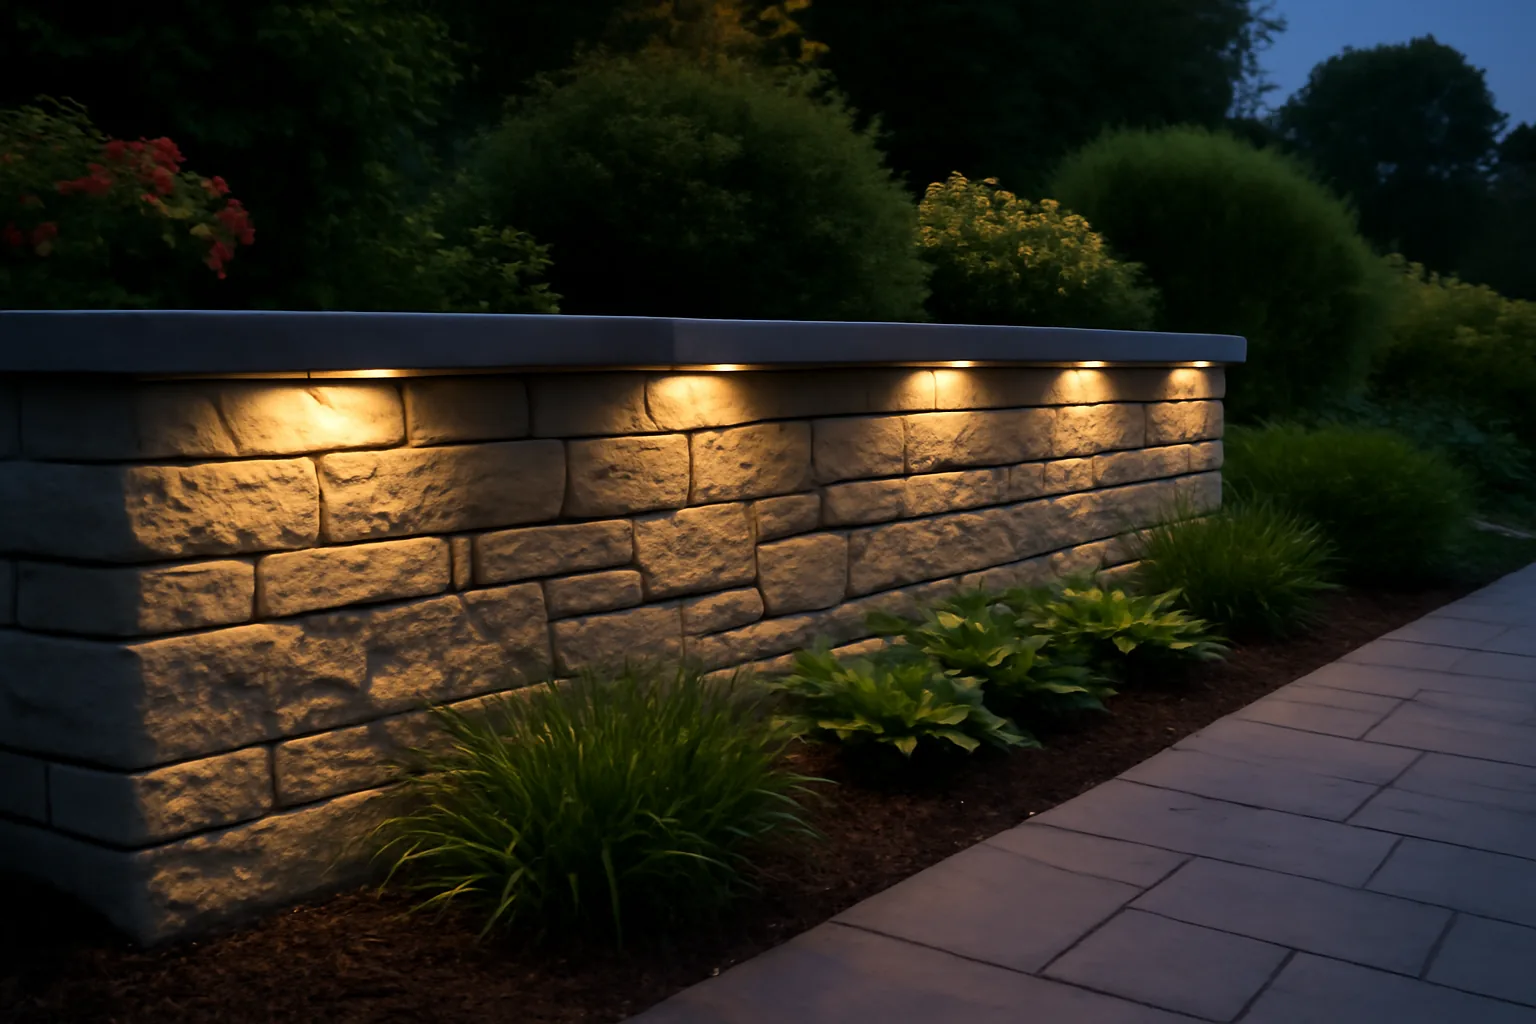
Last spring, I finally finished the retaining wall project I’d been putting off for three years. Two tiers, roughly 48 linear feet of wall, built with tumbled concrete block. It looked great during the day. At night, though, it completely disappeared into the dark. At night, though, it completely disappeared into the dark, and I realized my three-year effort looked half-finished in the evening hours. I knew from the start I wanted low voltage hardscape lights retaining wall installations to bring the whole thing to life after sunset.
The problem? I’d seen too many installs go sideways. Cheap puck lights that corroded in one season. Wire connections that failed after the first hard frost. I’d done enough outdoor electrical work to know that cutting corners on landscape lighting always costs more in the long run. So I took my time researching before I bought anything.
This is the story of how I found the right product, how I installed it, and what happened over the following eight months through rain, freeze-thaw cycles, and a genuinely brutal Midwest winter.
The 7-Inch Lights That Finally Made My Retaining Wall Visible at Night
After building a two-tier retaining wall, I quickly realized that good daytime looks meant nothing if the whole structure vanished after sunset. I needed hardscape lights positioned on the cap that could actually illuminate the wall’s texture and depth without looking like a Vegas casino.
What works
- The 7-inch height sits perfectly on a retaining wall cap—tall enough to cast light downward on the face without looking squat or disappearing into the landscape
- Low-voltage wiring runs easily along the wall base, and I only needed one transformer for an 8-pack covering my entire 48-foot run
- The warm LED color actually highlights the tumbled texture of my concrete blocks instead of washing them out like harsh white flood lights do
What doesn’t
- Spacing them evenly takes trial and error—I had to adjust three times before the light distribution looked natural instead of dotted and uneven
- The fixtures are plastic, not metal, so they won’t last 20 years; plan on replacing them every 5-7 years depending on climate exposure
Layout and Spacing
Across roughly 48 linear feet of two-tier wall I used all eight fixtures, spaced a little under 6 feet apart. Closer than about 4 feet and the scallops of light merge into a continuous wash that flattens the wall; much beyond 8 feet and you get obvious dark gaps between them. Six feet was the point where the wall read as lit rather than spotted.
Mount them under the cap lip rather than on the face. Tucked under, you see the light on the stone below and never the fixture itself; on the face they glare straight at anyone on the patio. I ran the cable in the joint behind the caps before setting them, which is far easier than retrofitting later.
Transformer sizing and voltage drop
Add up the wattage of every fixture and size the transformer with at least 20 percent headroom — running one at its limit shortens its life. On a run this length, voltage drop is the thing that catches people out: the fixtures furthest from the transformer will look dimmer unless you either use heavier gauge cable or feed the run from the middle rather than one end.
What I’d Do Differently
- Lay the cable in conduit even though low-voltage does not require it. It makes replacing a run trivial in five years.
- Buy the transformer with a photocell and timer rather than a bare one. Dusk-to-dawn is what you actually want.
- Dry-fit the whole layout at night before committing. Spacing that looks right on paper rarely is.
- Leave a service loop of cable at every fixture so one failure does not mean re-pulling the run.
What Low-Voltage Does and Doesn’t Let You Do
It stays firmly in DIY territory — no permit, no electrician, and the transformer plugs into an existing outdoor outlet. What it does not do is reach far from that outlet. If your wall is at the bottom of the garden with no power nearby, the honest answer is that you need a proper outdoor circuit run first, and that part is not a weekend job for most people.
I’ll admit I second-guessed myself halfway through installation when the first four lights made the wall look like an airport runway, but once I staggered the spacing and let them settle for a week, the effect completely transformed my backyard. Grab the LEONLITE 8-Pack 7 Inch LED Hardscape Lighting and you’ll have enough for a solid run without overspending.
About This Article

Written by Marcus Delvecchio. Marcus Delvecchio isn't a licensed contractor — he's a handyman and DIY outdoor landscaper who got obsessed with driveways, patios and pavers after redoing his own place badly enough to want to understand why. Twenty years later he spends his weekends on his own projects and on side jobs for neighbours and friends around the mid-Atlantic, and writes up what actually worked, mistakes included. More about this site.
Scope and limits. Marcus is a homeowner who got obsessive about driveways, not a licensed contractor. Structural repair, drainage changes, and anything requiring a permit should go to a licensed contractor.
Verify this against a primary source
Specifics change, and your situation may differ from the one described here. These are the authorities worth checking directly:
- Concrete Masonry & Hardscapes Association — segmental paver installation standards
- National Asphalt Pavement Association — asphalt placement and maintenance guidance
- Portland Cement Association — concrete durability and jointing