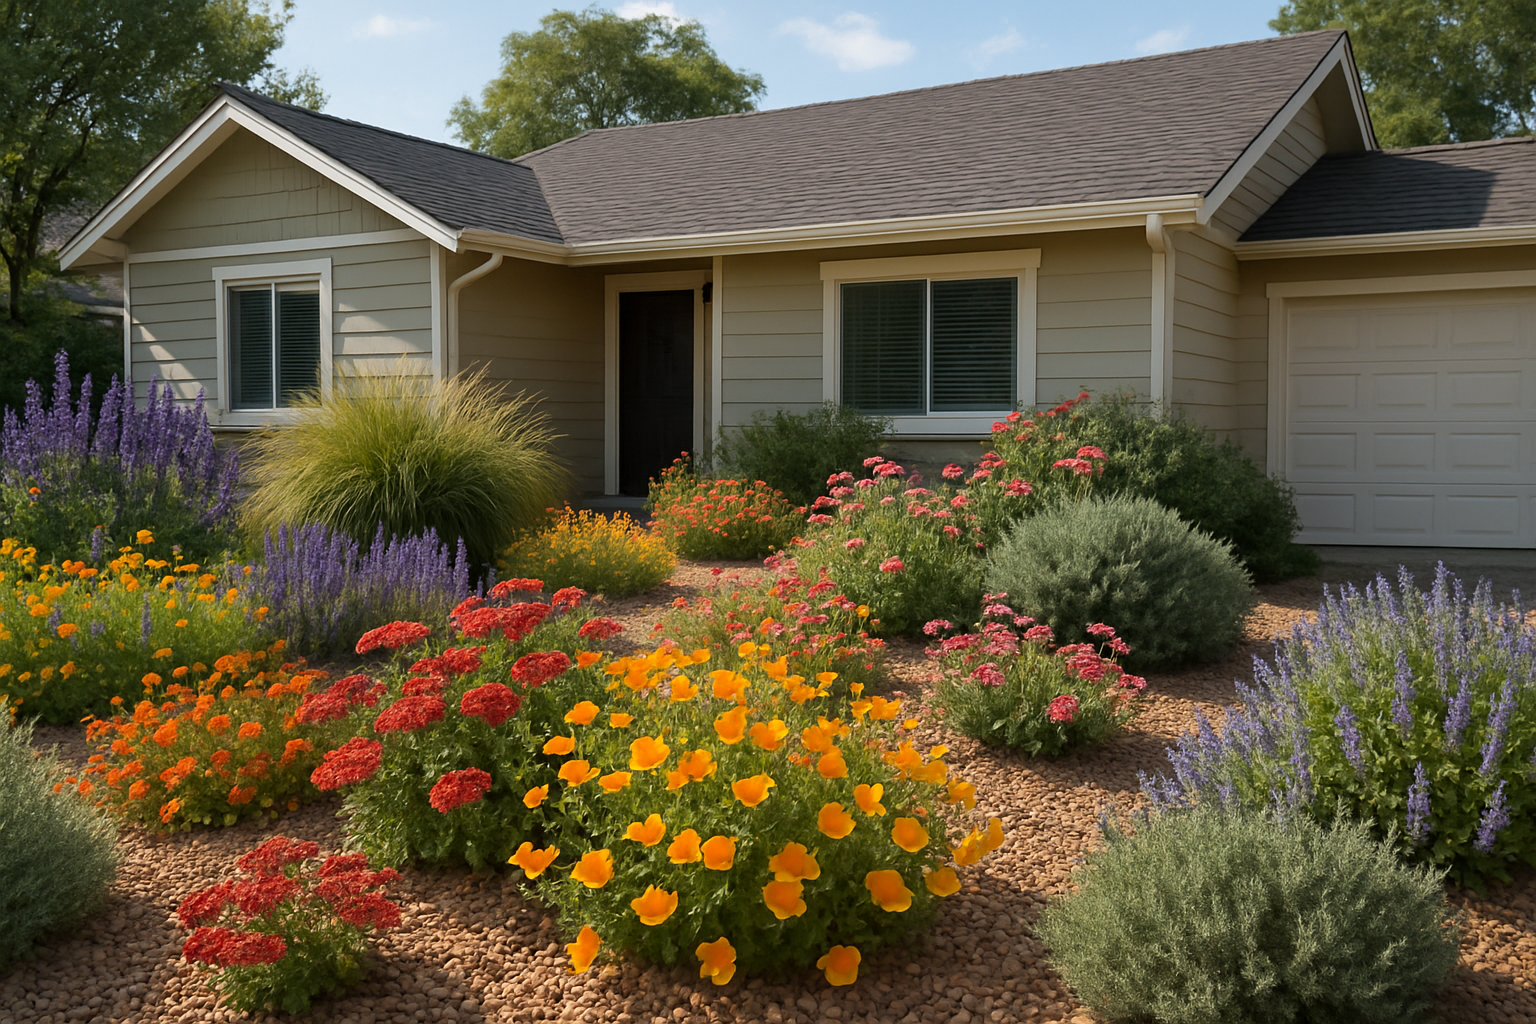
“Won’t native plants just look scraggly and wild around my new patio?” That’s the question I hear constantly, and here’s what I tell homeowners every single time: native plants are actually the secret to keeping your outdoor investment pristine while cutting your water bill in half. After watching dozens of landscapes fail because they were planted with thirsty ornamentals that needed constant fussing, I realized the yards that aged best—the ones where the hardscape stayed pristine and maintenance became genuinely easy—were the ones designed around plants that belonged there from the start.
But here’s the thing — that humiliating first attempt sent me down a rabbit hole of actual research, and what came out the other side genuinely changed my yard, my water bill, and my entire relationship with outdoor living. If you’ve been curious about making the switch to native plants, I’m going to walk you through what actually works, what I wish someone had told me before I wasted a full packet of seeds, and the products that finally got me to a yard I’m proud to show off.
Why Native Plants Are the Smartest Landscaping Decision You’ll Make
Native plants are species that evolved naturally in your region over thousands of years. That means they’re already perfectly adapted to your local rainfall patterns, soil type, temperature swings, and pest pressures. They don’t need you to coddle them. They don’t need a weekly deep soak or a bag of synthetic fertilizer every spring. They just need a decent start — and then they largely take care of themselves.
For homeowners, this translates to real, measurable savings. The EPA estimates that landscape irrigation accounts for nearly one-third of all residential water use in the U.S., totaling nearly 9 billion gallons per day. Switching even a portion of your lawn to native plants can cut your outdoor water use by 50% or more. My water bill dropped noticeably after just one full growing season. And beyond the savings, native plantings support local pollinators — bees, butterflies, hummingbirds — in ways that a monoculture grass lawn simply cannot.
The visual payoff is real too. A well-designed native landscape looks intentional, layered, and alive in a way that a flat green lawn never quite does. It moves in the breeze, it changes color through the seasons, and it attracts wildlife that makes your outdoor space feel like a destination rather than just a chore.
Native Plants Landscaping Water Saving: How to Actually Do It Right
Here’s what I learned the hard way: native plant success starts with site prep, not seed selection. Before you scatter a single seed or plant a single plug, you need to deal with your existing turf. I skipped this step. Dave watched me learn this lesson in real time from his car window.
Step 1: Kill or Remove Existing Grass
Smother it with cardboard and a thick layer of wood chip mulch (the “lasagna method”), solarize it under clear plastic sheeting for 4–6 weeks in summer heat, or use a sod cutter to physically remove it. Bermuda grass in particular is relentless — if you don’t eliminate it first, it will win every single time. Ask me how I know.
Step 2: Loosen and Amend Your Soil Lightly
Native plants generally prefer lean, well-draining soil. Don’t go overboard with rich compost or amendments — overly fertile soil can actually cause many natives to grow weak and floppy. A light loosening with a garden fork is usually plenty.
Step 3: Choose the Right Plants for Your Region
This is where the fun starts. Native plant mixes are region-specific for a reason — what thrives in the Pacific Northwest is not what thrives in Texas or Southern California. Match your seed selection to your climate zone, and you’ll be amazed at how little maintenance the plants require once established.
Step 4: Water to Establish, Then Step Back
Most native plants need consistent moisture for the first season while their root systems develop. After that first year, many need little to no supplemental irrigation. This is the payoff moment — when you realize you haven’t dragged out the hose in three weeks and everything still looks fantastic.
Step 5: Embrace the “Messy” Season
Native gardens look different in winter. Seed heads and dried stems aren’t failures — they’re food and shelter for wildlife. Resist the urge to cut everything back in fall. Wait until early spring, and you’ll be rewarded with a garden that practically reseeds itself.
What I Used: My Recommended Products for a Native Plant Makeover
Once I finally did the site prep correctly (all of it, in the right order, like a person who reads instructions), these are the products that made my native landscape transformation actually happen.
The Native Seed Mix That Actually Took Hold Around My Hardscape
Most homeowners think native plant conversion is a multi-season guessing game, but the real bottleneck is seed quality—I’ve watched cheap bulk mixes fail to germinate while expensive regional blends thrived around fresh pavers and repaired concrete edges. Getting the seed density right matters as much as soil prep.
What works
- 7,000+ seeds per packet means you can scatter generously around newly sealed driveways and patios without worrying about thin coverage or bare patches.
- California-specific cultivars establish faster in drought conditions, reducing the daily watering habit that erodes new concrete sealant and destabilizes hardscape grout lines.
- Mixed annual and perennial varieties create that staggered bloom effect that looks intentional rather than overgrown, even when you’re not a landscape designer.
What doesn’t
- One-ounce packets cover roughly 50–100 square feet depending on soil prep—if your surround landscape is larger than a postage stamp, you’ll need multiple packets.
- Germination depends heavily on timing and moisture consistency; sow too late in the season and you’re fighting dormancy, sow during a heat wave and you’re fighting drought stress instead.
I’ll admit my first batch germinated unevenly because I underestimated how much afternoon sun bounces off fresh concrete, but once I adjusted watering to early morning, the California wildflowers caught up fast. If you’re serious about transforming your hardscape surrounds without the DIY disaster, grab the California Wildflower Mixture — Bulk 1 Ounce Packet with Over 7,000 Native Seeds.
About This Article

Written by Marcus Delvecchio. Marcus Delvecchio isn't a licensed contractor — he's a handyman and DIY outdoor landscaper who got obsessed with driveways, patios and pavers after redoing his own place badly enough to want to understand why. Twenty years later he spends his weekends on his own projects and on side jobs for neighbours and friends around the mid-Atlantic, and writes up what actually worked, mistakes included. More about this site.
Scope and limits. Marcus is a homeowner who got obsessive about driveways, not a licensed contractor. Structural repair, drainage changes, and anything requiring a permit should go to a licensed contractor.
Verify this against a primary source
Specifics change, and your situation may differ from the one described here. These are the authorities worth checking directly:
- Concrete Masonry & Hardscapes Association — segmental paver installation standards
- National Asphalt Pavement Association — asphalt placement and maintenance guidance
- Portland Cement Association — concrete durability and jointing