Last spring, I tore out a 280-square-foot flagstone patio that had become an embarrassment. Weeds had pushed through every joint. Ants had colonized the entire border. The original polymeric sand — whatever bargain-brand stuff the previous owner used — had turned to gray powder years ago. If you’ve ever dealt with polymeric sand pavers weeds situation like that, you know exactly how demoralizing it feels. All that stone, all that work, completely undermined by gaps the size of your pinky finger.
I’d done enough hardscaping over the years to know the problem wasn’t the pavers. It was the jointing material. Cheap polymeric sand washes out, cracks, and basically rolls out the welcome mat for every dandelion and ant colony in a three-block radius. This time, I wasn’t cutting corners.
Why Polymeric Sand Fails (And Why It Matters)
Before I settled on a solution, I needed to understand what I’d done wrong the first time. The original polymeric sand had failed for three key reasons: poor installation technique, inadequate watering during activation, and simply choosing a low-grade product. Standard polymeric sand relies on a binder that activates when water is introduced. If that binder isn’t high quality or isn’t properly hydrated, the sand never hardens into a monolithic plug. Instead, it remains loose or partially bound—a condition that invites weeds, insects, and erosion.
The gray powder I scraped out was a worst-case scenario: the binder had completely failed, leaving nothing but inert silica particles in the joints. Weeds found it trivial to push through. Ants tunneled underneath. Rain washed more of it away with every storm. It was essentially decorative sand with no structural integrity.
The Polymeric Sand That Actually Held Its Shape Through Two Seasons
After watching the previous owner’s bargain polymeric sand turn to gray powder, I needed something that wouldn’t just fill the gaps—it had to actually stay put and lock weeds out. The DOMINATOR Charcoal Gray changed how I approach paver joints because it doesn’t degrade the way cheaper polymeric sands do.
Installation: Getting It Right
The key to success with polymeric sand is understanding that installation is half the battle. I learned this the hard way. Here’s what I did differently with the DOMINATOR:
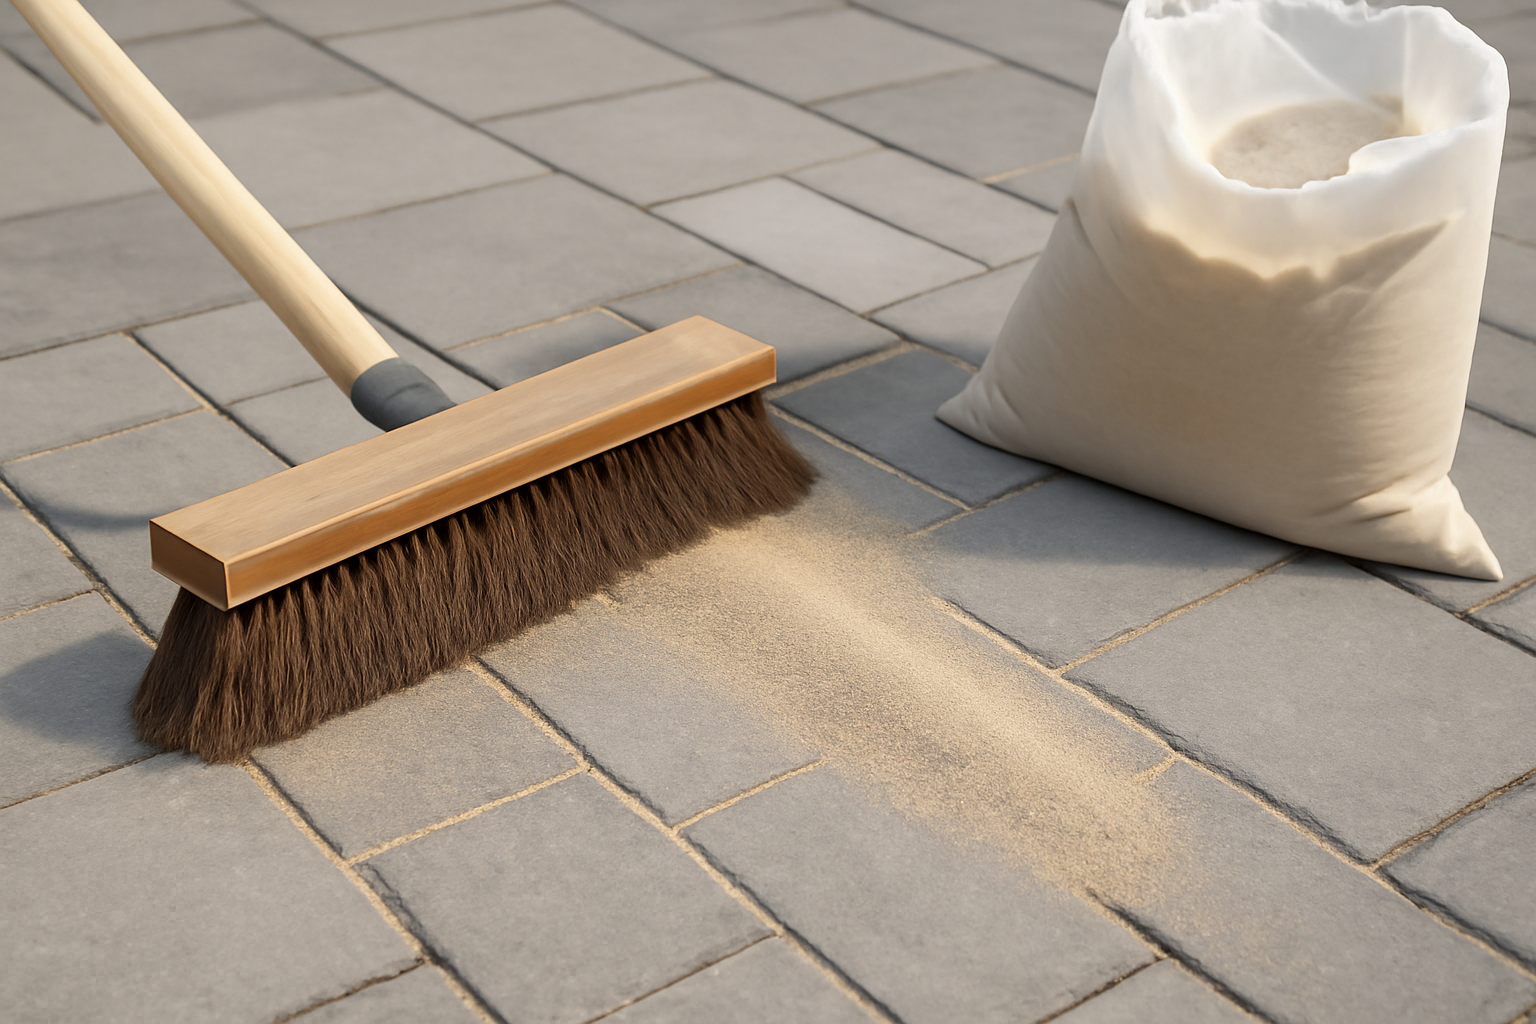
- Preparation: I swept the patio clean, removing all old sand, debris, and organic matter. Dirty joints mean the new polymeric sand won’t compact properly or activate uniformly.
- Filling: I used a polymeric sand spreader to push the DOMINATOR deep into every joint, making sure there were no voids. Shallow filling is a common mistake that leads to early failure.
- Compaction: A plate compactor and hand tamper ensured the sand was packed tight before watering. Loose sand can’t activate properly.
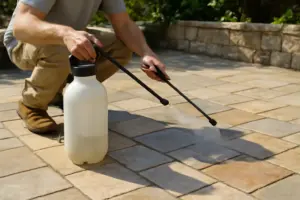
- Activation: This is where I learned from my first mistake. I used a fine mist rather than heavy spray, applying water slowly and allowing it to penetrate. The binder needs consistent moisture, not flooding. I kept the area damp for 24 hours, checking periodically to ensure even hydration.
What Works
- The ceramic flex technology keeps the sand stable season after season—I haven’t seen it powder out or shrink away from the joints the way my first attempt did.
- Weeds genuinely don’t push through when it’s packed correctly; the sand compacts tight enough to create a real barrier, not just fill space.
- The charcoal gray color matches darker stone work without looking too yellow or ashy—it blends instead of standing out like cheaper alternatives.
- Rainfall hasn’t washed it away or created divots in the joints. It’s remained stable through heavy spring rains and summer droughts.
What Doesn’t
- You have to water it in correctly—rush the activation and you’ll have soft spots that eventually fail; it’s not foolproof if your technique isn’t solid.
- It costs more per pound than the bargain brands that failed me, which stings when you’re sealing 280 square feet.
- Some retailers stock inconsistent batches, so ordering from a trusted source matters more than it should.
Long-Term Performance and Maintenance
Two growing seasons have passed since I installed the DOMINATOR. The joints remain firm, the color hasn’t faded unevenly, and—most importantly—I’ve pulled exactly zero weeds from between those pavers. This is the metric that matters most to me after my first failure.
I’ve also learned that polymeric sand isn’t a set-and-forget solution. Routine maintenance—occasional sweeping and keeping the patio clean—helps extend its life. I’ve avoided pressure washing directly into the joints and haven’t used harsh chemicals that could degrade the binder. These are reasonable care steps that most homeowners can manage.
I’ll be honest—when I first mixed it, I questioned whether the price difference was justified, especially after my previous polymeric sand disaster. But two growing seasons in, with zero weeds pushing through and the joints still solid, I’m convinced. Get the 10 Pound Charcoal Gray DOMINATOR Polymeric Sand with Revolutionary Ceramic Flex Technology for Stabilizing Paver Joints/Gaps, 1/8″ up to 4″, Professional Grade Results.
10 Pound Charcoal Gray DOMINATOR Polymeric Sand
After my first attempt failed, this sand stayed compact and kept weeds out through seasons without powdering away.
Check Price on Amazon →This post contains affiliate links. As an Amazon Associate, I earn from qualifying purchases at no extra cost to you.