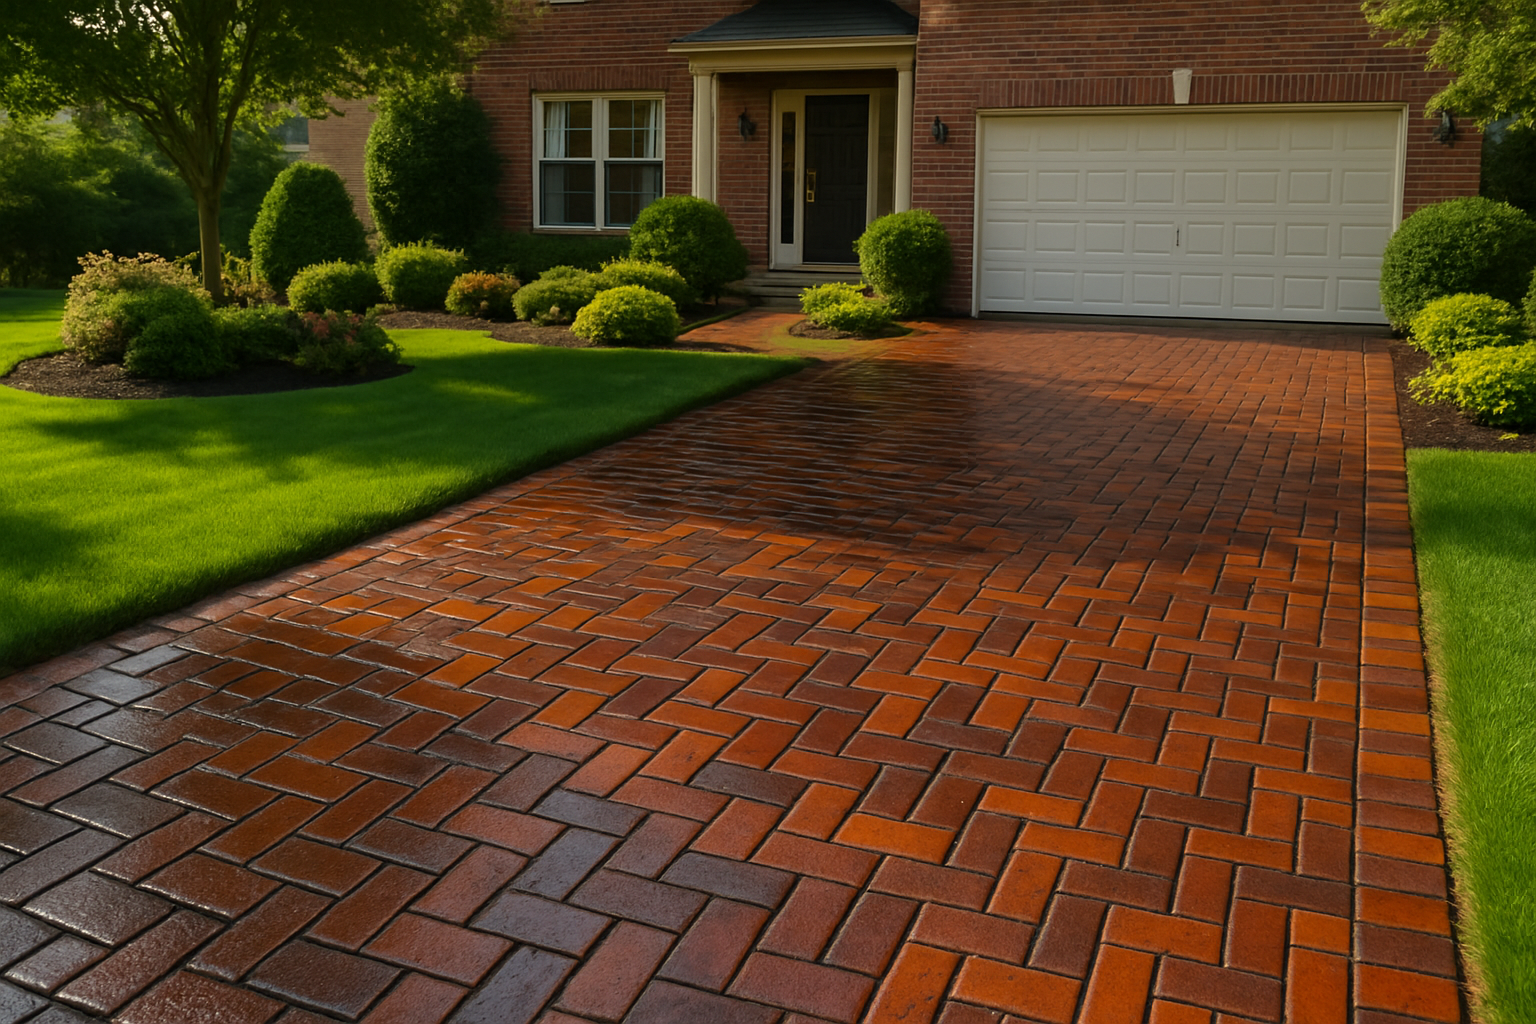
Around 2009, I made the rookie mistake of thinking that laying beautiful pavers was the whole job—that once they were down and compacted, the work was finished. Three years later, I’d driven past half my installations and barely recognized them; the color had faded to a chalky gray, the joints were crumbling, and I realized I’d been leaving money on the table and my reputation in the dust. That’s when I learned the hard truth: a sealed paver surface isn’t just about keeping up appearances—it’s about protecting the actual structure underneath, and the difference between a driveway that looks fresh at ten years versus one that’s falling apart by year four almost always comes down to whether someone took two afternoons to do this one thing right.
How I Ended Up Covered in Sealer (And Why It Was Worth It)
It started so well. I showed up at Dave’s house on a Saturday morning with borrowed equipment, a confident stride, and a large coffee. I had the pressure washer running in under ten minutes. I was basically a professional. Then I turned the nozzle the wrong way, caught the rebound spray directly in the face, and stumbled backward into a potted rosemary bush. Dave, standing at his front door with a second cup of coffee, watched the whole thing without saying a single word. Just nodded slowly, like he had expected this outcome all along.
After cleaning up — myself and the rosemary — we actually got to work. And this is where things got genuinely interesting, because once I stopped fooling around, the process was surprisingly simple and the results were honestly stunning.
What Paver Driveway Sealing Actually Involves (Step by Step)
Here is the honest truth: paver driveway sealing is one of those home improvement tasks that looks harder than it is. Once you understand the steps, it is totally approachable for a weekend DIYer — even one who has already embarrassed himself in front of a rosemary bush.
Step 1: Clean the Driveway Thoroughly
This is the step that makes or breaks the whole job. You cannot seal over dirt, oil, or grime and expect good results. We pressure washed the entire driveway, working in overlapping passes and paying extra attention to stained areas near the garage. For any stubborn oil spots, a degreaser applied beforehand does wonders. Once you finish washing, you absolutely must let the pavers dry completely — and I mean completely. We waited a full 24 hours before applying any sealer. Rushing this part is the most common mistake people make.
Step 2: Check Your Pavers and Pick the Right Sealer
Not all sealers are the same, and your choice depends on the look you want. There are two main categories: penetrating sealers, which soak into the surface and protect from within while leaving a natural matte appearance, and topical sealers, which sit on top and can give you anything from a subtle sheen to a dramatic high-gloss wet look. Dave wanted his pavers to look rich and vibrant — the kind of color pop that makes the whole front of a house look freshly renovated. That meant going with an enhancing sealer.
Step 3: Apply the Sealer Evenly
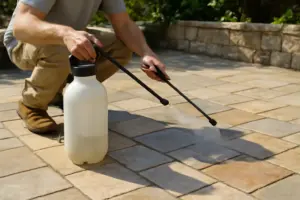
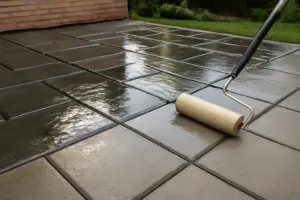
We used a pump sprayer for the first pass and a roller for areas that needed a little more coverage. Work in small sections, maintain a wet edge so you do not get lap marks, and avoid applying too thick a coat. Thin, even coats cure better and last longer. Two coats is usually the sweet spot — one to penetrate and establish, one to build protection. Allow proper dry time between coats according to your product’s instructions.
My Recommended Products for Paver Driveway Sealing
Here is what I actually used and what I would recommend depending on your goals. Every driveway is a little different, so I have included options for the wet-look crowd and the natural-finish crowd.
The Sealer That Actually Deepens Paver Color Without the Plastic Sheen
Here’s the thing about paver driveways: they fade fast under UV exposure, and a faded paver driveway reads as neglected even if the pavers themselves are solid. Most homeowners think they need new pavers when really they just need the color and depth restored—which is exactly what a high-quality stone sealer does in one afternoon.
What works
- Brings out the natural color and grain of stone without leaving that waxy, plastic-looking film that makes pavers look fake
- Applies evenly with a sprayer in 2-3 hours for a full driveway and dries clear, so you don’t get those lap marks or pooling issues
- Actually lasts 2-3 years on pavers, which means you’re not resealing every season like you would with cheaper penetrating sealers
What doesn’t
- Requires pavers to be clean and dry before application—if you skip the pressure wash step, the sealer won’t bond evenly and you’ll see darker and lighter patches
- The 1-gallon jug might require a second coat on darker stone or high-traffic areas, so budget conservatively and have extra on hand
I’ll admit—the first time I applied this, I second-guessed myself halfway through because the wet pavers looked almost too dark, like I’d oversaturated them. But once it dried, that color deepened in the best way, not muddy or shiny. If you want your neighbor’s driveway transformation to last, grab a Shabebe Premium Stone Sealer (1 Gallon).
About This Article

Written by Marcus Delvecchio. Marcus Delvecchio isn't a licensed contractor — he's a handyman and DIY outdoor landscaper who got obsessed with driveways, patios and pavers after redoing his own place badly enough to want to understand why. Twenty years later he spends his weekends on his own projects and on side jobs for neighbours and friends around the mid-Atlantic, and writes up what actually worked, mistakes included. More about this site.
Scope and limits. Marcus is a homeowner who got obsessive about driveways, not a licensed contractor. Structural repair, drainage changes, and anything requiring a permit should go to a licensed contractor.
Verify this against a primary source
Specifics change, and your situation may differ from the one described here. These are the authorities worth checking directly:
- Concrete Masonry & Hardscapes Association — segmental paver installation standards
- National Asphalt Pavement Association — asphalt placement and maintenance guidance
- Portland Cement Association — concrete durability and jointing