I’ve bid thousands of outdoor projects in eighteen years of contracting. The ones that blow past budget and end in frustration almost always share one thing: someone chose the cheaper option early on — materials, prep, drainage — and spent twice as much correcting it later. Backyard ponds are no exception. I’ve watched homeowners tear out liners after a single winter, chase leaks through improperly graded excavations, and drop good money on pumps that were undersized from day one — all problems that are completely avoidable when you understand what the trade actually prioritizes before the first shovel breaks ground. What follows is the build sequence and product list I’d hand to any client who wanted to do this themselves — not the shortcut version, but the one that holds up.
The Kit That Kept Me From Digging Twice: Why a Complete System Beats Sourcing Parts Separately
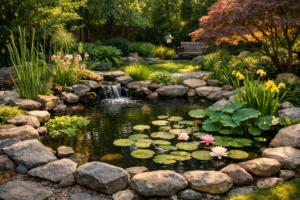
Building a pond from scratch means making decisions about liner depth, pump capacity, and edge finishing all at once — and if those pieces don’t work together, you’ll be standing in a half-finished hole wondering what went wrong. A matched kit removes that guesswork and ensures every component is sized for the same footprint.
What works
- All components are pre-sized to work together — the liner, pump, and spillway are matched to the same basin dimensions, so you’re not oversizing or undersizing any single piece.
- Instructions account for grading and drainage from the start, not as an afterthought; the included materials guide you toward proper slope so water doesn’t pool outside the liner.
- Troubleshooting becomes faster because you know every part came from the same system — when a leak happens, you’re not chasing phantom incompatibilities between random brands.
What doesn’t
- You pay a premium for convenience; sourcing a liner, pump, and seals individually might save 15–20% if you’re willing to spend two weeks cross-referencing compatibility specs.
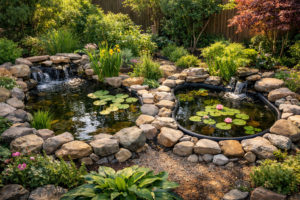
- The kit’s footprint is fixed at 8 x 11 feet — if your space or vision doesn’t match that exact rectangle, you’re either compromising the design or buying components à la carte anyway.
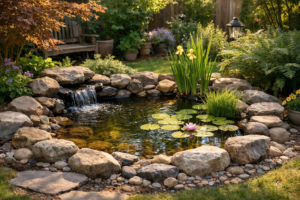
I almost pieced together a budget version from three different suppliers until a fellow contractor reminded me that the last time I saved money upfront on pavement prep, I spent three times as much fixing subsurface drainage failures. That conversation stuck with me. Get the Aquascape DIY Backyard Pond Kit 8 x 11 feet and know from day one that your liner, pump, and basin work as one system.
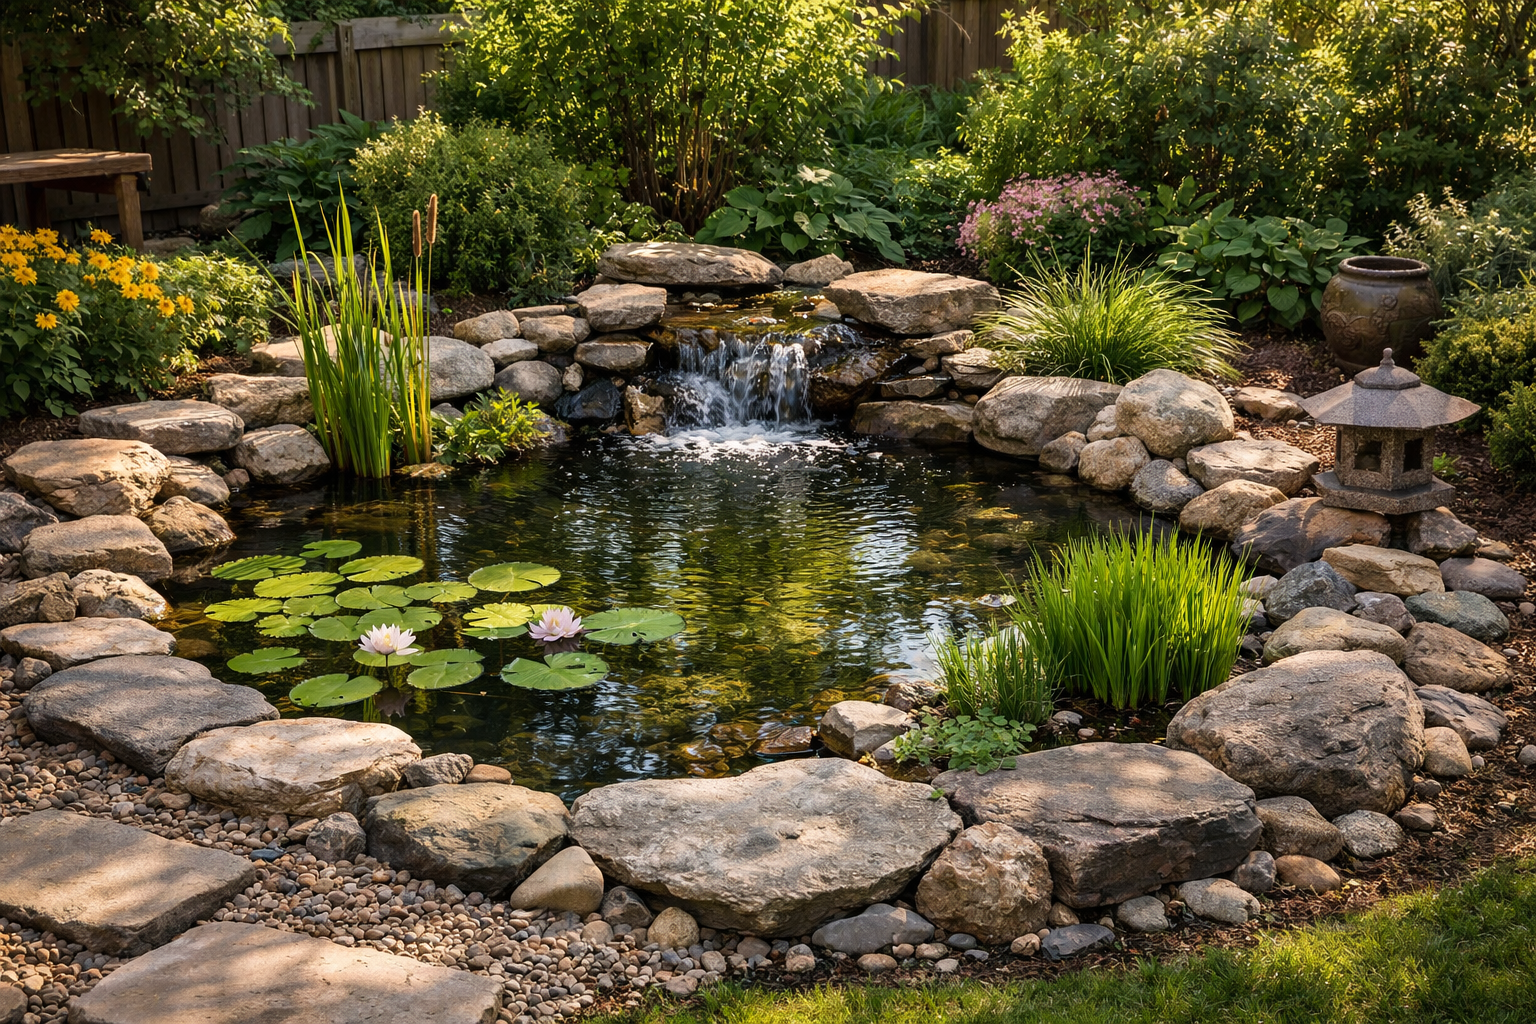
Aquascape DIY Backyard Pond Kit 8 x 11 feet
I used this to avoid chasing leaks between mismatched pump and liner brands.
Check Price on Amazon →This post contains affiliate links. As an Amazon Associate, I earn from qualifying purchases at no extra cost to you.