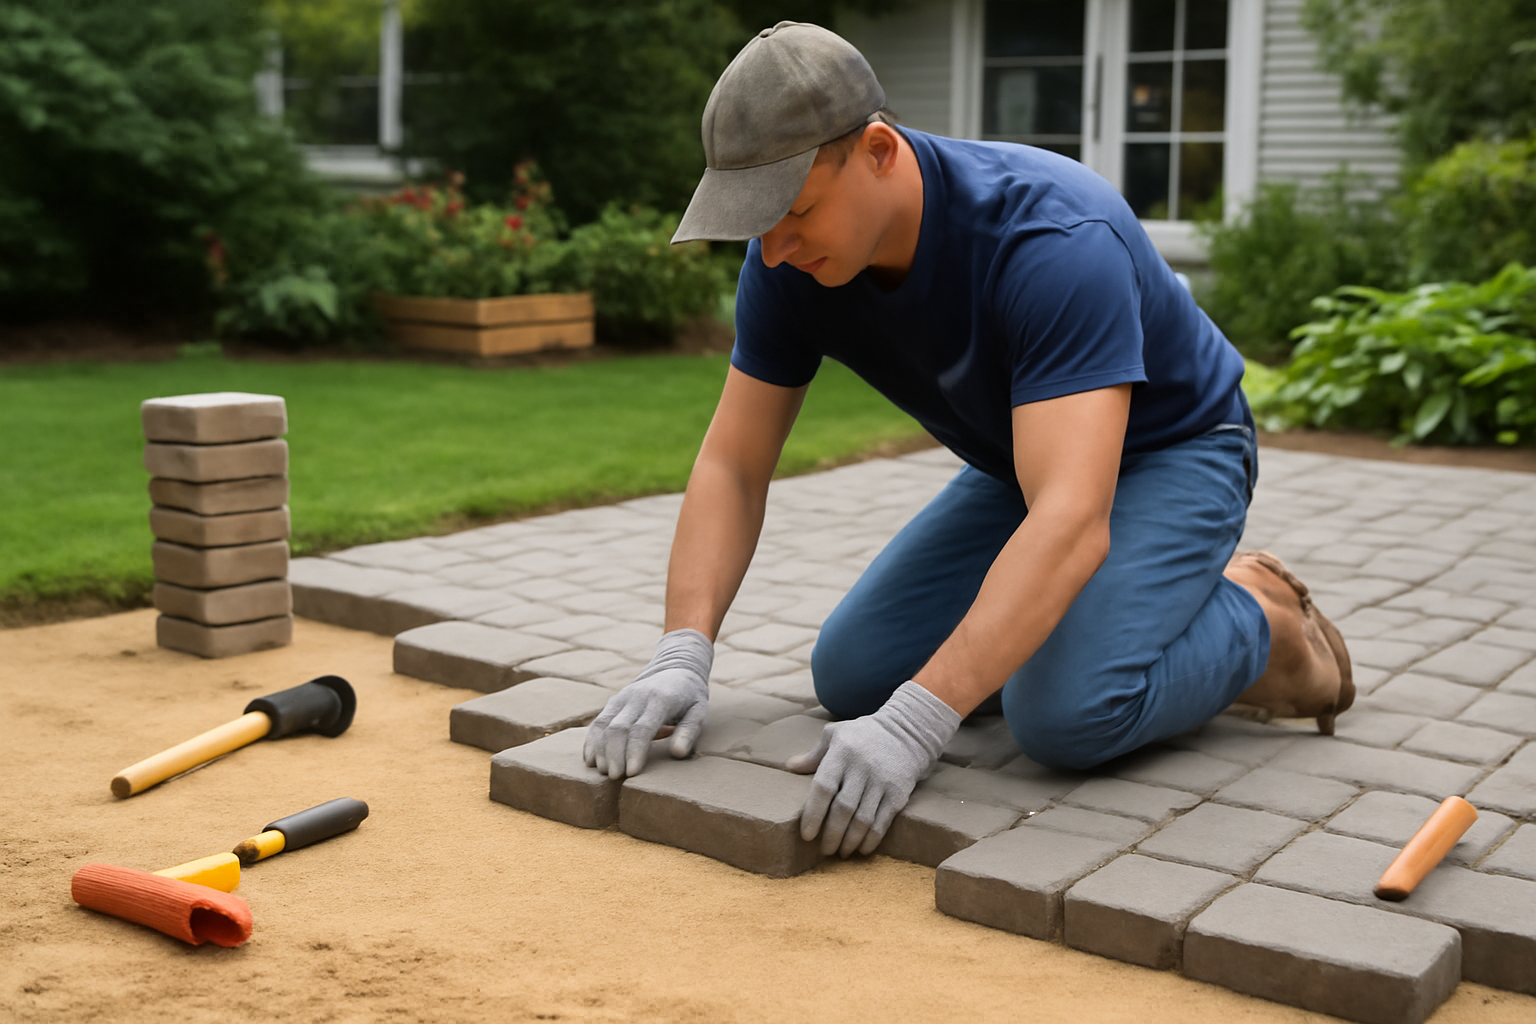
I’ve built six paver patios over the past decade — from a modest 120-square-foot side yard pad to a 600-square-foot entertainment space with a built-in fire pit area. Every single time, I come back to the same conclusion: knowing how to build a paver patio isn’t the hard part. The hard part is doing the unglamorous prep work correctly and not cutting corners when your back is screaming at you on day two. Get the base right, and your patio will look great twenty years from now. Ignore it, and you’ll be releveling sunken pavers every spring. This guide walks you through the full paver patio installation process, step by step, with the honest details most tutorials skip.
Materials and Tools You’ll Need
Before you break ground, get everything staged and ready. Running to the hardware store mid-project kills momentum and invites mistakes. Here’s what you’ll need for a standard paver patio DIY project.
Materials
- Pavers — concrete, natural stone, or brick (calculate your patio square footage and add 10% for cuts and waste)
- Gravel base — Class II road base or crushed limestone (4 inches compacted depth)
- Leveling sand — coarse bedding sand or concrete sand (1-inch layer)
- Polymeric sand — for filling joints and locking pavers in place
- Landscape fabric — optional but worth it for weed suppression
- Plastic edge restraints — to prevent lateral spreading
The Plate Compactor That Finally Made Base Compaction Foolproof
A properly compacted base is the difference between a patio that stays flat and one that settles unevenly within two seasons. Renting a plate compactor is non-negotiable, but undersized machines leave you doing multiple passes that eat into your timeline — or worse, leaving soft spots you can’t see until it’s too late.
What works
- The 6.5HP engine has enough force to compress 4–6 inches of gravel base in a single pass, cutting your prep day in half and letting you actually see visible settling happening under the plate.
- Handles both forward and reverse smoothly without the jerky, hard-to-control movement that smaller units have — critical when you’re working around excavated edges and existing landscape.
- Heavy enough to do real compaction work without requiring you to rent two machines for anything over 300 square feet, which saves money and eliminates the “did I compact that section enough?” doubt.
What doesn’t
- It’s heavier and bulkier than midsize models, so loading and unloading from a truck or trailer requires either a strong helper or careful ramp planning — not ideal if you’re doing this solo.
- Overkill for small patios under 150 square feet; you’ll pay more in rental fees than the time savings justify, and a smaller unit is easier to maneuver in tight spaces.
I spent two hours with an undersized rental on my 400-square-foot entertainment patio, went over the entire base twice, and still felt unsure about the compaction quality in the far corner — a doubt that nagged at me until year three when I finally saw minor settling there. That’s when I upgraded to this machine, and I’ve never second-guessed compaction since. Grab the VEVOR 6.5HP Plate Compactor for any patio over 250 square feet.
About This Article

Written by Marcus Delvecchio. Marcus Delvecchio isn't a licensed contractor — he's a handyman and DIY outdoor landscaper who got obsessed with driveways, patios and pavers after redoing his own place badly enough to want to understand why. Twenty years later he spends his weekends on his own projects and on side jobs for neighbours and friends around the mid-Atlantic, and writes up what actually worked, mistakes included. More about this site.
Scope and limits. Marcus is a homeowner who got obsessive about driveways, not a licensed contractor. Structural repair, drainage changes, and anything requiring a permit should go to a licensed contractor.
Verify this against a primary source
Specifics change, and your situation may differ from the one described here. These are the authorities worth checking directly:
- Concrete Masonry & Hardscapes Association — segmental paver installation standards
- National Asphalt Pavement Association — asphalt placement and maintenance guidance
- Portland Cement Association — concrete durability and jointing